The woman at the next stall watched me juggle three bags of apples, a butternut squash, and my rapidly melting sense of composure. I was at the farmers market on a Saturday that felt more like July than October, and I had grand plans for a from-scratch pumpkin pie that were quickly evaporating in the heat. She didn’t say anything at first. She just reached into her cooler bag, pulled out a small mason jar filled with something creamy and orange, and handed it to me. “Taste this,” she said. “It’s what I make when I don’t feel like turning on the oven.”
I stood there, holding a stranger’s parfait, and honestly, I was skeptical. I mean, I love a good no-bake dessert as much as the next person, but pumpkin pie is sacred, right? The first bite, though, completely changed my mind. It was rich without being heavy, spiced just right, and had that same cozy pumpkin pie feeling without any of the stress. I asked her for the basics of the recipe, and she waved her hand like it was nothing—just pumpkin, cream, spices, and a little patience. She didn’t give me exact measurements, just a philosophy: make it simple, make it taste like fall, and don’t let anyone tell you it needs an oven.
That conversation stuck with me. I tweaked and tested her idea over the next few weeks, probably making a mess of my kitchen on a Tuesday night when I should have been meal prepping. I forgot to chill the cream once (total disaster, let me tell you), and another time I used too much nutmeg and it tasted like a candle. But eventually, I landed on this Easy No-Bake Pumpkin Pie Dream Parfait, and honestly, I haven’t looked back. Maybe you’ve been there—staring down a holiday dessert list, feeling the pressure to produce something spectacular when you’re already exhausted. This parfait is my answer to that moment. It’s why I keep making it, season after season.
Why You’ll Love This Recipe
Let me tell you why this Easy No-Bake Pumpkin Pie Dream Parfait has become my go-to fall dessert. I’ve tested this recipe at least a dozen times—for family dinners, potlucks, and even a random Tuesday when I needed a pick-me-up. It’s the kind of dessert that makes people close their eyes after the first bite, and I’m not exaggerating.
- No-Bake & Stress-Free: You don’t need to turn on the oven or stand over a hot stove. This comes together in about 15 minutes of active time, then just chills in the fridge. Perfect for those warm fall days or when your oven is already full of other goodies.
- Simple Ingredients: Pumpkin puree, cream cheese, heavy cream, and a handful of pantry spices. No fancy extracts or hard-to-find items. You probably have most of this in your kitchen right now.
- Perfect for Fall Gatherings: Whether it’s Thanksgiving, a Friendsgiving potluck, or just a cozy night in, this parfait fits right in. It looks impressive in clear glasses but takes almost no effort to assemble.
- Crowd-Pleaser: I’ve served this to kids who swear they don’t like pumpkin and adults who are picky about their pies. Every single time, someone asks for the recipe. It’s that good.
- Unbelievably Delicious: The texture is what gets me every time—silky, creamy, with just a little crunch from the crumbled topping. It’s comfort food reimagined, and it hits that sweet spot between indulgent and light.
What makes this different from other pumpkin desserts is the technique. Instead of a traditional custard or baked filling, we’re folding everything together gently to keep it airy and luscious. It’s not heavy like some pumpkin cheesecakes can be. It’s more like a cloud of pumpkin spice goodness. Honestly, I think this is my best version of a pumpkin dessert, and I’ve made a lot of them over the years.
What Ingredients You Will Need
This Easy No-Bake Pumpkin Pie Dream Parfait uses simple, wholesome ingredients to deliver that bold pumpkin flavor and silky texture without any fuss. Most of these are pantry staples, especially if you’re already in fall baking mode.
For the Pumpkin Cream Layer
- 1 cup (240g) pumpkin puree – Make sure you grab pure pumpkin puree, not pumpkin pie filling. I prefer Libby’s for its consistent texture, but any brand works. (Look for 100% pumpkin on the label.)
- 4 oz (113g) cream cheese, softened – Full-fat gives the best creamy texture. Let it sit out for about 30 minutes before you start.
- 1/2 cup (100g) granulated sugar – Regular white sugar works perfectly. You could use coconut sugar for a deeper flavor, but it will darken the color a bit.
- 1 teaspoon pumpkin pie spice – Store-bought is fine, but I love making my own blend with cinnamon, nutmeg, ginger, and a pinch of cloves. It smells incredible.
- 1/2 teaspoon ground cinnamon – Adds that warm, cozy note we all crave in fall.
- 1/4 teaspoon salt – Don’t skip this! It balances the sweetness and makes the flavors pop.
- 1 teaspoon vanilla extract – Pure vanilla extract adds depth. Imitation works in a pinch, but the real stuff is worth it here.
For the Whipped Cream Layer
- 1 cup (240ml) heavy cream, cold – Heavy whipping cream with at least 36% fat content whips up best. Keep it chilled until you’re ready.
- 2 tablespoons powdered sugar – This stabilizes the cream and adds sweetness without grittiness.
- 1/2 teaspoon vanilla extract – A little extra vanilla never hurt anyone.
For the Crunchy Topping
- 1/2 cup (60g) crushed graham crackers or gingersnaps – Gingersnaps add a lovely spicy kick that pairs beautifully with the pumpkin. Regular graham crackers are a classic choice.
- 2 tablespoons melted butter – Helps the crumbs stick together and adds richness.
- 1 tablespoon brown sugar – Optional, but it adds a hint of molasses flavor that’s perfect for fall.
Substitution Guidance
- Dairy-Free: Use vegan cream cheese and coconut cream (chilled, whipped) instead of heavy cream. The texture will be slightly different but still delicious.
- Lower Sugar: Reduce the sugar in the pumpkin layer to 1/3 cup, or use a monk fruit sweetener blend. The whipped cream can handle a little less sweetness too.
- Gluten-Free: Use gluten-free graham crackers or crushed gluten-free cookies for the topping. Most pumpkin puree is naturally gluten-free.
Equipment Needed
You don’t need much for this Easy No-Bake Pumpkin Pie Dream Parfait, which is part of the charm. Here’s what I use:
- Mixing bowls (2 medium-sized) – One for the pumpkin mixture, one for the whipped cream. I use glass bowls because they’re easy to clean and don’t hold onto smells.
- Hand mixer or stand mixer – You could whisk by hand if you’re feeling ambitious, but a mixer makes the whipped cream light and fluffy in minutes. I’ve used both a KitchenAid and a cheap hand mixer—both work fine.
- Spatula – A rubber spatula is essential for folding the whipped cream into the pumpkin mixture without deflating it. Get a good one that scrapes the bowl clean.
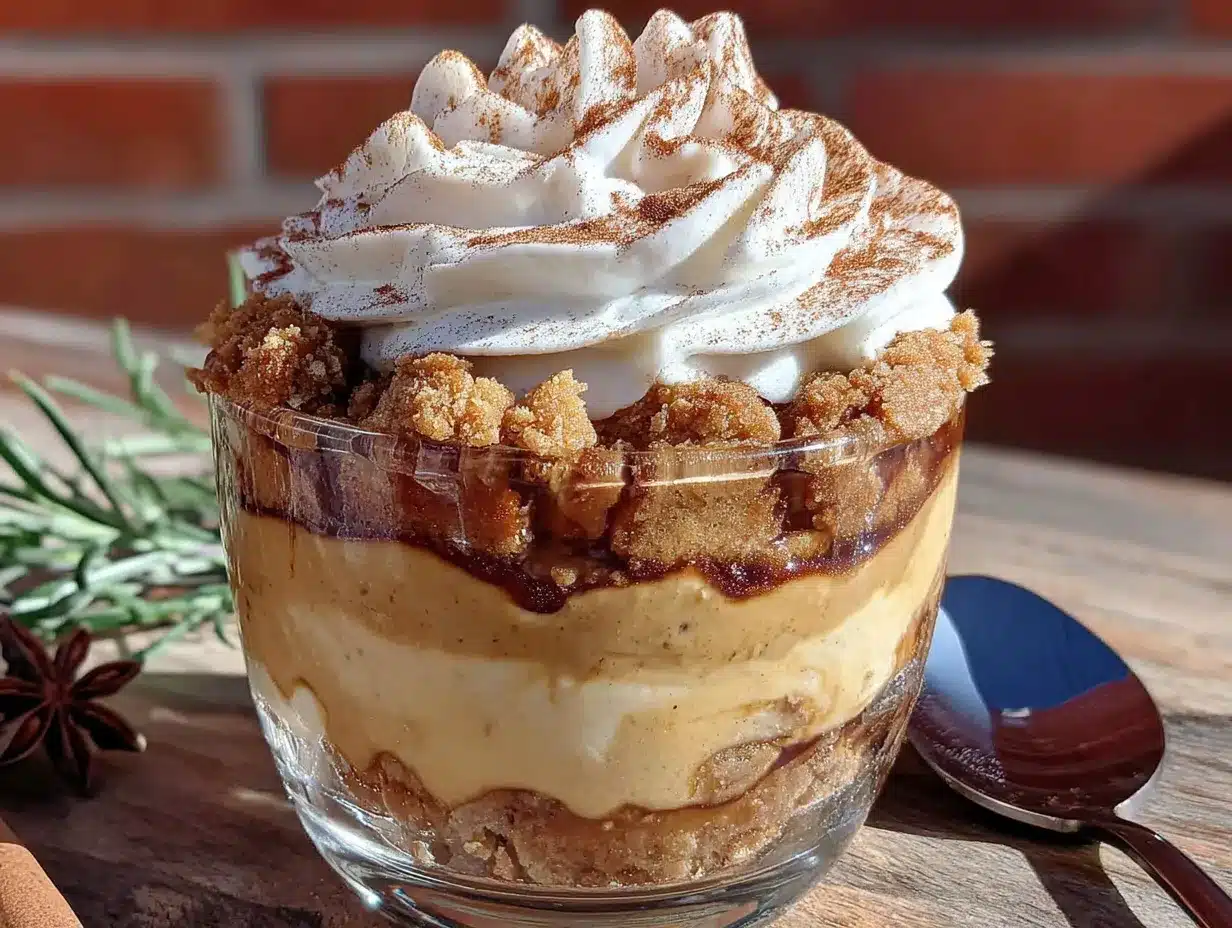
- 4 to 6 serving glasses or jars – Clear glasses show off the beautiful layers. I use 8-ounce mason jars for a rustic look, but wine glasses or tumblers work too.
- Small food processor or zip-top bag – For crushing the cookies or graham crackers. A food processor gives you a finer crumb, but a rolling pin over a zip-top bag is just as effective and more satisfying.
- Measuring cups and spoons – Accuracy matters, especially with the spices. I have a set of magnetic measuring spoons that stay together—total game changer.
If you don’t have a mixer, you can whip the cream by hand with a whisk. It takes about 5-7 minutes of steady arm work, but it’s doable. Just make sure the cream is very cold, and use a stainless steel bowl that’s been chilled in the fridge for 10 minutes. Honestly, the arm workout is kind of nice.
Preparation Method
Let me walk you through making this Easy No-Bake Pumpkin Pie Dream Parfait step by step. I’ve included all the little details I wish someone had told me the first time I tried this.
Step 1: Make the Crunchy Topping (5 minutes)
Crush your graham crackers or gingersnaps into fine crumbs. If you’re using a food processor, pulse until you have a sandy texture. If you’re using a zip-top bag, seal it tight (double bag if you’re worried about rips) and go to town with a rolling pin. I prefer the bag method because it’s oddly therapeutic. Mix the crumbs with melted butter and brown sugar if you’re using it. Stir until everything looks like wet sand. Set aside.
Step 2: Whip the Cream (3-4 minutes)
Pour the cold heavy cream into a chilled mixing bowl. Add the powdered sugar and vanilla extract. Using a hand mixer or stand mixer, beat on medium-high speed until soft peaks form. You’re looking for peaks that hold their shape but still look soft and billowy—not stiff and grainy. This usually takes about 3 minutes. Be careful not to overwhip, or you’ll end up with butter. I’ve done that before, and it’s not pretty. Set the whipped cream aside in the fridge while you work on the pumpkin layer.
Step 3: Make the Pumpkin Cream Layer (5 minutes)
In another mixing bowl, beat the softened cream cheese with an electric mixer until smooth and creamy, about 1 minute. Add the pumpkin puree, granulated sugar, pumpkin pie spice, cinnamon, salt, and vanilla extract. Beat on medium speed until everything is combined and silky. Scrape down the sides of the bowl with your spatula. Taste it here—it should be sweet, spiced, and deeply pumpkin-y. If it tastes flat, add a pinch more salt or cinnamon.
Step 4: Fold It All Together (2 minutes)
Take your whipped cream out of the fridge. Add about one-third of it to the pumpkin mixture and stir gently with your spatula to lighten the mixture. This is called “tempering” the base, and it makes folding easier. Then, add the remaining whipped cream and fold it in gently. Use a cutting motion with your spatula, rotating the bowl as you go. You want to see a uniform color with no white streaks. Don’t overmix, or you’ll deflate the cream and lose that airy texture.
Step 5: Layer the Parfaits (5 minutes)
Get your glasses or jars ready. Start with a spoonful of the crunchy topping at the bottom of each glass. Then, add a generous layer of the pumpkin cream mixture. Smooth it gently with the back of your spoon. Add another layer of crumb topping, then another layer of pumpkin cream. Finish with a final sprinkle of crumbs on top. I like to reserve a tiny bit of whipped cream for a dollop on top right before serving, but that’s optional.
Step 6: Chill and Set (at least 2 hours)
Cover each parfait with plastic wrap or a lid and refrigerate for at least 2 hours. The flavors meld together during this time, and the texture firms up beautifully. If you can wait overnight, even better. The parfait actually tastes better the next day—the spices deepen, and the cream sets into a mousse-like consistency.
Cooking Tips & Techniques
After making this Easy No-Bake Pumpkin Pie Dream Parfait more times than I can count, I’ve picked up a few tricks that make a real difference. Here are the ones I swear by:
Room temperature cream cheese is non-negotiable. I know, I know, we’re all in a hurry. But cold cream cheese will leave you with lumpy pumpkin cream. Let it sit on the counter for 30 minutes before you start. If you forgot, microwave it in 10-second bursts until it’s soft but not hot.
Chill your bowl and beaters for the whipped cream. This is a game-changer. Pop your metal mixing bowl and beaters in the freezer for 10 minutes before whipping. The cold helps the cream whip up faster and hold its shape longer. I learned this after a few batches of sad, flat whipped cream.
Don’t skip the salt in the pumpkin layer. I made this mistake once when I was out of salt and thought, “Eh, it’s fine.” It wasn’t fine. The parfait tasted flat and overly sweet. Salt doesn’t just add saltiness—it enhances all the other flavors and balances the sugar.
Crush your topping to the right consistency. You want a mix of fine crumbs and slightly larger pieces. If everything is dust, you lose the texture. If the pieces are too big, they’re hard to eat with a spoon. Aim for something like coarse sand with a few pebbles.
Layer thoughtfully. Start and end with the crunchy topping. This gives you a satisfying crunch with every bite. Also, don’t press the layers down too hard—you want them to stay distinct, not squish together into a sad paste.
One common mistake: adding all the whipped cream at once. If you dump it all in and stir vigorously, you’ll deflate the mixture. Always fold gently, and do it in stages for the best texture.
Variations & Adaptations
One of the best things about this Easy No-Bake Pumpkin Pie Dream Parfait is how easy it is to adapt. I’ve tried several variations, and here are my favorites:
Dairy-Free Version
Use vegan cream cheese (I like Miyoko’s or Kite Hill) and replace the heavy cream with full-fat coconut cream. Chill the can of coconut cream overnight, then scoop out the solid top and whip it with powdered sugar. The flavor is slightly different—more tropical—but it still works beautifully with the pumpkin spice.
Chocolate Pumpkin Parfait
Add 2 tablespoons of cocoa powder to the crumb topping mixture. It sounds weird, but chocolate and pumpkin are surprisingly good together. You can also drizzle melted dark chocolate over the layers for extra decadence. I made this for a Halloween party, and it disappeared in minutes.
Maple Pecan Twist
Replace the granulated sugar in the pumpkin layer with maple syrup (use 1/3 cup instead of 1/2 cup). Add 1/4 cup of toasted, chopped pecans to the crumb topping. The maple flavor pairs perfectly with the pumpkin, and the pecans add a lovely crunch.
Low-Carb / Keto Adaptation
Use a sugar substitute like erythritol or monk fruit in both layers. Replace the graham cracker crumbs with crushed pecans or almond flour mixed with butter and a little sweetener. The texture will be slightly different, but the flavor is still spot-on.
Pumpkin Pie in a Cup
For a fun twist, layer in some vanilla pudding or a spoonful of canned pumpkin pie filling (if you’re feeling extra indulgent). Top with a dollop of whipped cream and a sprinkle of cinnamon. It’s like a deconstructed pumpkin pie in a cup, perfect for parties.
Serving & Storage Suggestions
This Easy No-Bake Pumpkin Pie Dream Parfait is best served cold, straight from the fridge. The texture is at its peak after at least 2 hours of chilling, but overnight is even better. When you’re ready to serve, you can add a dollop of extra whipped cream on top and a light dusting of cinnamon or pumpkin pie spice for presentation.
Presentation tip: Use clear glassware to show off those beautiful layers. I love serving these in small mason jars for a rustic, casual look, or in stemmed dessert glasses for something fancier. If you’re bringing them to a party, you can assemble them right in the jars and screw the lids on for easy transport.
Complementary dishes: These parfaits pair wonderfully with a warm cup of apple cider, a slice of gingerbread, or even a simple butter cookie on the side. For a full fall dessert spread, serve alongside a classic apple crisp or a plate of maple-glazed donuts.
Storage instructions: Cover each parfait tightly with plastic wrap or a lid and store in the refrigerator for up to 3 days. The crumb topping will soften over time, but the flavor only gets better. I actually prefer the texture on day two—it’s more mousse-like and the spices have had time to meld.
Freezing: You can freeze these parfaits, but the texture will change slightly. The cream can become a bit icy once thawed. If you do freeze them, use airtight containers and thaw in the fridge overnight. I’d recommend making them fresh for the best experience.
Reheating: Don’t. This is a cold dessert, and heating it would ruin the texture. If you want a warm pumpkin dessert, try a baked pumpkin pudding or a pumpkin bread instead.
Nutritional Information & Benefits
Here’s a rough estimate of the nutritional values per serving (based on 6 servings):
- Calories: Approximately 320-350 per parfait
- Fat: 22g (mostly from cream and cream cheese)
- Carbohydrates: 30g
- Protein: 4g
- Fiber: 2g
- Sugar: 22g (can be reduced with sugar substitutes)
Pumpkin itself is packed with vitamin A and fiber, making this dessert slightly more nutritious than your average sugar bomb. The cream cheese and heavy cream add calcium and protein, though this is definitely a treat, not a health food. I look at it this way: it’s a dessert that makes you feel good without the heavy, greasy aftermath of a traditional pie. Plus, the portion size is controlled—you’re eating a parfait, not a whole pie.
Dietary considerations: This recipe contains dairy and gluten (from the graham crackers). For gluten-free, use certified gluten-free cookies. For dairy-free, see the variations section above. It’s naturally egg-free and nut-free if you use graham crackers.
Conclusion
This Easy No-Bake Pumpkin Pie Dream Parfait is the fall dessert you didn’t know you needed. It’s simple enough for a weeknight treat but impressive enough to serve at your Thanksgiving table. The creamy pumpkin layer, the billowy whipped cream, and the crunchy topping come together in a way that feels both indulgent and effortless. Honestly, I don’t think I’ll ever go back to making a traditional pumpkin pie again—why stress over a crust when you can have this?
I’d love to hear how yours turn out. Did you add a twist? Use a different topping? Forget to chill the cream and end up with soup? (I’ve been there.) Drop a comment below and let me know. Share your photos on Pinterest and tag me—I’m always looking for new ideas. And if you make this for a gathering, watch how fast it disappears. Trust me, you’ll be making it all season long.
Happy fall, friends. Go make something delicious.
Frequently Asked Questions
Can I use pumpkin pie filling instead of pumpkin puree?
I wouldn’t recommend it. Pumpkin pie filling already has sugar and spices added, which will throw off the sweetness and texture of your parfait. Stick with 100% pure pumpkin puree for the best results. If you only have pie filling on hand, reduce the sugar in the recipe by half and skip the added spices—but honestly, the flavor won’t be as balanced.
How far in advance can I make these parfaits?
You can make them up to 2 days ahead of time. The flavors actually deepen and meld together beautifully after a day in the fridge. Just keep them covered tightly so they don’t absorb any fridge odors. If you’re making them for a party, I’d recommend assembling them the night before for the best texture.
Can I use a different type of cookie for the topping?
Absolutely! Gingersnaps are my personal favorite because of that spicy kick, but you can use vanilla wafers, shortbread cookies, biscoff cookies, or even crushed pretzels for a salty-sweet twist. Just keep in mind that softer cookies won’t give you the same crunch. Stick with crispy cookies for the best texture.
My parfait turned out too runny. What went wrong?
This usually happens for one of three reasons: the cream cheese wasn’t fully softened (leaving lumps that melt unevenly), the whipped cream was underwhipped, or the mixture wasn’t chilled long enough. Make sure your cream cheese is at room temperature, whip the cream to soft peaks, and give the parfaits at least 2 hours in the fridge. If it’s still runny after that, you can try adding a tablespoon of instant vanilla pudding mix to the pumpkin layer to help stabilize it.
Can I make this into a larger dessert instead of individual parfaits?
Yes! You can layer everything in a 9×9-inch dish or a trifle bowl for a larger presentation. Just double the recipe if you’re feeding a crowd. The layering technique is the same—start with crumbs, add pumpkin cream, repeat. Chill for at least 4 hours before serving. This is actually a great option for potlucks because you can scoop it out like a pudding.
Pin This Recipe!
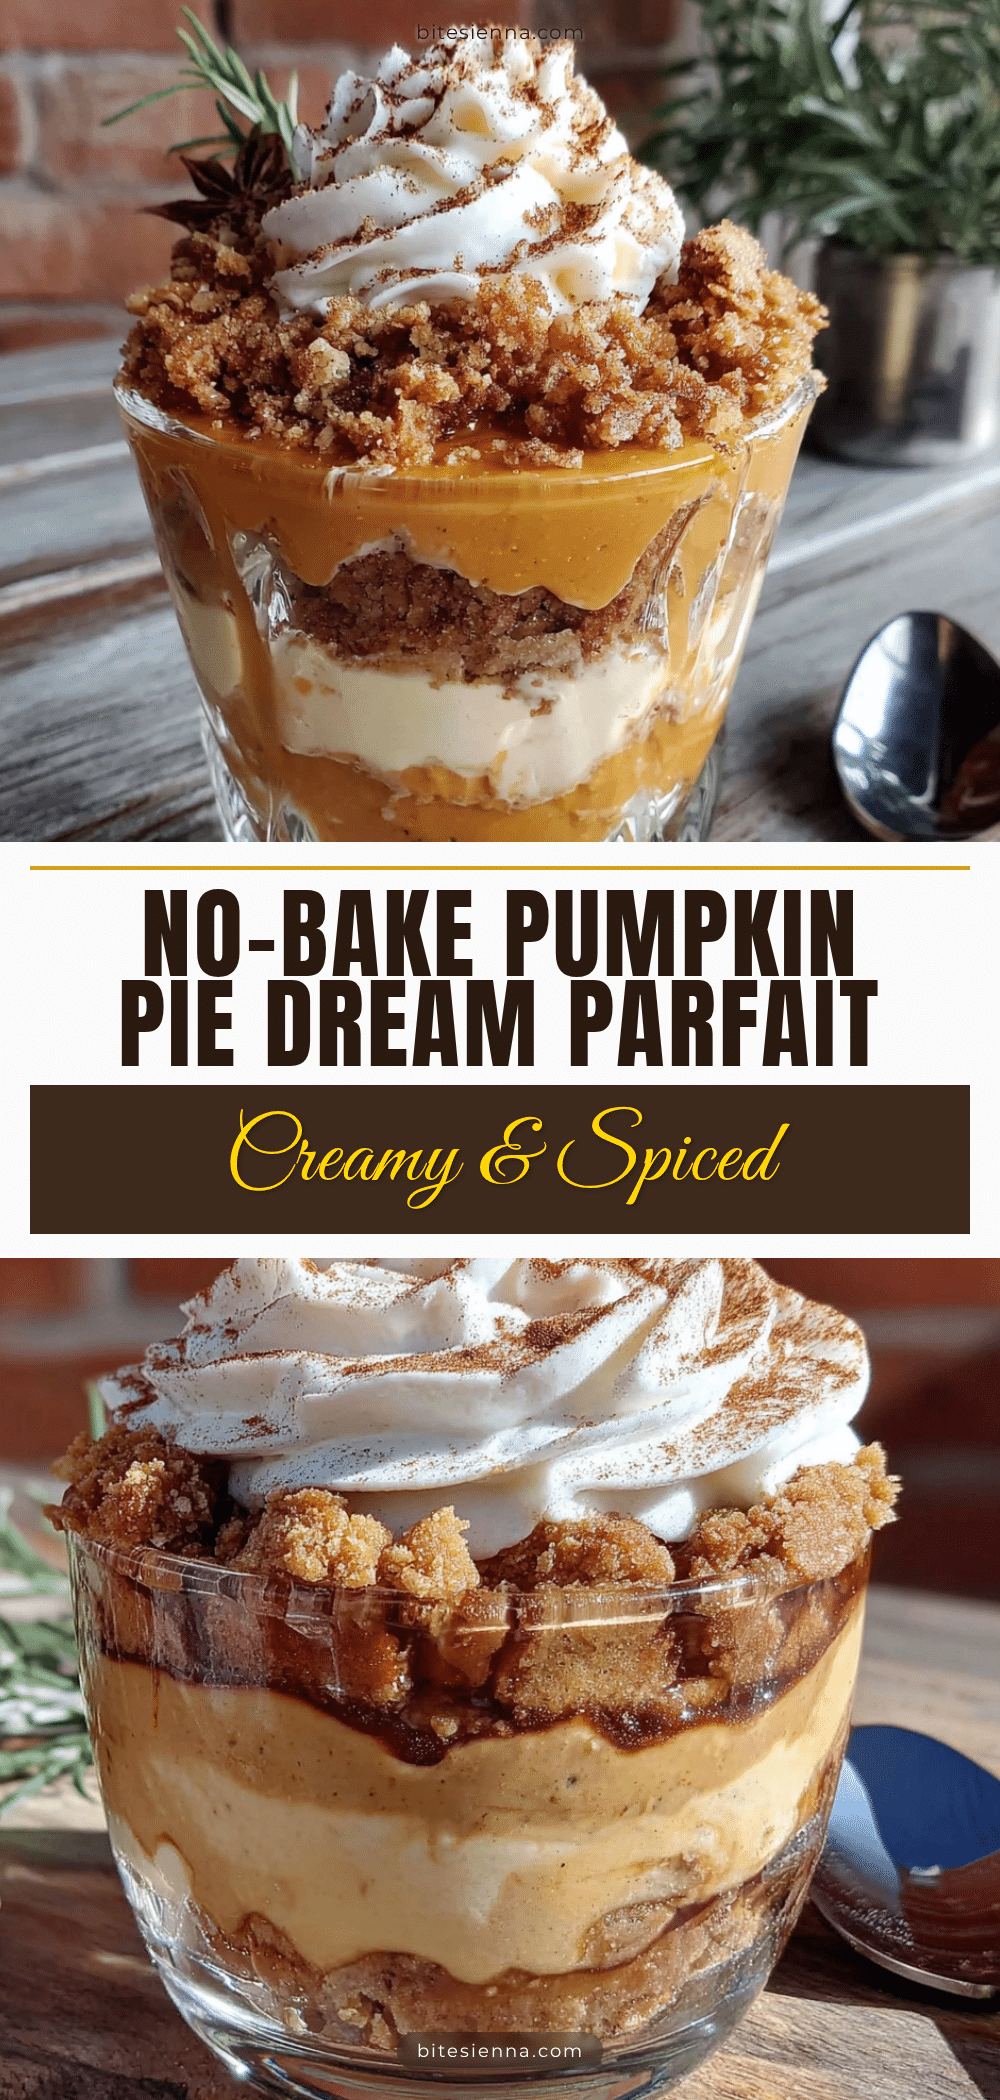
Easy No-Bake Pumpkin Pie Dream Parfait – Best Fall Dessert

A creamy, no-bake pumpkin parfait with layers of spiced pumpkin cream, fluffy whipped cream, and a crunchy graham cracker or gingersnap topping. Perfect for fall gatherings and Thanksgiving without turning on the oven.
- Prep Time: 15 minutes
- Cook Time: 0 minutes
- Total Time: 2 hours 15 minutes (includes chilling)
- Yield: 4-6 servings 1x
- Category: Dessert
- Cuisine: American
Ingredients
- 1 cup (240g) pumpkin puree (100% pure, not pie filling)
- 4 oz (113g) cream cheese, softened
- 1/2 cup (100g) granulated sugar
- 1 teaspoon pumpkin pie spice
- 1/2 teaspoon ground cinnamon
- 1/4 teaspoon salt
- 1 teaspoon vanilla extract
- 1 cup (240ml) heavy cream, cold
- 2 tablespoons powdered sugar
- 1/2 teaspoon vanilla extract (for whipped cream)
- 1/2 cup (60g) crushed graham crackers or gingersnaps
- 2 tablespoons melted butter
- 1 tablespoon brown sugar (optional)
Instructions
- Make the crunchy topping: Crush graham crackers or gingersnaps into fine crumbs. Mix with melted butter and brown sugar (if using) until it resembles wet sand. Set aside.
- Whip the cream: In a chilled bowl, beat cold heavy cream, powdered sugar, and 1/2 teaspoon vanilla extract on medium-high speed until soft peaks form (about 3 minutes). Refrigerate.
- Make the pumpkin cream layer: In another bowl, beat softened cream cheese until smooth. Add pumpkin puree, granulated sugar, pumpkin pie spice, cinnamon, salt, and 1 teaspoon vanilla extract. Beat until combined and silky.
- Fold together: Add one-third of the whipped cream to the pumpkin mixture and stir gently to lighten. Then fold in the remaining whipped cream until uniform and no white streaks remain.
- Layer the parfaits: In serving glasses, layer starting with crunchy topping, then pumpkin cream, then more topping, then more pumpkin cream. Finish with a sprinkle of crumbs on top.
- Chill: Cover and refrigerate for at least 2 hours (overnight is best) to allow flavors to meld and texture to set.
Notes
Room temperature cream cheese is essential to avoid lumps. Chill the bowl and beaters for whipped cream for best results. Don’t skip the salt—it balances sweetness. For best texture, chill at least 2 hours or overnight. The parfait can be stored in the refrigerator for up to 3 days.
Nutrition
- Serving Size: 1 parfait (based on
- Calories: 335
- Sugar: 22
- Sodium: 220
- Fat: 22
- Saturated Fat: 13
- Carbohydrates: 30
- Fiber: 2
- Protein: 4
Keywords: no-bake pumpkin dessert, pumpkin parfait, easy fall dessert, pumpkin pie parfait, no-bake dessert, Thanksgiving dessert, pumpkin cream parfait


