My sister Rachel swore she hated banana bread. For years. The kind of hatred that came with a wrinkled nose and a dramatic “I just don’t get the hype” every time someone brought a loaf to a family gathering. I’d watch her pick around banana slices in smoothies, side-eye muffins at brunch, and politely decline my grandmother’s famous recipe with a tight smile. It became a running joke in our family — Rachel versus banana bread, round thirty-seven. Then last October, I made this pumpkin banana bread on a rainy Tuesday just for myself, and I found her standing in front of the cooling rack at 11 PM, eating a third slice with her fingers, crumbs on her chin, pretending she was just “checking the texture.” The jig was up, honestly.
That’s the thing about combining two things people already love — pumpkin and banana — into one ridiculously moist loaf. It catches you off guard. The pumpkin mellows out that sometimes-overpowering banana flavor, and the banana keeps things tender in a way pumpkin alone never quite manages. I mean, let me tell you, I’ve made a lot of quick breads in my day, and this one broke through a decade-long banana bread boycott in one single bite. That’s not nothing.
The best part? It all comes together in one bowl. No creaming butter, no whipping eggs separately, no dirtying every dish you own just to have breakfast for the week. You mash, you stir, you pour, you bake. The kitchen smells like autumn in a way that makes you want to light a candle and put on a sweater, even if it’s still technically summer outside. Maybe you’ve been there — staring at a sad bunch of bananas on your counter and a can of pumpkin in your pantry, wondering if fate was trying to tell you something. It was. It was telling you to make this bread.
Why You’ll Love This Recipe
I’ve tested this pumpkin banana bread more times than I care to admit — six loaves in one week, to be exact. My neighbors started leaving notes on my door asking if everything was okay. But that obsessive testing paid off, because this version hits every single mark you’d want from a fall quick bread without any of the fuss.
- One Bowl Wonder: No stand mixer required. No separate bowls for wet and dry ingredients. Just one bowl, a whisk, and a spatula. The kind of recipe you can make while half-asleep or while helping a toddler “help.”
- Ridiculously Moist: The combination of pumpkin puree and mashed banana creates a texture that’s almost pudding-like in its tenderness. It stays moist for days — not that it’ll last that long.
- Perfectly Spiced: Not too pumpkin-pie-heavy, not too plain. The cinnamon, nutmeg, and ginger warm things up without making it taste like a candle.
- Pantry-Friendly: You likely have everything you need right now. Canned pumpkin, overripe bananas, basic baking staples. No special trips to the store for obscure ingredients.
- Crowd-Pleasing: My banana-bread-hating sister ate half a loaf. Half. That alone should tell you something.
What makes this recipe different from the dozens of pumpkin banana breads floating around the internet? It’s the ratio. I spent a lot of time getting the flour-to-pumpkin-to-banana balance just right so the bread rises beautifully without sinking in the middle, stays tender without being gummy, and has enough structure to slice cleanly without crumbling. This isn’t just another version — it’s the version I’d make for someone who needed convincing that pumpkin and banana belong together.
This recipe is the kind that makes you close your eyes after the first bite. It’s comfort food reimagined — familiar enough to feel like home, but different enough to feel special. Perfect for fall brunches, Thanksgiving mornings, or just a random Tuesday when you need something warm and sweet to get through the week.
What Ingredients You Will Need
This recipe uses simple, wholesome ingredients to deliver that signature moist texture and warm spiced flavor without any complicated steps. Most of these are pantry staples, which makes this the perfect last-minute baking project when those bananas on your counter start looking a little too speckled.
For the Bread
- 1 ½ cups all-purpose flour (spooned and leveled — don’t scoop straight from the bag or you’ll pack in too much)
- 1 teaspoon baking soda (make sure it’s fresh — test it by dropping a bit in vinegar; if it fizzes, you’re good)
- 1 teaspoon ground cinnamon (I prefer Saigon cinnamon for its warmer, bolder flavor)
- ½ teaspoon ground nutmeg (freshly grated if you have it, but pre-ground works beautifully too)
- ½ teaspoon ground ginger (adds a gentle warmth without being spicy)
- ¼ teaspoon ground cloves (optional but lovely — just a whisper)
- ½ teaspoon salt (don’t skip it — it balances the sweetness and deepens the flavor)
- 1 cup pumpkin puree (not pumpkin pie filling — make sure you grab the 100% pure pumpkin. Libby’s is my go-to for consistent texture)
- 1 cup mashed ripe banana (about 2 large or 3 medium bananas — the spottier, the better. Seriously, the ones that look almost black are perfect)
- ⅔ cup granulated sugar (you could use coconut sugar for a deeper flavor, but the texture will be slightly denser)
- ⅓ cup light brown sugar, packed (adds moisture and a subtle molasses note. Dark brown sugar works too if that’s what you have)
- ½ cup vegetable oil (or melted coconut oil, or even melted butter — each gives a slightly different texture. Oil makes it the most tender)
- 2 large eggs, room temperature (if you forgot to take them out, place them in warm water for 5 minutes)
- 1 teaspoon vanilla extract (pure, not imitation, if you can swing it)
Optional Add-Ins
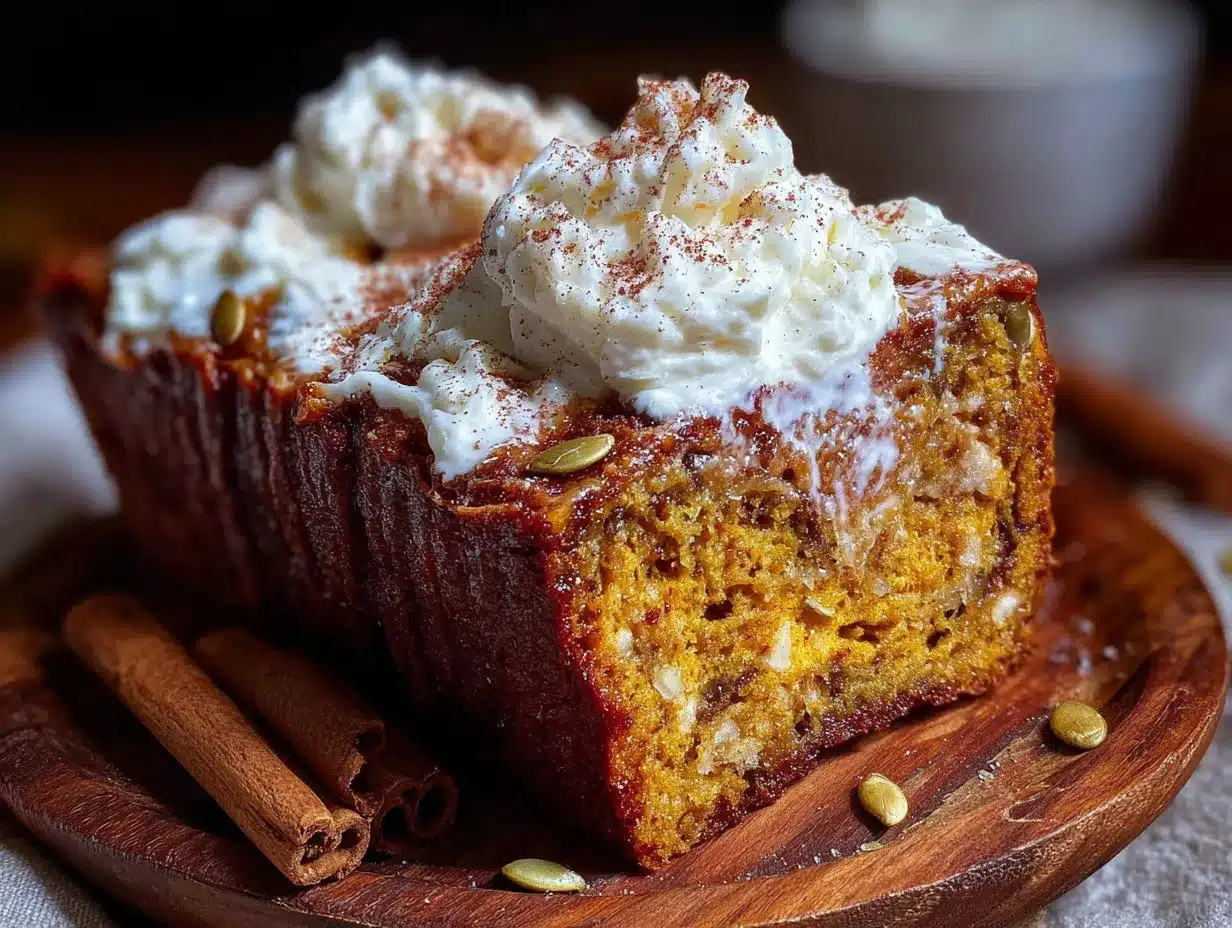
- ½ cup chocolate chips (semi-sweet or dark — they balance the pumpkin and banana beautifully)
- ½ cup chopped walnuts or pecans (toasted first for extra crunch and flavor)
- 2 tablespoons turbinado sugar (sprinkle on top before baking for a crunchy, sparkly crust)
Equipment Needed
One of the things I love most about this recipe is how little equipment it requires. No stand mixer, no food processor, no fancy gadgets. Just the basics you probably already own.
- Large mixing bowl — Any big bowl works, but I prefer a wide, shallow one for easier whisking. My go-to is a simple ceramic nesting bowl from a set I bought at Target years ago.
- Whisk and rubber spatula — The whisk for combining wet ingredients and dry ingredients, the spatula for scraping every last bit of batter into the pan. Don’t skip the spatula — waste not, want not.
- 9×5-inch loaf pan — Glass, metal, or ceramic all work. Metal pans give you the darkest, most even crust. Glass takes slightly longer to bake. If you’re using a dark nonstick pan, start checking for doneness 5 minutes early.
- Parchment paper — Not strictly necessary, but it makes lifting the bread out of the pan so much easier. I leave overhang on two sides for handles.
- Cooling rack — Essential for even cooling. If you leave the bread in the pan too long, the bottom gets soggy from trapped steam.
- Measuring cups and spoons — For accuracy, use dry measuring cups for dry ingredients and liquid measuring cups for the oil and pumpkin.
If you don’t have a 9×5-inch pan, you can use an 8×4-inch pan — just increase the baking time by about 10 minutes and keep an eye on it. You could also make muffins (see the variations section below).
Preparation Method
Preheat your oven to 350°F (175°C). Line your 9×5-inch loaf pan with parchment paper, leaving some overhang on the long sides. Lightly grease the exposed ends with a little oil or butter. This is one of those steps that takes 30 seconds but saves you from the heartbreak of a stuck loaf.
- Mash your bananas: In your large mixing bowl, mash the bananas with a fork until mostly smooth with a few small lumps remaining. You want some texture — completely smooth bananas can make the bread dense. Aim for the consistency of a chunky applesauce. Set the bowl aside.
- Add the wet ingredients: To the same bowl with the mashed bananas, add the pumpkin puree, granulated sugar, brown sugar, vegetable oil, eggs, and vanilla extract. Whisk everything together until smooth and well combined. The mixture should look glossy and uniform — no streaks of egg white or pockets of oil. This takes about 30 seconds of vigorous whisking.
- Add the dry ingredients: Sprinkle the flour, baking soda, cinnamon, nutmeg, ginger, cloves, and salt directly over the wet mixture. Yes, right on top — no separate bowl needed. Use a spatula or wooden spoon to fold everything together gently. Stir just until you no longer see streaks of flour. A few lumps are totally fine — overmixing is the enemy of tender quick bread. Stop the moment the flour disappears.
- Fold in add-ins (optional): If you’re using chocolate chips, nuts, or both, gently fold them in at this point. Use about 10 strokes — no more. You want them evenly distributed without overworking the batter.
- Pour and spread: Scrape the batter into your prepared loaf pan. Use the spatula to spread it evenly into the corners. The batter will be thick — almost like a very thick muffin batter. That’s exactly right. If you’re using the turbinado sugar topping, sprinkle it evenly over the surface now.
- Bake: Place the pan in the center of the preheated oven. Bake for 55-65 minutes, or until a toothpick inserted into the center comes out clean or with just a few moist crumbs attached. The top should be golden brown and spring back lightly when touched. If the top is browning too quickly (around the 40-minute mark), tent the pan loosely with aluminum foil for the remaining time.
- Cool: Let the bread cool in the pan on a wire rack for 15 minutes. Then use the parchment paper handles to lift it out and transfer it directly to the rack to cool completely. Resist the urge to slice it while it’s warm — I know it’s hard, but the bread needs time to set its structure. Slicing too early can make it crumble. Wait at least 1 hour if you can manage it.
Pro tip from my sixth failed loaf: If your bread sinks in the middle after baking, it likely needed a few more minutes in the oven. The center should reach about 200°F (93°C) internally. An instant-read thermometer is actually more reliable than a toothpick for this.
Cooking Tips & Techniques
I’ve made this pumpkin banana bread enough times to have a few battle scars — and a few hard-won lessons. Here’s what I wish someone had told me before my first attempt.
Don’t overmix the batter. This is the number one mistake I see people make with quick breads. Once flour meets liquid, gluten starts developing. The more you stir, the tougher and denser the bread becomes. Stir just until the flour disappears — about 15 to 20 folds with a spatula. A few streaks of flour are better than a gummy loaf.
Use room temperature ingredients. Cold eggs and cold pumpkin puree can cause your oil to seize up and create a lumpy batter. More importantly, room temperature ingredients emulsify better, giving you a more uniform texture. Take your eggs and pumpkin out of the fridge about 30 minutes before you start. If you forgot, place the eggs in a bowl of warm water for 5 minutes and microwave the pumpkin for 10-15 seconds.
Check your baking soda freshness. Baking soda loses potency over time, and this recipe relies on it for lift. If your baking soda has been sitting in the back of your cabinet for two years, your bread won’t rise properly. Quick test: drop a teaspoon of baking soda into a small bowl of vinegar. If it fizzes vigorously, you’re good. If it barely bubbles, buy a new box.
Let it cool completely. I know, I know. The smell coming out of your kitchen is intoxicating, and you want a warm slice with butter so badly you can taste it. But cutting into this bread while it’s still warm will give you a gummy, crumbly mess. The starches need time to set. I once cut into a loaf after 20 minutes and watched it practically fall apart in my hands. Learn from my impatience.
Rotate the pan halfway through. Most ovens have hot spots. About 30 minutes into baking, quickly rotate the pan 180 degrees. This ensures even browning and prevents one side from doming more than the other.
Variations & Adaptations
One of the things I love about this recipe is how flexible it is. Here are some of my favorite variations, all tested in my own kitchen.
Gluten-Free Version: Substitute the all-purpose flour with a 1:1 gluten-free baking flour blend (I like Bob’s Red Mill or King Arthur’s). Add 1 teaspoon of xanthan gum if your blend doesn’t already include it. The texture will be slightly more tender and a bit crumblier, but it’s genuinely delicious. Bake time may be reduced by 5 minutes, so start checking early.
Vegan Version: Replace the eggs with two flax eggs (2 tablespoons ground flaxseed mixed with 5 tablespoons water, let sit for 5 minutes until gel-like). Use melted coconut oil instead of vegetable oil. The bread will be slightly denser but still incredibly moist. I’ve made this version for a vegan friend’s brunch and nobody noticed the difference.
Chocolate Chip Pumpkin Banana Bread: Fold in ½ cup of semi-sweet chocolate chips along with ¼ cup of mini chocolate chips scattered on top before baking. The mini chips on top melt into little pools of chocolate that look beautiful and taste amazing. This version disappears fastest at bake sales.
Streusel-Topped Version: Combine ¼ cup all-purpose flour, ¼ cup brown sugar, 2 tablespoons cold butter (cut into small pieces), and ½ teaspoon cinnamon. Use your fingers to work the butter into the flour mixture until it resembles coarse sand. Sprinkle over the batter before baking. It adds a buttery, crunchy top that’s absolutely worth the extra 2 minutes of effort.
Muffin Version: Divide the batter among a 12-cup muffin tin lined with paper liners. Bake at 350°F for 18-22 minutes, or until a toothpick comes out clean. This yields about 14 muffins. They freeze beautifully and make perfect grab-and-go breakfasts.
Serving & Storage Suggestions
This pumpkin banana bread is wonderful on its own, but a few simple additions can take it from great to unforgettable.
Serving: Serve at room temperature or slightly warm. A thin slice of salted butter melted into a warm piece is pure heaven. For a more indulgent treat, spread with cream cheese frosting or a drizzle of honey. I’ve also been known to toast slices in a skillet with a little butter — the edges get crispy while the inside stays tender, and it’s absolutely worth the extra step.
Storage: Store the bread wrapped tightly in plastic wrap or in an airtight container at room temperature for up to 4 days. The moisture actually improves over the first 24 hours, so day-old bread is often even better than fresh-baked. Do not refrigerate — the cold air dries out quick breads and makes them stale faster.
Freezing: This bread freezes like a dream. Wrap the cooled loaf (or individual slices) tightly in plastic wrap, then in aluminum foil, and place in a freezer bag. Freeze for up to 3 months. To thaw, leave at room temperature for a few hours or microwave individual slices for 20-30 seconds. I always keep a loaf in the freezer for unexpected guests or mornings when I need a little comfort.
Flavor development: Here’s something interesting — the spices in this bread actually deepen and meld together over time. Day two is noticeably more flavorful than day one. If you can plan ahead, make this bread a day before you want to serve it. The wait is worth it.
Nutritional Information & Benefits
While this is certainly a treat, it does have some redeeming nutritional qualities worth mentioning. Per slice (based on 10 slices per loaf):
- Calories: Approximately 280-320
- Fat: 12-14g
- Carbohydrates: 40-45g
- Fiber: 2-3g
- Sugar: 22-26g
- Protein: 4-5g
- Vitamin A: 70% of daily value (from the pumpkin)
- Potassium: 8% of daily value (from the banana)
Pumpkin is packed with vitamin A and antioxidants like beta-carotene, which supports eye health and immune function. Bananas contribute potassium, vitamin B6, and a bit of fiber. The eggs add protein and healthy fats that help keep you full. While this isn’t health food, it’s certainly a more nutrient-dense option than many other baked treats.
For a lower-sugar version, you can reduce the granulated sugar to ⅓ cup and the brown sugar to ¼ cup. The bread will be less sweet but still delicious, especially if you add chocolate chips or a drizzle of honey on top.
Conclusion
This moist one-bowl pumpkin banana bread is the kind of recipe that becomes a seasonal tradition. It’s simple enough for a Tuesday afternoon, special enough for Thanksgiving morning, and forgiving enough for beginner bakers. The combination of pumpkin and banana creates something genuinely unique — familiar yet surprising, cozy yet exciting.
I keep coming back to this recipe because it works every single time. No fuss, no drama, no complicated techniques. Just a bowl, a spoon, and about an hour until your kitchen smells like autumn in the best possible way. And honestly? Watching my sister eat that third slice at 11 PM was one of the most satisfying moments of my baking life. Some things are worth proving yourself wrong for.
I’d love to hear how this turns out for you. Did you add chocolate chips? Try the streusel topping? Did someone in your house claim they didn’t like banana bread before eating half the loaf? Drop a comment below and let me know — I read every single one, and your stories make my day. Happy baking, friends!
Frequently Asked Questions
Can I use frozen bananas for this recipe?
Absolutely. Thaw them completely, then drain off any excess liquid before mashing. Frozen bananas are actually sweeter and more flavorful than fresh ones, so they work beautifully here. Just make sure to squeeze out the extra moisture — too much liquid can make the bread dense.
Why did my bread sink in the middle?
This usually happens for one of three reasons: the batter was overmixed (developing too much gluten), the bread was underbaked (the center wasn’t set when you took it out), or your baking soda was expired. Next time, mix gently, bake until a toothpick comes out clean, and check your baking soda’s freshness before starting.
Can I use pumpkin pie filling instead of pumpkin puree?
I wouldn’t recommend it. Pumpkin pie filling is pre-sweetened and spiced, which will throw off the sugar and spice balance in this recipe. Stick with 100% pure pumpkin puree for the best results. If you only have pie filling, reduce the sugar by half and omit the spices, but honestly, it’s easier to just grab the right can.
How do I know when the bread is fully baked?
Insert a toothpick or skewer into the center of the loaf. If it comes out clean or with just a few moist crumbs attached, it’s done. An instant-read thermometer inserted into the center should read 200°F (93°C). The top should be golden brown and spring back when lightly pressed.
Can I make this into a cake instead?
Yes! Pour the batter into a greased 9-inch round cake pan or an 8×8-inch square pan. Bake at 350°F for 30-35 minutes, checking for doneness with a toothpick. This works beautifully for a simple fall dessert — top with cream cheese frosting or a dusting of powdered sugar.
Pin This Recipe!
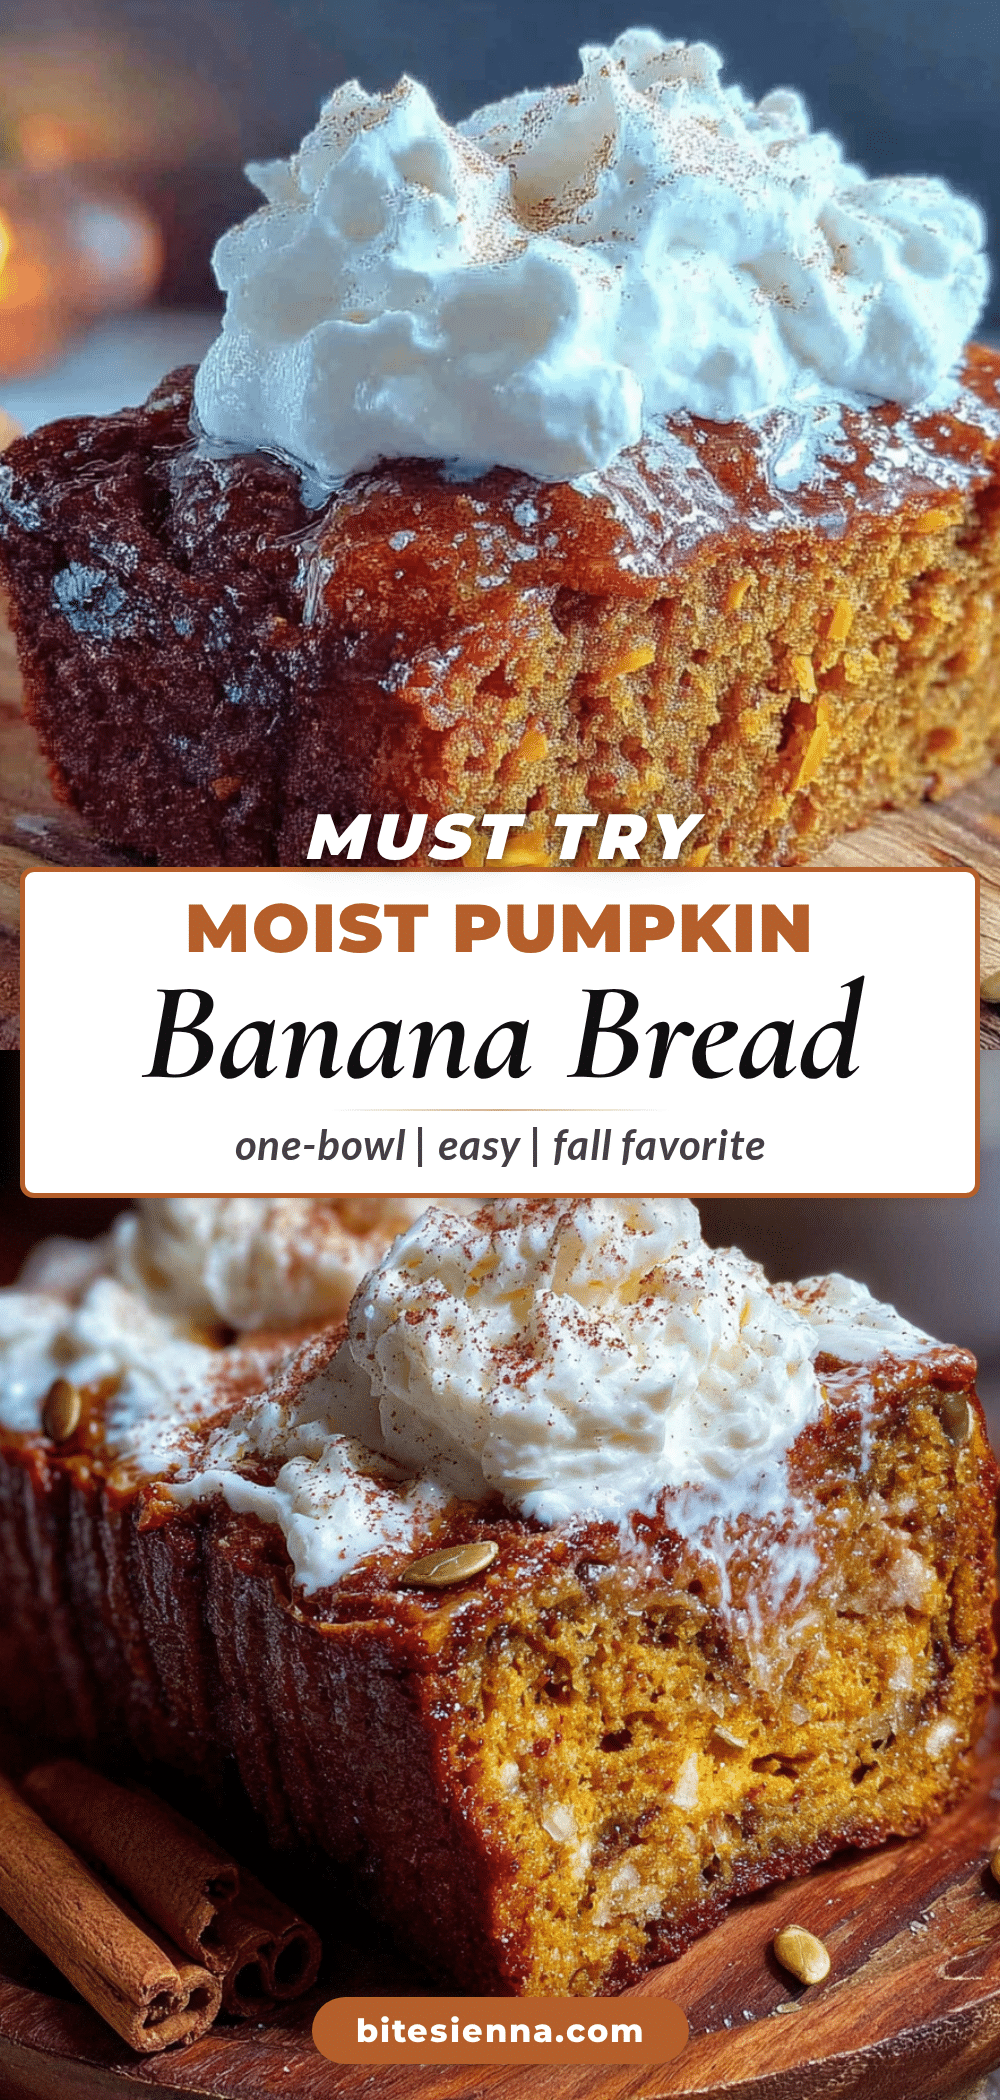
Moist One-Bowl Pumpkin Banana Bread: Easy Fall Recipe
This incredibly moist pumpkin banana bread combines two beloved flavors into one easy, one-bowl recipe. Perfectly spiced and tender, it’s a crowd-pleasing fall treat that even banana bread skeptics will love.
- Prep Time: 15 minutes
- Cook Time: 55-65 minutes
- Total Time: 1 hour 20 minutes
- Yield: 10 servings 1x
- Category: Dessert
- Cuisine: American
Ingredients
- 1 ½ cups all-purpose flour (spooned and leveled)
- 1 teaspoon baking soda
- 1 teaspoon ground cinnamon
- ½ teaspoon ground nutmeg
- ½ teaspoon ground ginger
- ¼ teaspoon ground cloves (optional)
- ½ teaspoon salt
- 1 cup pumpkin puree (100% pure, not pumpkin pie filling)
- 1 cup mashed ripe banana (about 2 large or 3 medium bananas)
- ⅔ cup granulated sugar
- ⅓ cup light brown sugar, packed
- ½ cup vegetable oil (or melted coconut oil or melted butter)
- 2 large eggs, room temperature
- 1 teaspoon vanilla extract
- ½ cup chocolate chips (optional)
- ½ cup chopped walnuts or pecans (optional)
- 2 tablespoons turbinado sugar (optional, for topping)
Instructions
- Preheat your oven to 350°F (175°C). Line a 9×5-inch loaf pan with parchment paper, leaving overhang on the long sides. Lightly grease the exposed ends with oil or butter.
- In a large mixing bowl, mash the bananas with a fork until mostly smooth with a few small lumps remaining.
- Add the pumpkin puree, granulated sugar, brown sugar, vegetable oil, eggs, and vanilla extract to the bowl with the mashed bananas. Whisk until smooth and well combined.
- Sprinkle the flour, baking soda, cinnamon, nutmeg, ginger, cloves, and salt directly over the wet mixture. Fold gently with a spatula or wooden spoon just until no streaks of flour remain. Do not overmix.
- If using, gently fold in chocolate chips and/or nuts with about 10 strokes.
- Pour the batter into the prepared loaf pan and spread evenly. If using turbinado sugar, sprinkle it over the top.
- Bake for 55-65 minutes, or until a toothpick inserted into the center comes out clean or with a few moist crumbs. If the top browns too quickly, tent loosely with aluminum foil after 40 minutes.
- Let the bread cool in the pan on a wire rack for 15 minutes. Then lift it out using the parchment paper handles and transfer to the rack to cool completely. Wait at least 1 hour before slicing.
Notes
For best results, use room temperature ingredients. Do not overmix the batter. Let the bread cool completely before slicing to avoid crumbling. The bread stays moist for up to 4 days at room temperature and freezes well for up to 3 months.
Nutrition
- Serving Size: 1 slice
- Calories: 300
- Sugar: 24
- Sodium: 280
- Fat: 13
- Saturated Fat: 2
- Carbohydrates: 43
- Fiber: 3
- Protein: 5
Keywords: pumpkin banana bread, one bowl banana bread, fall quick bread, moist banana bread, pumpkin bread recipe


