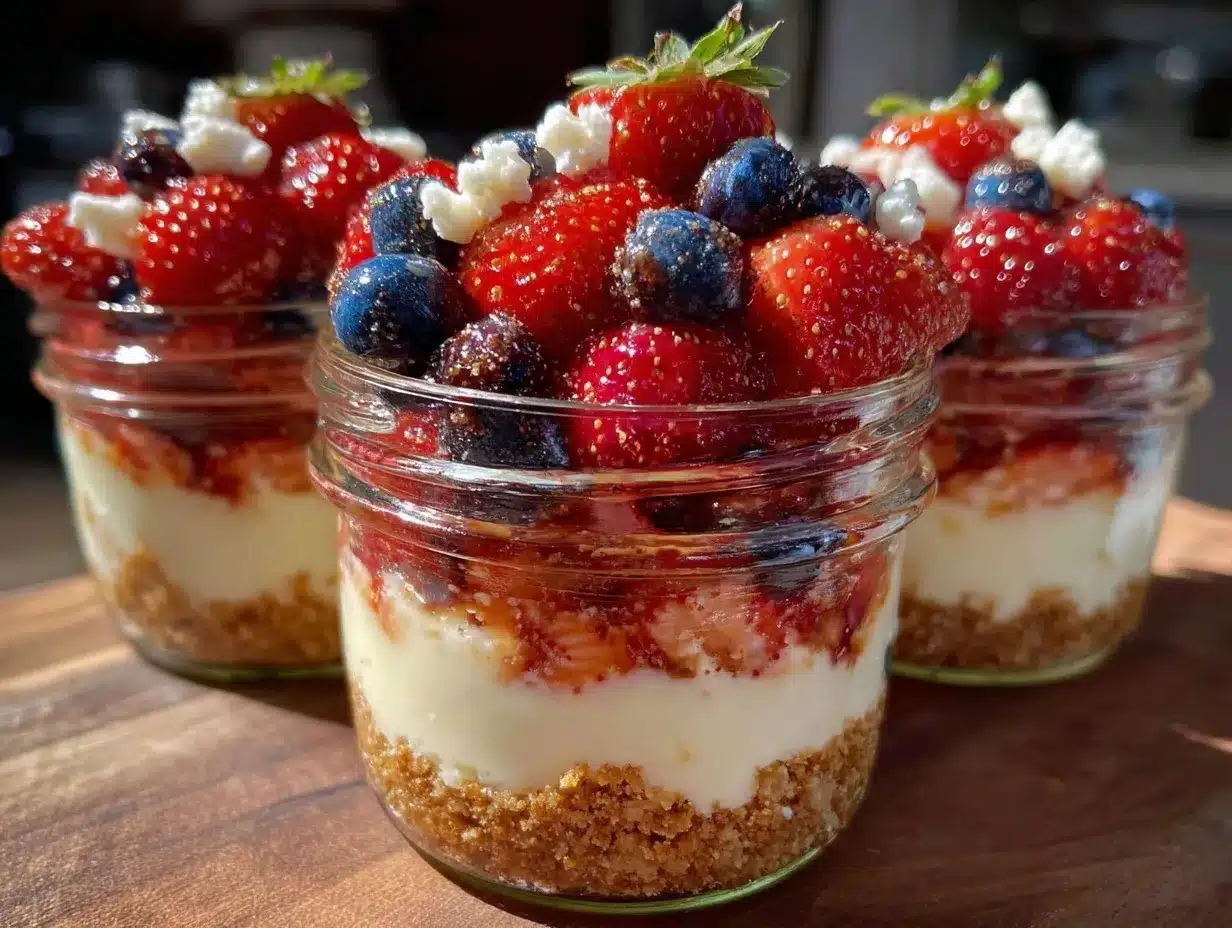
My cousin showed up unexpectedly on the afternoon of the 4th of July, and honestly, the fridge was looking pretty bare except for a box of cream cheese and a handful of frozen berries. No fancy plans, no time for a big dessert haul. I wasn’t sure what I could whip up in less than an hour that would still feel festive and special. Then it hit me—these mini red white and blue berry cheesecake cups. The kind of dessert that’s unpretentious but still gets the nod of approval from everyone around the table.
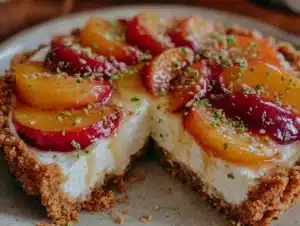
The kitchen smelled faintly of melting butter and sweet berries, and I realized how these little cups perfectly captured the spirit of the holiday—simple, colorful, and a bit spontaneous. There’s something so satisfying about biting into a creamy, tangy cheesecake tucked into a buttery crust, punctuated by juicy bursts of red strawberries, white cream filling, and blueberries. It’s like a mini celebration all in one bite.
What stuck with me was how easy the recipe was, yet it looked like I’d spent hours fussing over it. The berries on top gave a fresh, bright pop that made even the most basic ingredients feel like a treat. I find myself returning to this recipe every summer—it’s become my go-to when I want something that feels festive but doesn’t demand a ton of effort. Plus, it pairs beautifully with a light summer drink or a savory dish like roasted lemon herb chicken, creating a perfect balance for any holiday meal.
Why You’ll Love This Recipe
Trust me, I’ve tested this mini cheesecake recipe through several holiday seasons and casual get-togethers, and it never fails to impress. It’s one of those desserts that’s both fuss-free and fancy enough to feel like a special occasion.
- Quick & Easy: Ready in about 45 minutes from start to finish, perfect when you need a last-minute dessert that still wows the crowd.
- Simple Ingredients: Uses pantry staples and fresh or frozen berries you can find year-round without a special trip to the store.
- Perfect for 4th of July: The red, white, and blue theme is a natural fit for Independence Day celebrations or any summer party.
- Crowd-Pleaser: Loved by kids and adults alike, the creamy texture combined with the crunchy crust and fresh berries hits every craving.
- Unbelievably Delicious: The balance of tangy cream cheese filling, buttery crust, and juicy berries is next-level comfort food without being heavy.
This isn’t your average cheesecake cup because I blend the cream cheese just right to get that ultra-smooth texture and add a hint of lemon zest for a subtle brightness. The homemade crust adds a richness that you don’t get from store-bought crumbs, and topping each cup with fresh berries makes it feel like a mini masterpiece every time.
What Ingredients You Will Need
These mini cheesecake cups come together with straightforward ingredients that you probably already have or can easily find. Each component plays a key role in delivering that perfect bite—creamy, crumbly, and fresh.
- For the crust:
- 1 cup graham cracker crumbs (about 8 sheets, crushed finely) — I like using the classic Nabisco for that perfect crunch
- 3 tablespoons unsalted butter, melted (adds richness and helps bind)
- 2 tablespoons granulated sugar (balances the tart filling)
- For the cheesecake filling:
- 8 ounces cream cheese, softened (room temperature for easy blending)
- 1/3 cup granulated sugar
- 1 teaspoon vanilla extract
- 1 teaspoon lemon zest (brightens up the filling nicely)
- 1 large egg, room temperature (for structure)
- 2 tablespoons sour cream (keeps it creamy and smooth)
- For the topping:
- 1/2 cup fresh strawberries, diced (red)
- 1/2 cup fresh blueberries (blue)
- Whipped cream or a dollop of sour cream (white, optional garnish)
If you can’t get fresh berries, frozen works fine—just thaw and drain excess moisture. For a gluten-free option, swap graham crumbs for almond flour mixed with a little extra butter. I’ve also swapped sour cream with plain Greek yogurt when I wanted a lighter version, and it worked surprisingly well.
Equipment Needed
- Mini muffin tin or small silicone cupcake molds — These cups need structure but are small enough to serve in a single bite or two.
- Mixing bowls — One for the crust ingredients and one for the filling.
- Electric mixer or hand mixer — For smooth, lump-free cream cheese filling. You can use a sturdy whisk but it takes more elbow grease.
- Measuring cups and spoons — Precision matters here for balance.
- Spatula — For scraping down the bowl and smoothing the filling evenly.
- Optional: Piping bag or zip-top bag with the corner snipped — Makes filling the cups neat and fuss-free.
For budget-friendly kitchen setups, silicone molds are great since they’re reusable and easy to clean. When I first tried this, I used a regular muffin tin with paper liners, which worked fine but the bottoms didn’t get as crisp. If you have a mini food processor, it speeds up crushing the graham crackers.
Preparation Method
- Preheat and prep: Heat your oven to 325°F (163°C). Lightly grease your mini muffin tin or line with silicone molds. This helps the cups release easily after baking.
- Make the crust: In a bowl, combine 1 cup graham cracker crumbs, 3 tablespoons melted butter, and 2 tablespoons sugar. Mix until the crumbs are evenly coated and resemble wet sand.
- Press the crust: Spoon about 1 tablespoon of the crust mixture into each muffin cup. Use the back of a spoon or your fingers to press it down firmly and evenly. This step is key for a sturdy crust that holds the filling well. Bake for 7 minutes, then remove from the oven and let cool briefly.
- Prepare the filling: In a large bowl, beat 8 ounces softened cream cheese with 1/3 cup sugar until smooth and creamy, about 2-3 minutes. Add 1 teaspoon vanilla extract, 1 teaspoon lemon zest, and 2 tablespoons sour cream, mixing until combined. Beat in 1 large egg last, blending just until incorporated (avoid overmixing to prevent cracks).
- Fill the cups: Using a spoon or piping bag, divide the filling evenly among the crust-lined cups, filling nearly to the top but leaving a tiny gap for the berries.
- Bake the cheesecakes: Place the tin on the middle rack and bake for 15-18 minutes or until the edges are set but the centers still jiggle slightly. This gentle baking prevents cracking and keeps them creamy.
- Cool and chill: Remove from oven, let cool to room temperature (about 30 minutes), then refrigerate for at least 2 hours or until fully set.
- Top with berries: Just before serving, arrange diced strawberries and blueberries on top of each cheesecake cup. Add a small dollop of whipped cream or sour cream if desired.
Helpful tip: If the crust feels too crumbly after baking, a quick spritz of melted butter and gentle pressing before filling can help. Also, don’t skip chilling—this sets the texture perfectly. I once tried serving them straight out of the oven, and the filling was too soft and messy.
Cooking Tips & Techniques
Cheesecake can be a bit intimidating, but these mini cups simplify things while still giving you that creamy, dreamy texture. Here’s what I’ve learned along the way:
- Softened cream cheese is crucial: I always leave it out for at least an hour before mixing. Cold cream cheese creates lumps that are tough to smooth out.
- Don’t overbeat the egg: Too much air in the batter can cause cracking or puffing during baking.
- Use room temperature eggs: It helps the filling blend smoothly without curdling.
- Press crust firmly: This keeps it from falling apart when you bite into the cups.
- Bake at a moderate temperature: 325°F (163°C) is perfect for gentle cooking to avoid cracks and drying out.
- Chill thoroughly: It sets the custard-like filling and makes slicing or scooping clean.
- Multitasking tip: While the crust bakes, prep the filling. When filling, use a piping bag to speed things up and get a neat finish.
- Common mistake: Putting berries inside before baking can release too much moisture, so always add them fresh on top after chilling.
Variations & Adaptations
These mini cheesecakes can easily be adjusted for different tastes and dietary needs:
- Seasonal fruit swap: In fall, try diced apples with cinnamon or a mix of blackberries and raspberries for a deeper berry flavor.
- Gluten-free crust: Use almond meal mixed with a bit of coconut oil or butter instead of graham crackers for a nutty twist.
- Dairy-free option: Substitute cream cheese and sour cream with vegan cream cheese and coconut yogurt. The texture shifts a bit but still delicious.
- Lemon blueberry: Add a teaspoon of fresh lemon juice to the filling and top with just blueberries for a tart, sunny flavor.
- Mini parfait style: Layer crushed graham crackers, cheesecake filling, and berries in small glasses for a no-bake option.
One personal favorite variation I tried was adding a thin layer of strawberry jam between the crust and filling. It added a sweet surprise and kept the crust moist. If you want to try a different dessert style, you might also like my fresh avocado lime gazpacho shots—a light, refreshing contrast to these rich minis.
Serving & Storage Suggestions
Serve these cheesecake cups chilled for the best texture and flavor. They look great on a platter decorated with extra berries and mint leaves for a festive touch. I find they pair wonderfully with a sparkling summer drink like the fresh cucumber mint sparkler—the cool, crisp notes balance the richness beautifully.
For storage, keep them covered in the refrigerator for up to 3 days. You can store them in an airtight container or cover the muffin tin tightly with plastic wrap. Avoid freezing as the texture changes noticeably and berries get mushy.
If you want to refresh them after chilling, let them sit at room temperature for 10 minutes before serving, or add a fresh dollop of whipped cream on top. The flavors tend to meld nicely overnight, making them even more delicious the next day.
Nutritional Information & Benefits
Each mini cheesecake cup contains approximately:
| Nutrient | Amount per Serving (1 cup) |
|---|---|
| Calories | 180 kcal |
| Fat | 12 g |
| Carbohydrates | 14 g |
| Protein | 3 g |
| Sugar | 9 g (natural + added) |
The cream cheese provides a good source of calcium and protein, while the fresh berries offer antioxidants and vitamin C. If you’re watching carbs, these are fairly moderate but still feel indulgent. The recipe contains dairy and gluten (unless adapted), so keep that in mind for allergen considerations.
From a wellness perspective, this dessert satisfies sweet cravings with real ingredients and portion control, making it a better option than many pre-packaged sweets. I often pair it with a nutrient-packed meal like the fresh quinoa kale power bowl to balance indulgence and nutrition.
Conclusion
The perfect mini red white and blue berry cheesecake cups are proof that great desserts don’t have to be complicated. Whether you’re caught off guard by a surprise guest or just want a festive treat that feels thoughtful and homemade, this recipe fits the bill. It’s flexible, approachable, and packs a flavorful punch that keeps people coming back for more.
Feel free to customize the toppings or crust to suit your tastes and dietary needs. I love how these cups bring a smile every time I serve them—maybe it’s the colors, maybe it’s the creamy bite. Either way, they’re a little taste of celebration that’s easy enough to make any day of the year.
Hope you enjoy making these as much as I do. If you try them out, I’d love to hear how you put your own spin on the recipe!
Frequently Asked Questions
Can I make these mini cheesecakes ahead of time?
Yes! Prepare and bake them up to a day in advance. Keep refrigerated and add fresh berries right before serving.
What can I use instead of graham cracker crumbs?
Almond flour or crushed digestive biscuits work well. For gluten-free, almond flour is best.
Can I freeze these cheesecake cups?
Freezing isn’t recommended because the texture of the cream cheese and berries changes and becomes watery.
How do I prevent cracks in the cheesecake filling?
Don’t overmix the batter, especially after adding the egg. Bake at a lower temperature and avoid overbaking. Chilling fully also helps.
Can I use frozen berries for the topping?
Yes, but thaw and drain them well to avoid excess moisture making the crust soggy.
Pin This Recipe!
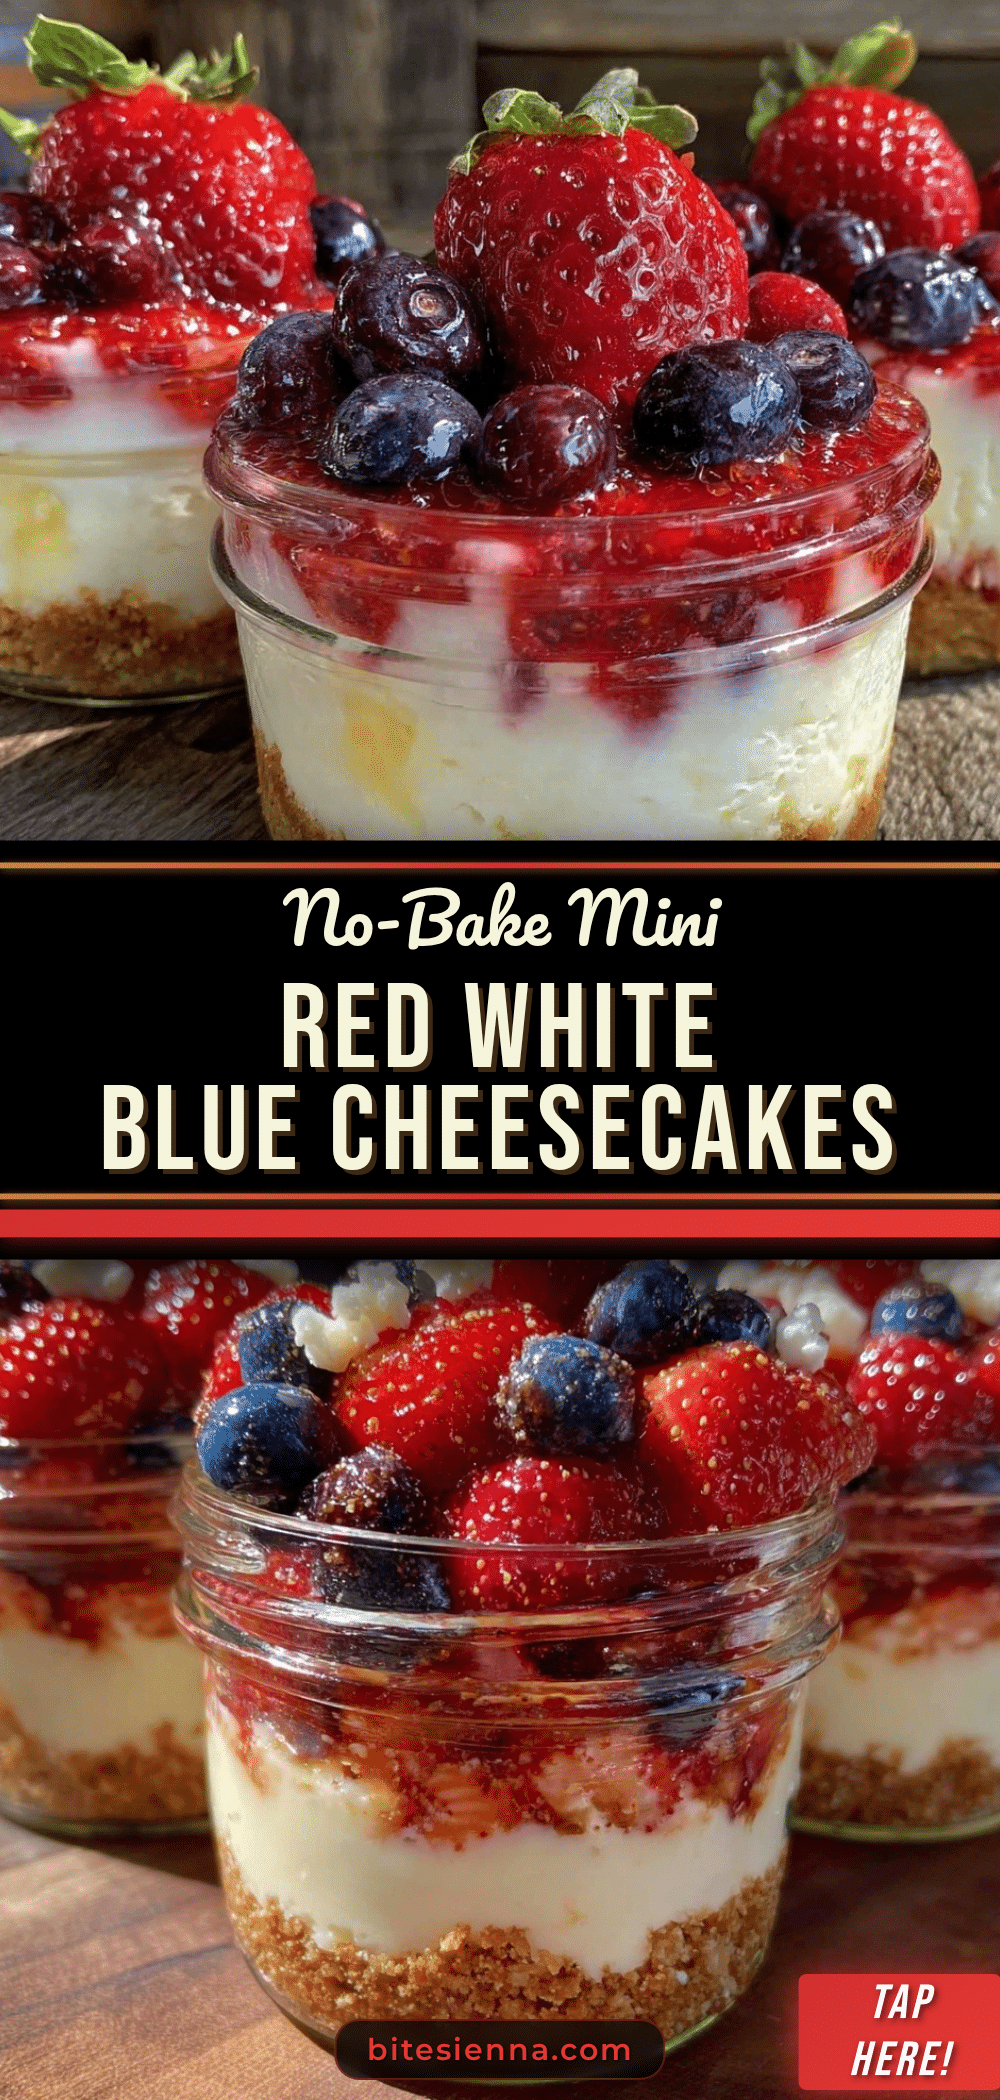
Perfect Mini Red White and Blue Berry Cheesecake Cups
These mini cheesecake cups are a quick, easy, and festive dessert perfect for 4th of July celebrations, featuring a buttery crust, creamy lemon-zested filling, and fresh red strawberries and blueberries on top.
- Prep Time: 15 minutes
- Cook Time: 25 minutes
- Total Time: 2 hours 40 minutes
- Yield: 12 mini cheesecake cups 1x
- Category: Dessert
- Cuisine: American
Ingredients
- 1 cup graham cracker crumbs (about 8 sheets, crushed finely)
- 3 tablespoons unsalted butter, melted
- 2 tablespoons granulated sugar
- 8 ounces cream cheese, softened (room temperature)
- 1/3 cup granulated sugar
- 1 teaspoon vanilla extract
- 1 teaspoon lemon zest
- 1 large egg, room temperature
- 2 tablespoons sour cream
- 1/2 cup fresh strawberries, diced
- 1/2 cup fresh blueberries
- Whipped cream or a dollop of sour cream (optional garnish)
Instructions
- Preheat oven to 325°F (163°C). Lightly grease mini muffin tin or line with silicone molds.
- In a bowl, combine graham cracker crumbs, melted butter, and sugar. Mix until crumbs are evenly coated and resemble wet sand.
- Spoon about 1 tablespoon of crust mixture into each muffin cup. Press down firmly and evenly. Bake for 7 minutes, then remove and let cool briefly.
- In a large bowl, beat softened cream cheese with sugar until smooth and creamy, about 2-3 minutes.
- Add vanilla extract, lemon zest, and sour cream; mix until combined.
- Beat in the egg last, blending just until incorporated to avoid overmixing.
- Divide filling evenly among crust-lined cups, filling nearly to the top but leaving a small gap for berries.
- Bake for 15-18 minutes until edges are set but centers jiggle slightly.
- Remove from oven, cool to room temperature (about 30 minutes), then refrigerate at least 2 hours until fully set.
- Just before serving, top each cheesecake cup with diced strawberries and blueberries. Add a dollop of whipped cream or sour cream if desired.
Notes
Use softened cream cheese for smooth filling. Do not overbeat the egg to prevent cracks. Press crust firmly for sturdiness. Chill thoroughly for best texture. Add berries only after chilling to avoid soggy crust. Frozen berries can be used if thawed and drained well. For gluten-free crust, substitute graham cracker crumbs with almond flour and extra butter. For dairy-free, use vegan cream cheese and coconut yogurt.
Nutrition
- Serving Size: 1 mini cheesecake cu
- Calories: 180
- Sugar: 9
- Fat: 12
- Carbohydrates: 14
- Protein: 3
Keywords: mini cheesecake, 4th of July dessert, red white and blue dessert, berry cheesecake cups, easy cheesecake recipe, patriotic dessert