The woman at the community garden plot next to mine watched me struggling to get a stubborn weed out of the ground for a good five minutes before she said anything. I was red-faced and determined, and honestly, the weed was winning. She finally walked over, handed me a different trowel from her own basket, and said, “You’re fighting it wrong. Go at it from the side.” That was Martha. Over the next few months, we traded gardening tips and stories, and eventually, recipes. She was the one who first told me about a “black velvet” cake her grandkids begged for every Halloween. It wasn’t some fancy bakery thing—it was a simple, moist chocolate cake tinted a deep, dramatic black, topped with a frosting so bright it looked like a slice of autumn sunset.
I tweaked her recipe over a couple of Halloweens, trying to make it faster for, well, my own busy weeknights. Because let’s face it, Halloween week is chaos. Between costume emergencies and class parties, who has time for a complicated project? My version of these quick black velvet Halloween cupcakes with orange buttercream is the result of that trial and error. They come together in a single bowl, bake up in a flash, and that orange buttercream? It’s so simple you could make it with your eyes closed. Maybe you’ve been there, staring at a clock on October 30th, realizing you promised to bring treats to the school function.
These cupcakes are my secret weapon for that exact moment. The deep, dark crumb against that bright, creamy orange frosting is just pure Halloween magic on a plate. I keep making them because they deliver that “wow” factor without the stress, and they always, always get devoured. It’s the recipe that came from a conversation in the dirt, and I think Martha would approve of how easy I made it.
Why You’ll Love This Recipe
I have tested this recipe more times than I care to count, and here is the honest truth: it works every single time. You don’t need to be a pastry chef or own a fancy stand mixer to pull these off. They are designed for real people with real schedules.
- Quick & Easy: From start to finish, these cupcakes are ready in about 30 minutes. The batter comes together in one bowl with a whisk—no creaming butter, no separating eggs. Perfect for a Tuesday night baking session.
- Simple Ingredients: You probably have most of these in your pantry right now. No weird extracts or hard-to-find specialty items. The “black velvet” color comes from a combination of dark cocoa powder and a little black food coloring, which is easy to find at any grocery store.
- Perfect for Halloween: These are the ultimate party trick. The dramatic black cake with the vibrant orange frosting is a showstopper on any dessert table. They are great for class parties, office potlucks, or just a fun family baking night.
- Crowd-Pleaser: Kids and adults alike go crazy for them. The cake is incredibly moist and tender, with a deep chocolate flavor that isn’t too sweet. The orange buttercream is the perfect tangy, creamy complement.
- Unbelievably Delicious: This isn’t just a gimmicky color cake. The texture is spot-on—light, fluffy, and rich. The flavor combo of dark chocolate and bright citrus is next-level comfort food.
What makes this recipe different from the rest? It’s the technique. By using hot coffee in the batter (a classic baker’s trick), we deepen the chocolate flavor without making it taste like coffee. And the orange buttercream uses a touch of cream cheese for stability and a slight tang that cuts through the sweetness. It’s not just another Halloween cupcake—it’s your new best version.
Honestly, this is the kind of recipe that makes you close your eyes after the first bite. It’s comfort food reimagined for a spooky season—faster, easier, but with the same soul-soothing satisfaction. Perfect for impressing party guests without any stress.
What Ingredients You Will Need
This recipe uses simple, wholesome ingredients to deliver that dramatic look and bold flavor without the fuss. Most are pantry staples, and the substitutions are straightforward.
For the Black Velvet Cupcakes
- All-purpose flour (1 ½ cups / 180g): The structure of our cupcake. Spoon and level it for the most accurate measure.
- Granulated sugar (1 cup / 200g): For sweetness and tenderness.
- Unsweetened dark cocoa powder (½ cup / 45g): This is key for the “velvet” part. I prefer a Dutch-processed cocoa like Droste or Valrhona for a richer, darker color and smoother flavor.
- Baking soda (1 teaspoon): Our leavening agent. It reacts with the buttermilk and coffee to make the cupcakes rise tall and fluffy.
- Salt (½ teaspoon): Balances the sweetness and enhances the chocolate flavor.
- Buttermilk (½ cup / 120ml, room temperature): Adds moisture and a slight tang, which tenderizes the gluten. No buttermilk? You can make a quick substitute by adding 1 ½ teaspoons of lemon juice or white vinegar to ½ cup of regular milk and letting it sit for 5 minutes.
- Vegetable oil (½ cup / 120ml): Keeps the cupcakes incredibly moist for days. Canola or any neutral oil works perfectly.
- Large egg (1, room temperature): Binds the ingredients and adds richness.
- Vanilla extract (2 teaspoons): Enhances the chocolate flavor.
- Hot coffee (½ cup / 120ml): This is my secret ingredient. It doesn’t make the cake taste like coffee; it deepens and intensifies the chocolate flavor. Use hot water if you prefer to skip the caffeine.
- Black gel food coloring (1-2 teaspoons): This is what gives the cake its dramatic “black velvet” look. I recommend using a gel or paste, not liquid drops, as it gives a truer black without thinning the batter too much. The AmeriColor brand works great.
For the Orange Buttercream
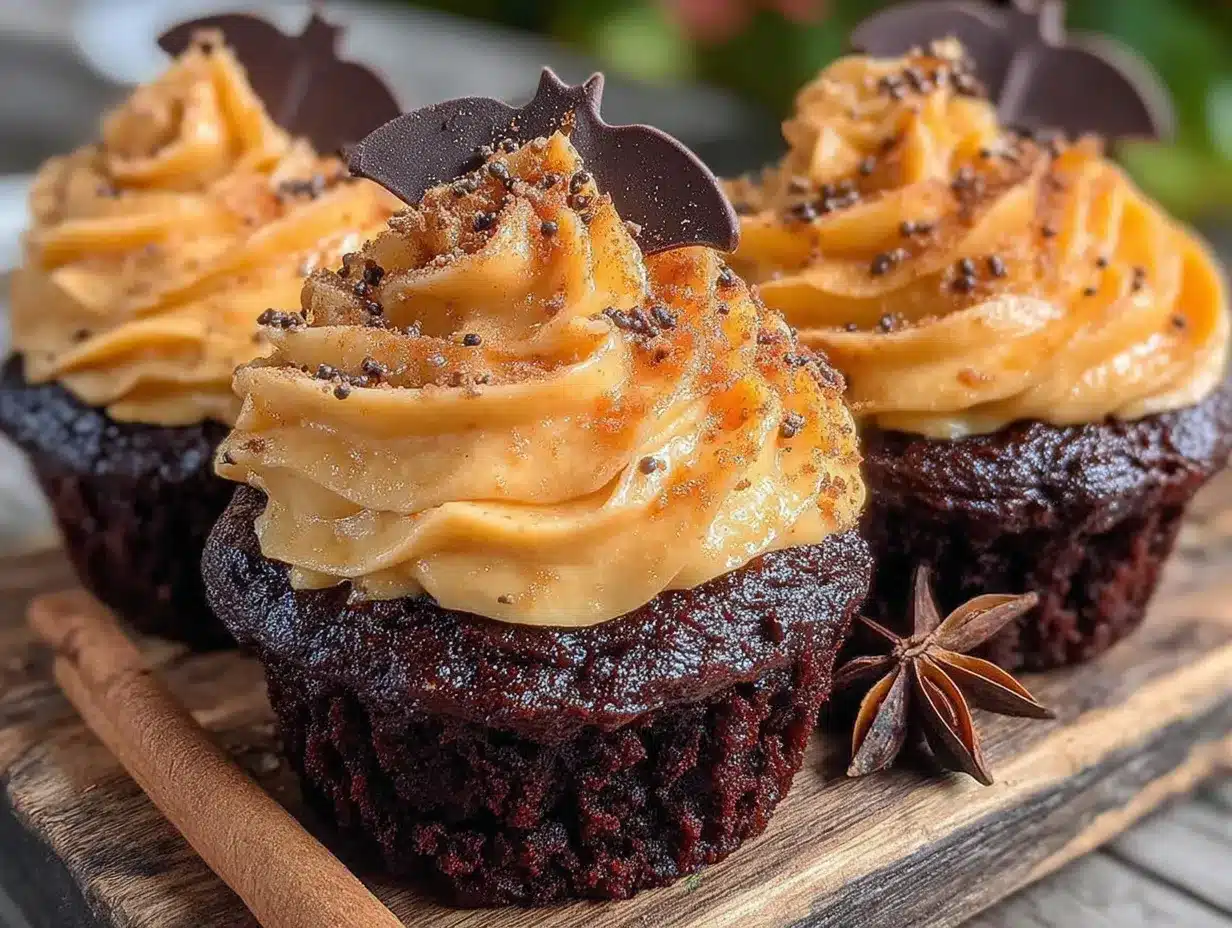
- Unsalted butter (1 cup / 2 sticks, 226g, softened): The base of our frosting. Make sure it is truly softened to room temperature for the smoothest, fluffiest buttercream.
- Cream cheese (4 oz / 113g, softened): This is my little trick. It adds a subtle tang, makes the frosting more stable, and cuts the sweetness. It also helps the frosting pipe beautifully.
- Powdered sugar (4 cups / 480g): Sifted to avoid lumps in your beautiful orange frosting.
- Orange zest (from 1 large orange): Use a microplane or fine grater. This provides a fresh, natural orange flavor that you just can’t get from extract alone.
- Orange extract (½ teaspoon): Boosts the citrus flavor. Use a pure extract, not imitation, for the best taste.
- Orange gel food coloring (a few drops): To get that vibrant Halloween orange. Start with a tiny amount and add more until you reach your desired shade.
- Heavy cream (2-3 tablespoons): To adjust the consistency of your frosting. Add one tablespoon at a time.
Equipment Needed
You don’t need a fully stocked bakery to make these. Here’s what you’ll need, along with some tips from my own kitchen.
- Muffin tin (standard 12-cup): The base for our cupcakes. A non-stick one is helpful, but paper liners are your best friend.
- Paper cupcake liners (12): I like to use black or orange ones for a festive touch, but any will do. You can also find fun Halloween-themed ones.
- Large mixing bowl: For whisking the dry ingredients together.
- Medium mixing bowl or large liquid measuring cup: For whisking the wet ingredients.
- Whisk: For combining the batter. A hand whisk is all you need—no electric mixer required for the cake part.
- Rubber spatula: For scraping down the sides of the bowl and folding in the last bits of flour.
- Measuring cups and spoons: For accurate measurements. A kitchen scale is even better for the flour and sugar.
- Electric hand mixer or stand mixer: For making the buttercream. You can do it by hand with a strong whisk, but an electric mixer makes it much easier and fluffier.
- Piping bag and tip: I use a large star tip (like a Wilton 1M) for that classic swirl look. A zip-top bag with the corner snipped off works in a pinch.
- Cooling rack: Essential for letting the cupcakes cool completely before frosting.
- Offset spatula: Useful for spreading the frosting if you don’t want to pipe it.
If you don’t have a piping bag, don’t worry! You can simply spread the frosting on with a spatula and create little swirls with the back of a spoon. It will still look gorgeous.
Preparation Method
Alright, let’s get baking. This process is straightforward, but I’ll walk you through each step with the little details that make a big difference.
- Preheat and Prep: First things first, preheat your oven to 350°F (175°C). Line your muffin tin with 12 paper liners. This is a non-negotiable step—don’t skip it! Spraying the inside of the liners with a little non-stick spray is a pro tip that ensures the paper peels off perfectly every time.
- Mix the Dry Ingredients: In your large mixing bowl, whisk together the all-purpose flour, granulated sugar, dark cocoa powder, baking soda, and salt. Whisk for about 30 seconds to make sure everything is evenly distributed and any lumps in the cocoa are broken up. This is your base.
- Combine the Wet Ingredients: In your medium bowl or large liquid measuring cup, whisk together the buttermilk, vegetable oil, egg, and vanilla extract. Whisk until the egg is fully incorporated and the mixture is smooth. It will look a little separated, and that’s okay.
- Bring it Together: Pour the wet ingredients into the bowl with the dry ingredients. Use your whisk to gently combine them. Don’t overmix! Just stir until you see no more streaks of dry flour. A few small lumps are totally fine. Overmixing will make the cupcakes tough.
- Add the Coffee and Color: Now for the magic. Pour in the hot coffee and add the black gel food coloring. Whisk gently until the batter is smooth and uniformly dark. The batter will be very thin—almost like a milkshake. Don’t panic, that’s exactly how it should be! This is what creates that incredibly moist, tender crumb. Start with 1 teaspoon of the black gel, and if you want a deeper black after the coffee is mixed in, add a bit more.
- Fill the Liners: Using a cookie scoop or a measuring cup, divide the batter evenly among the 12 prepared liners. Fill each one about ⅔ to ¾ full. This batter is thin, so it’s easy to pour. I like to use a liquid measuring cup with a spout for a mess-free pour.
- Bake to Perfection: Bake for 15 to 18 minutes, or until a toothpick inserted into the center of a cupcake comes out clean or with just a few moist crumbs. The tops should spring back lightly when you touch them. My oven runs a little hot, so I always check at the 15-minute mark. Rotate the pan halfway through for even baking.
- Cool Completely: Let the cupcakes cool in the pan for about 5 minutes. This allows them to set. Then, carefully transfer them to a wire cooling rack to cool completely. This is crucial. If you frost them while they are even a little warm, your beautiful orange buttercream will melt into a sad puddle. Patience, my friend.
- Make the Buttercream: While the cupcakes are cooling, make the frosting. In a large bowl (or the bowl of your stand mixer), beat the softened butter and cream cheese together on medium speed until smooth, creamy, and well combined—about 2 minutes. Scrape down the sides of the bowl.
- Add the Sugar and Flavor: With the mixer on low speed, gradually add the sifted powdered sugar, one cup at a time. It will look a little dry and crumbly at first, but keep going. Once all the sugar is incorporated, add the orange zest, orange extract, and a couple of drops of orange gel food coloring. Add 1 tablespoon of heavy cream.
- Whip it Good: Turn the mixer up to medium-high speed and beat for 3 to 4 minutes, until the frosting is light, fluffy, and spreadable. If it’s too thick, add another tablespoon of cream. If it’s too thin, add a little more powdered sugar. This is where you can adjust the color, too. Add more orange coloring a drop at a time until you get that perfect Halloween orange.
- Frost and Decorate: Once the cupcakes are completely cool, it’s time for the fun part. Fit your piping bag with a star tip and fill it with the orange buttercream. Pipe a generous swirl onto each cupcake. If you don’t have a piping bag, just use an offset spatula to spread the frosting on, creating little peaks and swirls.
- Garnish (Optional but Fun): For the full Halloween effect, top each cupcake with a sprinkle of black sanding sugar, a few Halloween-themed sprinkles, or a small candy spider. It adds a fantastic crunch and visual pop.
Cooking Tips & Techniques
Over the years, I’ve made a few mistakes so you don’t have to. Here are my best tips for perfect results every time.
The Coffee Trick: Don’t skip the hot coffee. I know it sounds weird, but it doesn’t make the cake taste like a latte. The heat helps “bloom” the cocoa powder, which intensifies its flavor and makes it taste richer and more complex. It’s the same reason you use hot water for a good cup of hot chocolate. If you absolutely must avoid caffeine, use hot water instead.
Room Temperature is Key: For both the cake and the frosting, using room temperature ingredients makes a world of difference. A cold egg can seize the batter, and cold butter won’t cream properly. Take your egg, buttermilk, and butter out of the fridge about 30 minutes before you start baking. It’s a small step with a huge payoff.
The Color Conundrum: Getting a true “black velvet” color can be tricky. The dark cocoa powder does a lot of the heavy lifting. For the food coloring, gel is your best friend. Liquid coloring will make your batter too thin. Start with 1 teaspoon of black gel, mix it in, and then check the color. You can always add more, but you can’t take it away. I’ve found that letting the batter sit for a couple of minutes after adding the color allows it to develop and darken slightly.
Don’t Overmix the Batter: This is the number one mistake people make with cupcakes. Once you add the wet ingredients to the dry, mix just until it comes together. A few lumps are totally fine. Overmixing develops the gluten, which will make your light, tender “velvet” cake tough and dense. We are going for a delicate crumb here.
My Biggest Failure: I once tried to rush the cooling process by putting the cupcakes in the fridge to cool down faster. Big mistake. The condensation from the fridge made the tops of the cupcakes wet and sticky, and the frosting slid right off. Always, always cool them completely on a wire rack at room temperature. It takes about 30 minutes, and it’s worth the wait.
Frosting Consistency: If your buttercream is too stiff to pipe, add a little more cream. If it’s too soft and runny, pop it in the fridge for 10-15 minutes to firm up. The perfect consistency should hold its shape when you lift the whisk, but still be soft and spreadable.
Variations & Adaptations
This recipe is wonderfully flexible. Here are a few ways I’ve adapted it for different needs and cravings.
Dairy-Free Version: This is one of the most common requests I get. For the cupcakes, swap the buttermilk with a dairy-free milk (like almond or oat milk) mixed with 1 ½ teaspoons of lemon juice. Use a neutral-flavored dairy-free yogurt or applesauce in place of the egg. For the frosting, use a high-quality vegan butter and a dairy-free cream cheese alternative (like the ones from Miyoko’s or Violife). The texture will be slightly different, but the flavor is still fantastic.
Gluten-Free Adaptation: I have made these with a good quality 1:1 gluten-free all-purpose flour blend (like the one from King Arthur or Bob’s Red Mill) with excellent results. Use it in the same amount as the regular flour. The texture will be a tiny bit more tender, but they still hold their shape beautifully. Just be careful not to overmix the batter.
Different Frosting Flavors: While the orange buttercream is the star for Halloween, you can easily change it up. A cream cheese frosting with a splash of vanilla is a classic pairing with black velvet cake. For a fun twist, try a peppermint buttercream for Christmas or a raspberry buttercream for Valentine’s Day. The black cake is a perfect canvas for any bright or contrasting color.
Spice It Up: For a grown-up version, add a pinch of cayenne pepper or a teaspoon of cinnamon to the dry ingredients. The warmth of the spice pairs beautifully with the deep chocolate and the bright orange frosting. It gives it a little “mexican hot chocolate” vibe that my friends always love.
Make it a Cake: This batter also works perfectly as a two-layer 8-inch cake. Just divide the batter evenly between two greased and floured 8-inch round cake pans. Bake at 350°F (175°C) for 25-30 minutes. You’ll need to double the frosting recipe to have enough for the layers and the outside.
Serving & Storage Suggestions
These cupcakes are best served at room temperature. The cake is most tender and the frosting is perfectly creamy when it hasn’t been chilled.
Serving: Arrange them on a beautiful cake stand or a festive Halloween platter. The contrast of the black cake and the bright orange frosting is so striking, they really don’t need much else. A few extra sprinkles or some candy corn around the base of the stand looks great. They are perfect for a Halloween party, a school bake sale, or just a fun after-dinner treat on a crisp October evening.
Storage: Store any leftover cupcakes in an airtight container at room temperature for up to 2 days. If your kitchen is very warm, you can store them in the refrigerator, but let them sit out for about 15 minutes before serving to let the frosting soften up again.
Freezing: These cupcakes freeze beautifully! You can freeze the unfrosted cupcakes for up to 3 months. Wrap each one individually in plastic wrap, then place them in a freezer-safe bag. When you’re ready to serve, let them thaw at room temperature (still wrapped) for a couple of hours, then frost them. The frosting itself can also be frozen in an airtight container for up to 3 months. Just let it thaw in the fridge overnight and re-whip it in the mixer for a minute to bring back its fluffiness.
Reheating: While these are meant to be eaten at room temperature, if you want a warm cake experience, you can microwave an unfrosted cupcake for about 10-15 seconds. Never microwave a frosted cupcake—the frosting will melt! The flavors actually develop and meld together even more after a day, so they taste just as good, if not better, on day two.
Nutritional Information & Benefits
Let’s be real—these are a treat, not a health food. But knowing what’s in them helps you enjoy them mindfully.
Estimated Nutritional Values (per cupcake, with frosting): This is an approximation and will vary based on specific brands and any substitutions. A typical serving is around 380-420 calories, with about 20g of fat, 50g of carbohydrates, and 3g of protein.
Health Highlights: The dark cocoa powder is a source of antioxidants, which are great for your heart health. The cream cheese in the frosting provides a small amount of calcium and protein. Using oil instead of butter in the cake keeps them moist with a slightly lower saturated fat content.
Dietary Considerations: This recipe is naturally nut-free (as written, but always check your ingredient labels). It can be made dairy-free and gluten-free with the substitutions I mentioned earlier. It is not low-carb or keto-friendly due to the sugar and flour.
Potential Allergens: This recipe contains wheat (gluten), dairy (buttermilk, butter, cream cheese, heavy cream), and eggs. Please be mindful if you are serving anyone with these allergies.
Personally, I think a balanced life includes room for a little indulgence, especially around the holidays. These cupcakes are a celebration, and sharing them with people you care about is good for the soul. Enjoy them!
Conclusion
So there you have it—my take on the quick black velvet Halloween cupcakes with orange buttercream that started with a conversation in a garden. They are everything a Halloween treat should be: dramatic, delicious, and surprisingly simple to pull off. I really hope you give them a try. Don’t be afraid to make them your own—add a different extract to the frosting, pile on the sprinkles, or turn them into a full cake. The best recipes are the ones you adapt to fit your own life and your own kitchen.
For me, these cupcakes are a little piece of fall tradition. They remind me that the best ideas often come from unexpected places and that a simple, homemade treat can make a chaotic week feel a little more special. I would love to hear how they turn out for you! Did you try a fun variation? Did the kids love them? Drop a comment below and let me know. And if you snap a picture, tag me—I always love seeing your creations. Happy Halloween, and happy baking!
Frequently Asked Questions
Can I make these cupcakes ahead of time?
Absolutely. You can bake the cupcakes up to 2 days in advance and store them in an airtight container at room temperature. You can also make the frosting a day ahead and keep it in the fridge. Just let the frosting come to room temperature and give it a quick whip before piping.
Why did my cupcakes turn out green instead of black?
This is a common issue! The dark cocoa powder has a natural red-brown hue, and when you add blue-based black food coloring, it can sometimes react and look a little green or muddy. The solution is to use a high-quality black gel food coloring (like AmeriColor Super Black) and make sure you are using a very dark cocoa powder. Adding a tiny drop of purple or red food coloring can also help neutralize any green tones.
Can I use a different type of frosting?
Of course! While the orange buttercream is perfect for Halloween, this black velvet cake is incredibly versatile. A classic cream cheese frosting, a simple vanilla buttercream, or even a dark chocolate ganache would all be delicious. You can also color the frosting any color you like for different holidays.
My frosting is too runny. What did I do wrong?
Runny buttercream usually means one of a few things: your butter was too soft (almost melted), you added too much liquid (cream or extract), or you didn’t beat it long enough. Try popping the bowl in the fridge for 15-20 minutes to firm it up, then beat it again on high speed for a minute. If it’s still too soft, you can beat in a little more sifted powdered sugar, one tablespoon at a time, until it reaches the right consistency.
Can I bake these in a different pan size?
Yes, this batter is flexible. It works great as a 9×13 inch sheet cake (bake for 25-30 minutes) or as two 8-inch round cake layers (bake for 25-30 minutes). Keep an eye on the baking time, as it will vary. The cake is done when a toothpick inserted in the center comes out clean.
Pin This Recipe!
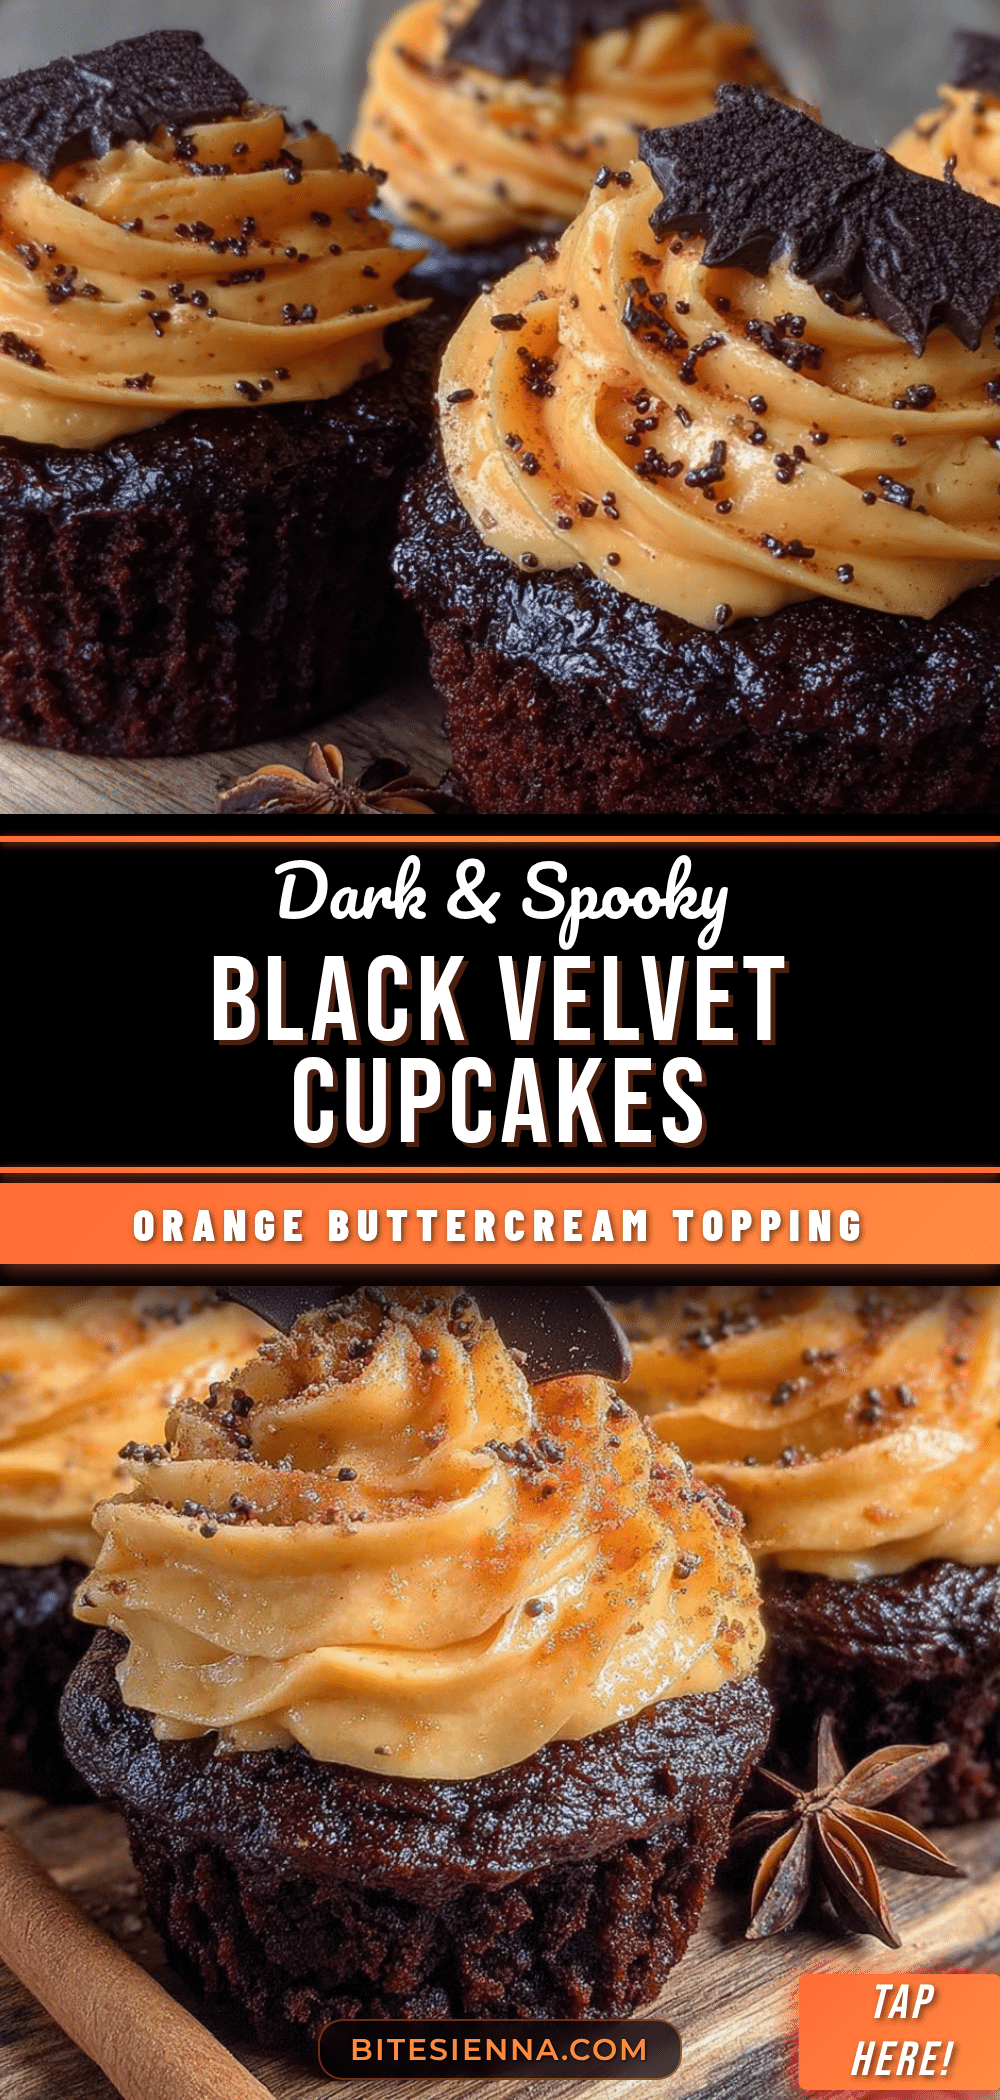
Quick Black Velvet Cupcakes with Orange Buttercream
These quick black velvet Halloween cupcakes with orange buttercream are a simple, moist chocolate cake tinted a deep, dramatic black, topped with a bright, creamy orange frosting. They come together in a single bowl, bake up in a flash, and are perfect for Halloween parties or class treats.
- Prep Time: 15 minutes
- Cook Time: 18 minutes
- Total Time: 33 minutes
- Yield: 12 cupcakes 1x
- Category: Dessert
- Cuisine: American
Ingredients
- 1 ½ cups (180g) all-purpose flour
- 1 cup (200g) granulated sugar
- ½ cup (45g) unsweetened dark cocoa powder (Dutch-processed preferred)
- 1 teaspoon baking soda
- ½ teaspoon salt
- ½ cup (120ml) buttermilk, room temperature
- ½ cup (120ml) vegetable oil
- 1 large egg, room temperature
- 2 teaspoons vanilla extract
- ½ cup (120ml) hot coffee
- 1–2 teaspoons black gel food coloring
- 1 cup (2 sticks, 226g) unsalted butter, softened
- 4 oz (113g) cream cheese, softened
- 4 cups (480g) powdered sugar, sifted
- Zest from 1 large orange
- ½ teaspoon orange extract
- A few drops orange gel food coloring
- 2–3 tablespoons heavy cream
Instructions
- Preheat oven to 350°F (175°C). Line a 12-cup muffin tin with paper liners.
- In a large bowl, whisk together flour, sugar, dark cocoa powder, baking soda, and salt.
- In a medium bowl or large liquid measuring cup, whisk together buttermilk, vegetable oil, egg, and vanilla extract until smooth.
- Pour wet ingredients into dry ingredients and whisk gently until just combined (a few lumps are fine).
- Add hot coffee and black gel food coloring; whisk until batter is smooth and uniformly dark. Batter will be thin.
- Divide batter evenly among the 12 liners, filling each about ⅔ to ¾ full.
- Bake for 15-18 minutes, or until a toothpick inserted in the center comes out clean or with a few moist crumbs. Cool in pan for 5 minutes, then transfer to a wire rack to cool completely.
- For the buttercream: In a large bowl, beat softened butter and cream cheese on medium speed until smooth and creamy, about 2 minutes.
- Gradually add sifted powdered sugar on low speed, one cup at a time. Add orange zest, orange extract, a few drops of orange gel food coloring, and 1 tablespoon heavy cream.
- Increase speed to medium-high and beat for 3-4 minutes until light and fluffy. Adjust consistency with additional cream or powdered sugar as needed.
- Once cupcakes are completely cool, pipe or spread orange buttercream onto each cupcake. Garnish with black sanding sugar, Halloween sprinkles, or candy spiders if desired.
Notes
Don’t skip the hot coffee; it deepens the chocolate flavor without making it taste like coffee. Use room temperature ingredients for best results. For a true black color, use gel food coloring. Cool cupcakes completely before frosting to prevent melting. The frosting can be made ahead and stored in the fridge; bring to room temperature and re-whip before using.
Nutrition
- Serving Size: 1 cupcake
- Calories: 400
- Sugar: 38
- Sodium: 250
- Fat: 20
- Saturated Fat: 10
- Carbohydrates: 50
- Fiber: 2
- Protein: 3
Keywords: Halloween cupcakes, black velvet cupcakes, orange buttercream, quick cupcakes, chocolate cupcakes, Halloween dessert


