My neighbor Jen wasn’t trying to impress anyone. I’d stopped by to borrow a lug wrench — my car had made a truly concerning noise in her driveway — and this scent hit me before I even knocked. It was deep, almost chocolatey, but with something darker underneath. Like the ghost of a brownie had gotten dressed up for a costume party.
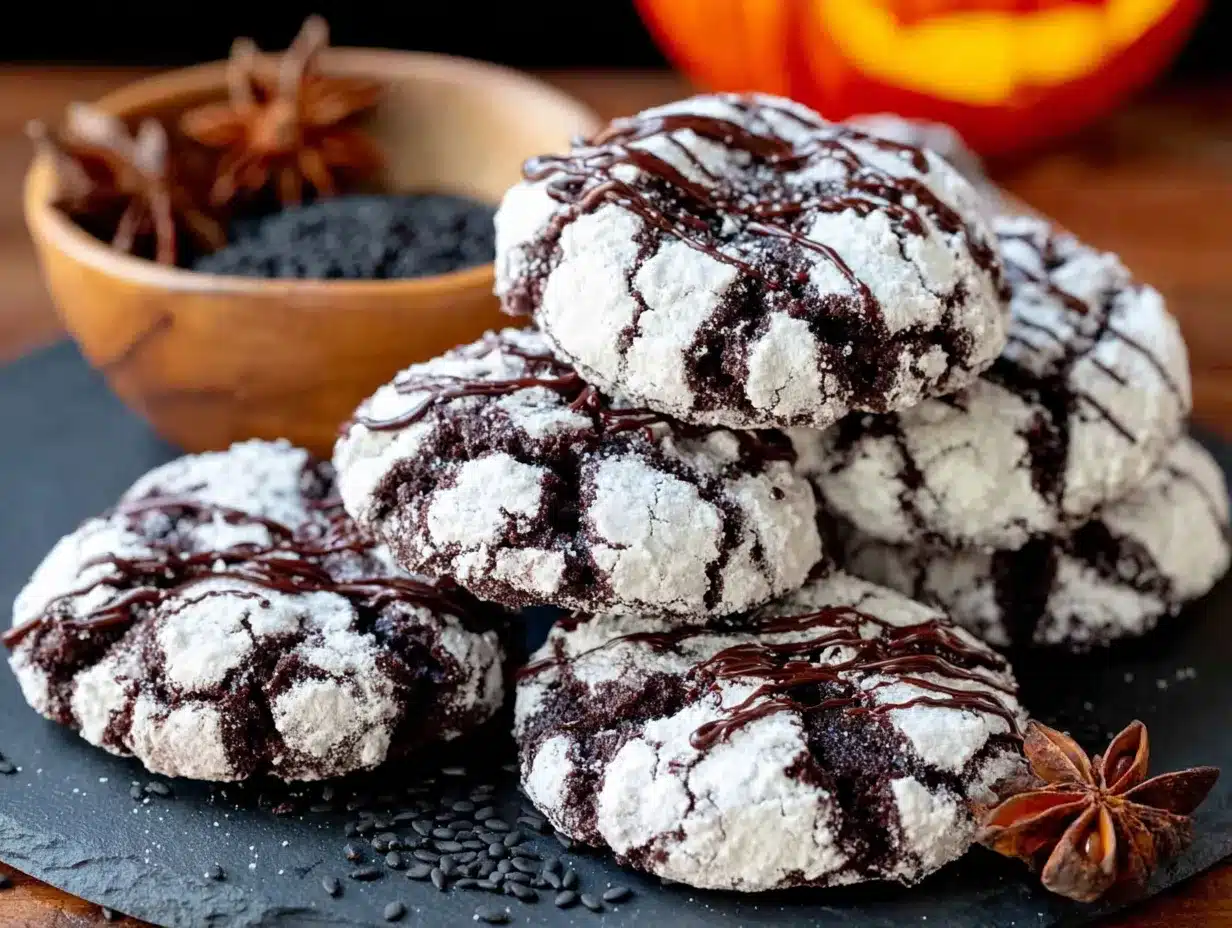
She opened the door holding a baking sheet covered in these gorgeous black cookies, dusted in powdered sugar so they looked like little moons against a night sky. “Oh, those,” she said when I asked. “Just some crinkle cookies for the kids’ Halloween party.” Just. She said just. As if she hadn’t just created the most visually striking cookie I’d ever seen sitting next to a pile of dirty dishes.
She let me try one while she found the wrench — warm, fudgy, with that perfect crinkle crack on top. I honestly forgot why I was there for a second. The cookie was soft in the middle with slightly crisper edges, and that powdered sugar gave it this little burst of sweetness against the rich, dark cocoa flavor. I stood in her messy kitchen, eating a cookie that looked like it belonged in a bakery window, while she rummaged through a drawer full of takeout menus and loose batteries.
That’s the thing, you know? The best recipes never come from people trying to show off. They come from someone who just needed a treat for a Tuesday, or a school party, or because the kids were bouncing off the walls. Jen’s casual genius with those cookies stuck with me. I asked for the recipe before I left — wrench in hand, powdered sugar on my shirt — and I’ve been making them every Halloween since. Maybe you’ve been there, standing in someone else’s kitchen, realizing you just found your new favorite thing.
Why You’ll Love This Recipe
These Rich Black Velvet Halloween Crinkle Cookies aren’t just another chocolate cookie dressed in dark colors. They’re the result of testing — and I mean serious testing — to get that perfect balance between a fudgy center and a crackled, dramatic exterior. Let me tell you why these cookies will become your Halloween MVP.
- Stunning Visuals: The black velvet color against the snowy powdered sugar is pure Halloween magic. They look like something from a specialty bakery, but you’re making them in your own kitchen.
- Incredible Texture: Soft, almost brownie-like centers with that signature crinkle top. Every bite has that little give before the fudgy middle melts on your tongue.
- Simple Ingredients: Nothing weird here. Black cocoa powder does the heavy lifting, and you probably have everything else in your pantry right now.
- Make-Ahead Friendly: The dough needs to chill anyway, so you can prep these days ahead and bake when you’re ready. Perfect for busy Halloween week.
- Crowd-Pleaser: Kids love the spooky look, adults love the deep chocolate flavor, and everyone fights over the last one.
What makes these different from other crinkle cookies I’ve tried is the black cocoa powder. Regular cocoa just gives you a dark brown cookie — fine, but not Halloween-worthy. Black cocoa, the same stuff used in Oreos, gives that intense dark color and a slightly smoky, almost charcoal-like chocolate flavor. It’s not bitter, just deeper. Richer. More mysterious. I tested this recipe six times to get the crinkle just right. Too much butter and they spread into flat pancakes. Too little sugar and they don’t crack properly. This version? It’s the one that made me close my eyes after the first bite. That’s the feeling I want you to have.
What Ingredients You Will Need
This recipe uses simple, pantry-friendly ingredients to create something that looks and tastes extraordinary. The star here is black cocoa powder — it’s what gives these cookies their signature dark color and rich flavor. Here’s everything you’ll need.
- Unsalted butter: ½ cup (113g), softened to room temperature. I use Kerrygold for the richness, but any good unsalted butter works. Salted butter will throw off the salt balance, so stick with unsalted.
- Granulated sugar: 1 cup (200g). Regular white sugar. Don’t substitute brown sugar here — it changes the texture and color.
- Large egg: 1, at room temperature. Cold eggs don’t incorporate as smoothly into creamed butter. Leave it on the counter for 30 minutes.
- Vanilla extract: 1 teaspoon. Pure vanilla, not imitation. It adds warmth that balances the dark cocoa.
- Black cocoa powder: ½ cup (48g). This is non-negotiable for the color. Regular cocoa gives brown cookies. Black cocoa gives black cookies. I recommend Rodelle or King Arthur Flour brands for the best color payoff.
- All-purpose flour: 1 cup (125g). Spoon and level it — don’t scoop directly from the bag or you’ll pack in too much flour.
- Baking powder: ½ teaspoon. Helps the cookies puff up and creates those beautiful cracks.
- Salt: ¼ teaspoon. Fine sea salt. It enhances the chocolate flavor and balances sweetness.
- Powdered sugar: ½ cup (60g), for rolling. This creates the snowy white contrast against the dark cookies. You’ll need extra for rolling between batches.
Ingredient Tips & Substitutions
Black cocoa powder is available at most grocery stores now, usually in the baking aisle near the specialty cocoa powders. If you can’t find it, you can use Dutch-process cocoa mixed with a tiny bit of black food coloring, but honestly, the real stuff is worth tracking down. One bag lasts forever and makes the most gorgeous black cookies, cakes, and cupcakes. For a dairy-free version, use vegan butter sticks — not margarine, but the solid plant-based butter that comes in sticks. It creams up similarly and the cookies bake the same.
Equipment Needed
Nothing too fancy here. These cookies come together with basic kitchen tools you probably already own.
- Electric hand mixer or stand mixer: You can cream butter and sugar by hand with a wooden spoon, but it takes elbow grease. A mixer makes it easy.
- Large mixing bowls: One for wet ingredients, one for dry. Glass or stainless steel works best.
- Whisk: For combining the dry ingredients evenly.
- Rubber spatula: For scraping down the bowl and folding in the dry ingredients without overmixing.
- Baking sheets: Two, if you have them. Helps with batch baking. I use Nordic Ware aluminum sheets — they heat evenly and don’t warp.
- Parchment paper or silicone baking mats: Essential for preventing sticking and easy cleanup. Parchment is cheaper, silicone mats are reusable.
- Cookie scoop: A 1.5-tablespoon scoop makes uniform cookies that bake evenly. A spoon works, but you’ll get different sizes.
- Small bowl: For the powdered sugar for rolling.
- Wire cooling rack: Lets air circulate under the cookies so they don’t get soggy bottoms.
If you don’t have a cookie scoop, just use two spoons — one to scoop, one to scrape the dough into the sugar. It’s a little messier but works fine. And honestly, I’ve used a drinking glass to scoop dough in a pinch. We’ve all been there.
Preparation Method
Let’s get into it. This method is tested and tweaked to give you that perfect black velvet color with the iconic crinkle top. Follow these steps and you’ll have cookies that look like they belong in a haunted bakery window.
- Cream the butter and sugar. In a large bowl, beat the softened butter and granulated sugar together on medium speed for 2-3 minutes until light and fluffy. Scrape down the sides of the bowl halfway through. The mixture should look pale and airy — that’s how you know you’ve incorporated enough air for a soft cookie.
- Add the egg and vanilla. Beat in the room-temperature egg and vanilla extract on medium speed until fully combined, about 1 minute. The mixture might look slightly curdled — that’s okay, especially if your egg was a little cold. Keep going and it’ll come together.
- Combine the dry ingredients. In a separate bowl, whisk together the black cocoa powder, all-purpose flour, baking powder, and salt. Whisk for about 20 seconds to break up any cocoa lumps and distribute the leavening evenly. Black cocoa is finer than regular cocoa and tends to clump, so don’t skip this step.
- Mix wet and dry. Add the dry ingredients to the wet mixture in two additions, mixing on low speed after each just until no flour streaks remain. Don’t overmix — that develops gluten and makes tough cookies. Stop as soon as the dough comes together. Scrape the bottom of the bowl with your spatula to make sure no flour is hiding down there.
- Chill the dough. This is the most important step. Cover the bowl with plastic wrap and refrigerate for at least 2 hours, or up to 3 days. The dough needs to be firm enough to roll into balls without sticking to your hands. I’ve tried baking without chilling — flat, spread-out cookies with no crinkle. Don’t skip this.
- Preheat and prep. When you’re ready to bake, preheat your oven to 350°F (175°C). Line two baking sheets with parchment paper or silicone mats. Pour the powdered sugar into a small bowl.
- Roll and coat. Using a 1.5-tablespoon cookie scoop or your hands, roll the chilled dough into 1-inch balls. They should be smooth and round. Drop each ball into the powdered sugar and roll around to coat generously. The sugar layer is what creates the crinkle effect — be generous. Place the coated dough balls 2 inches apart on the prepared baking sheets.
- Bake. Bake for 10-12 minutes. The cookies will look puffed and the tops will have cracked open, revealing the dark interior against the white sugar. The edges should be set but the centers will still look slightly soft. Don’t overbake — they continue cooking on the hot sheet after you pull them out. For softer, fudgier cookies, bake for 10 minutes. For slightly firmer cookies, go to 12.
- Cool properly. Let the cookies cool on the baking sheet for 5 minutes before transferring to a wire rack. They’re fragile when hot — the 5-minute rest lets them firm up enough to move without breaking. Cool completely before storing.
One thing I learned the hard way: if your dough is too sticky to roll, it hasn’t chilled long enough. Pop it back in the fridge for 30 minutes. And if the powdered sugar seems to disappear into the dough balls, roll them a second time. That snowy coating is what makes these cookies so striking.
Cooking Tips & Techniques
After making these cookies more times than I care to count (and failing spectacularly a few times), here’s what I’ve learned about getting that perfect black velvet crinkle cookie.
The chill is non-negotiable. I know, I know — you want cookies now, not in two hours. But warm dough spreads into flat, sad discs with no crinkle. The cold butter in the chilled dough creates steam pockets in the oven that push the cookie up and out, creating those beautiful cracks. I once tried to speed things up with a 30-minute freezer chill. The outside was cold but the center was still soft, and the cookies spread anyway. Give it the full 2 hours in the fridge.
Roll generously in powdered sugar. This was my biggest failure early on. I thought a light dusting would be enough. Nope. The powdered sugar needs to be thick enough that when the cookie spreads and cracks, the dark dough pushes through a white crust. That contrast is the whole visual trick. Roll each ball until it looks like a little snowball. I even give them a second roll if the first layer seems thin.
Watch your oven temperature. Every oven runs differently. My old oven ran hot, and I burned two batches before I figured it out. Use an oven thermometer to check your actual temperature. If your cookies are spreading too much, your oven might be too cool. If they’re browning before they crack, it’s too hot. 350°F is the sweet spot, but trust what your cookies tell you.
Don’t overmix the dough. I have a habit of overworking dough because I want to make sure everything is combined. With these cookies, that habit gave me tough, cakey cookies instead of soft, fudgy ones. Mix just until the flour disappears. A few streaks are fine — they’ll incorporate when you scrape the bowl.
Bake one sheet at a time. If you crowd the oven with two sheets, the heat doesn’t circulate properly and the cookies bake unevenly. I know it takes longer, but the results are worth it. While one batch bakes, the other sheet stays in the fridge. That way the dough stays cold and the cookies keep their shape.
Variations & Adaptations
These cookies are pretty perfect as-is, but I’ve played around with a few variations over the years. Here are some fun twists to try.
Blood Orange Velvet: Add 1 tablespoon of blood orange zest to the sugar before creaming with the butter. The citrus cuts through the dark cocoa and adds a bright, almost floral note. I made these for a Halloween party and someone asked if they were “fancy Oreos.” I took that as a compliment.
Spiced Black Velvet: Add ½ teaspoon of cinnamon and ¼ teaspoon of cayenne pepper to the dry ingredients. The warmth of the cinnamon and the tiny kick of cayenne make these feel extra cozy for fall. They’re not spicy — just warm and complex. My sister-in-law calls them “moody cookies” and she’s not wrong.
Gluten-Free Version: Substitute the all-purpose flour with a 1:1 gluten-free baking flour that contains xanthan gum. I’ve used Bob’s Red Mill and King Arthur Flour brands with good results. The texture is slightly more tender, but the crinkle still works beautifully. Just make sure to chill the dough thoroughly — gluten-free doughs tend to be stickier.
White Chocolate Drizzle: After the cookies have cooled completely, melt ½ cup of white chocolate chips with 1 teaspoon of coconut oil and drizzle over the tops. The white against the black is stunning, and the sweetness of the white chocolate complements the dark cocoa. I did this for a friend’s Halloween wedding and people lost their minds.
Mint Chocolate Crinkle: Add ½ teaspoon of peppermint extract along with the vanilla. The mint and dark chocolate combination is classic for a reason. Just be careful — peppermint extract is strong. Too much and your cookies taste like toothpaste. Ask me how I know.
Serving & Storage Suggestions
These cookies are at their best within 24 hours of baking, when the edges are slightly crisp and the centers are soft and fudgy. Serve them at room temperature on a dark platter or black cake stand for maximum Halloween drama. The contrast of the white powdered sugar against a dark surface is chef’s kiss.
They’re perfect on their own, but if you want to go all out, serve them with a glass of cold milk, a scoop of vanilla ice cream, or alongside a cup of hot coffee. For a spooky dessert board, arrange them with candy corn, chocolate spiders, and ghost-shaped marshmallows. Kids go wild for this setup.
Storage: Keep the cookies in an airtight container at room temperature for up to 5 days. Layer them between sheets of parchment paper so the powdered sugar doesn’t rub off on each other. The cookies will soften slightly over time, but they’ll still be delicious.
Freezing: You have two options here. Freeze the baked cookies in a single layer on a baking sheet, then transfer to a freezer bag for up to 3 months. Thaw at room temperature for 30 minutes before serving. Or freeze the unbaked dough balls — roll them, coat them in powdered sugar, and freeze on a baking sheet. Once solid, transfer to a freezer bag. Bake from frozen, adding 2-3 minutes to the baking time. This is my favorite trick for having Halloween cookies ready at a moment’s notice.
The flavors actually deepen after a day or two in the fridge. The black cocoa becomes more pronounced and the cookies get even fudgier. Not that they last that long in my house, but theoretically.
Nutritional Information & Benefits
Let’s be real — these are cookies, not a health food. But they’re made with real ingredients, no artificial colors or preservatives, and they’re surprisingly reasonable for a treat. Here’s the breakdown per cookie (based on 24 cookies).
| Nutrient | Amount per Cookie |
|---|---|
| Calories | 145 |
| Total Fat | 7g |
| Saturated Fat | 4g |
| Carbohydrates | 20g |
| Sugar | 14g |
| Protein | 2g |
| Sodium | 55mg |
Black cocoa powder contains flavonoids, which are antioxidants that support heart health. It also has less fat than regular cocoa powder, which is why the texture is slightly different. The butter provides vitamin A, and eggs contribute protein and B vitamins. Not that anyone’s eating these for the health benefits, but it’s nice to know they’re not completely empty calories.
These cookies are naturally nut-free, which makes them safe for school parties and gatherings where allergies are a concern. They’re also vegetarian. For vegan and dairy-free options, see the substitution notes in the ingredient section.
Conclusion
These Rich Black Velvet Halloween Crinkle Cookies are the kind of recipe that makes you look like a baking genius without spending hours in the kitchen. The deep black color, the snowy powdered sugar, the fudgy center — it’s Halloween magic in cookie form. And the best part? They start with simple ingredients and a straightforward method that anyone can follow.
I love these cookies because they prove that you don’t need fancy skills or complicated techniques to make something truly stunning. Jen made them in her messy kitchen on a random Tuesday, and I’ve been spreading that same casual magic ever since. That’s what good recipes do — they travel from one kitchen to another, getting shared and adapted and loved.
Now it’s your turn. Make these cookies for your Halloween party, your kid’s school event, or just because you want something beautiful to eat with your afternoon coffee. When someone asks where you got the recipe, tell them it came from a neighbor who wasn’t trying to impress anyone. That’s the best kind of recipe there is.
I’d love to hear how they turn out! Drop a comment below and let me know if you tried any of the variations, or share your own twist. Tag me in your photos — I live for seeing those snowy black cookies in your kitchens. Happy Halloween, and happy baking!
Frequently Asked Questions
Can I use regular cocoa powder instead of black cocoa?
You can, but the color won’t be black — it’ll be a dark brown. The flavor will also be different. Black cocoa has a distinctive, almost Oreo-like taste that regular cocoa doesn’t have. If you’re set on the black color and don’t have black cocoa, use Dutch-process cocoa with a drop or two of black food coloring.
Why did my cookies not crinkle?
The most common reason is that the dough wasn’t chilled enough. The crinkle effect happens when the cold dough hits the hot oven — the outside sets quickly while the inside continues to spread, cracking the surface. If your dough was warm, the cookies spread before the top set, and you get flat cookies with no cracks. Also make sure you rolled them generously in powdered sugar. The sugar layer helps create the contrast.
Can I make the dough ahead of time?
Absolutely. The dough can be refrigerated for up to 3 days before baking. You can also freeze the dough balls (coated in powdered sugar) for up to 3 months. Bake from frozen, adding 2-3 minutes to the baking time. This is perfect for having fresh cookies on demand during the Halloween season.
How do I keep the powdered sugar from dissolving into the dough?
This happens if the dough balls are too warm when you roll them. Make sure your dough is thoroughly chilled — at least 2 hours. If the sugar still seems to disappear, roll the balls a second time. Also, don’t press the sugar into the dough; just roll gently to coat. The sugar should sit on the surface, not get absorbed.
Can I make these cookies vegan?
Yes! Use vegan butter sticks (like Earth Balance or Miyoko’s) instead of dairy butter, and substitute the egg with a flax egg (1 tablespoon ground flaxseed mixed with 3 tablespoons water, let sit for 5 minutes). The texture will be slightly different — a bit more cakey than fudgy — but the color and crinkle still work beautifully.
Pin This Recipe!
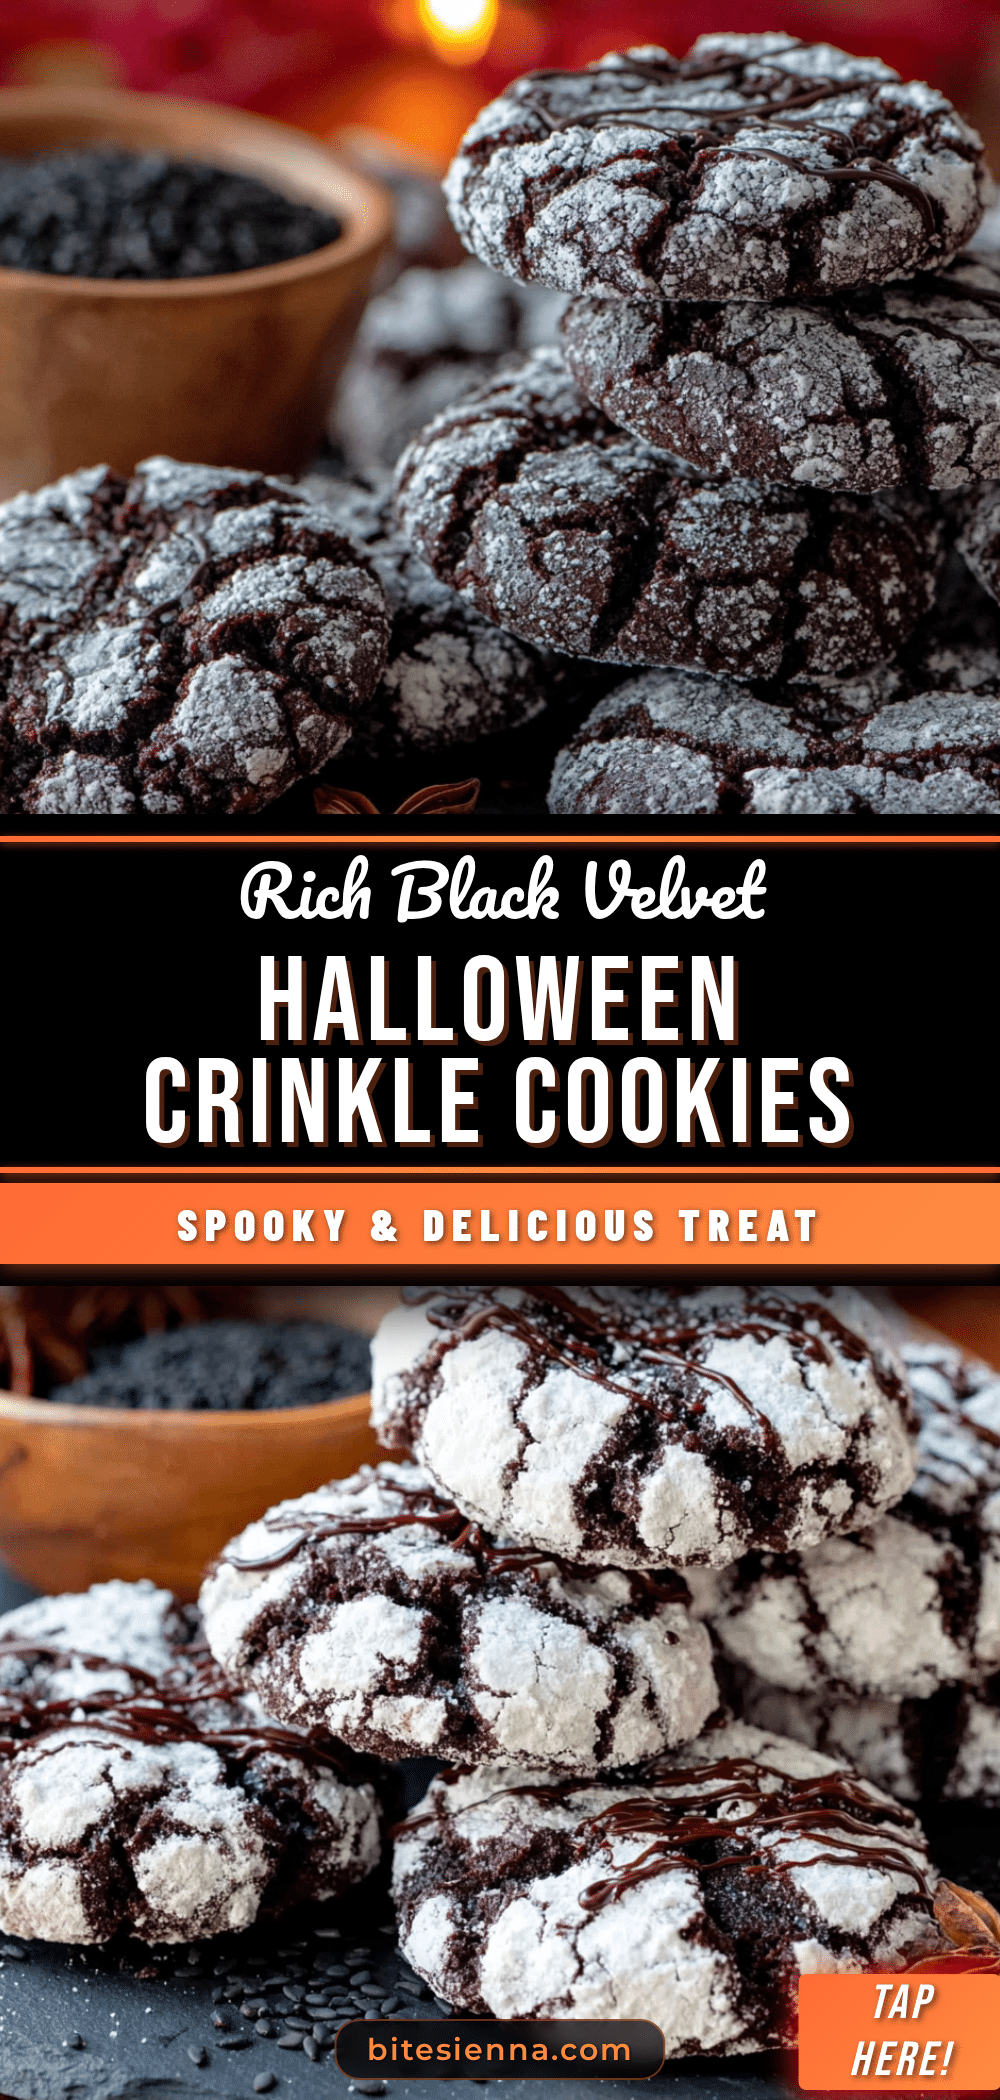
Best Rich Black Velvet Halloween Crinkle Cookies Recipe
These Rich Black Velvet Halloween Crinkle Cookies are soft, fudgy, and feature a dramatic black color with a snowy powdered sugar coating. Perfect for Halloween parties, they deliver stunning visuals and incredible texture with simple ingredients.
- Prep Time: 15 minutes
- Cook Time: 10 minutes
- Total Time: 2 hours 25 minutes
- Yield: 24 cookies 1x
- Category: Dessert
- Cuisine: American
Ingredients
- ½ cup (113g) unsalted butter, softened
- 1 cup (200g) granulated sugar
- 1 large egg, at room temperature
- 1 teaspoon vanilla extract
- ½ cup (48g) black cocoa powder
- 1 cup (125g) all-purpose flour
- ½ teaspoon baking powder
- ¼ teaspoon fine sea salt
- ½ cup (60g) powdered sugar, for rolling
Instructions
- Cream the butter and sugar: In a large bowl, beat the softened butter and granulated sugar together on medium speed for 2-3 minutes until light and fluffy. Scrape down the sides of the bowl halfway through.
- Add the egg and vanilla: Beat in the room-temperature egg and vanilla extract on medium speed until fully combined, about 1 minute.
- Combine the dry ingredients: In a separate bowl, whisk together the black cocoa powder, all-purpose flour, baking powder, and salt for about 20 seconds.
- Mix wet and dry: Add the dry ingredients to the wet mixture in two additions, mixing on low speed after each just until no flour streaks remain. Do not overmix.
- Chill the dough: Cover the bowl with plastic wrap and refrigerate for at least 2 hours, or up to 3 days.
- Preheat and prep: When ready to bake, preheat oven to 350°F (175°C). Line two baking sheets with parchment paper or silicone mats. Pour the powdered sugar into a small bowl.
- Roll and coat: Using a 1.5-tablespoon cookie scoop or your hands, roll the chilled dough into 1-inch balls. Drop each ball into the powdered sugar and roll around to coat generously. Place 2 inches apart on prepared baking sheets.
- Bake: Bake for 10-12 minutes. The cookies will look puffed and the tops will have cracked open. For softer cookies, bake for 10 minutes; for firmer, go to 12.
- Cool properly: Let the cookies cool on the baking sheet for 5 minutes before transferring to a wire rack. Cool completely before storing.
Notes
Chilling the dough is non-negotiable for the crinkle effect. Roll generously in powdered sugar for the best contrast. Bake one sheet at a time for even results. For softer cookies, bake for 10 minutes; for firmer, 12 minutes. The dough can be refrigerated for up to 3 days or frozen for up to 3 months.
Nutrition
- Serving Size: 1 cookie
- Calories: 145
- Sugar: 14
- Sodium: 55
- Fat: 7
- Saturated Fat: 4
- Carbohydrates: 20
- Fiber: 1
- Protein: 2
Keywords: black velvet cookies, Halloween crinkle cookies, black cocoa cookies, fudgy crinkle cookies, spooky cookies, Halloween dessert, black and white cookies


