I know exactly how this sounds. You’re probably sitting there wondering if I’ve lost my mind, but honestly, that’s when the best cooking happens. The house was quiet, the rain was drumming against the window, and I wasn’t just hungry—I was desperate for something warm, spiced, and seriously crispy. I wanted pumpkin scones. Not the soft, cakey, disappointing kind you get at gas stations, but the real deal. The ones with a shatteringly crisp exterior and a tender, buttery interior.
The problem? It was late, and my pantry was looking pretty sad. I didn’t have a stick of regular butter because I’d used it all for pasta earlier. I didn’t have fresh pumpkin puree because I’m not that organized. But I did have a half-empty jar of canned pumpkin, a bag of flour that was slightly past its prime, and a small pot of butter sitting on the counter. And then, I had this wild idea. What if I browned that butter? Not just melted it, but actually cooked it until it smelled like nuts and caramel? It’s a technique you usually reserve for fancy sauces, but why not for morning pastries?
I mean, let’s face it, we’ve all been there. That 11 PM moment where the rules of good behavior go out the window. I grabbed a whisk, a bowl, and started throwing things together. I tossed in some maple syrup because I had a half-bottle of it gathering dust. The smell that filled the kitchen was insane—earthy pumpkin, toasted nuts, and sweet maple. It was weird, it was impulsive, and it was genius. I didn’t have time to chill the dough for hours, so I just threw it in the freezer for twenty minutes while I cleaned up the mess I’d made (I forgot to measure the flour and ended up using my eyes, which is how I ended up with a slightly sticky dough). I baked them on a sheet, not a pan, to get maximum crispiness. When I pulled them out, they were golden brown, crackling as they cooled, and absolutely perfect.
That’s when I knew I had to share this. Crispy brown butter pumpkin scones with maple glaze aren’t just a recipe; they’re a late-night salvation. They’re the kind of thing that makes you close your eyes and sigh. I’ve made them since then, dozens of times, for brunches, for guests, and for those quiet mornings when you just need a little comfort. Maybe you’ve been there too, staring into the fridge at midnight, hoping for inspiration. Well, here it is. It’s simple, it’s flavorful, and it’s going to change how you think about pumpkin treats forever.
Why You’ll Love This Recipe
Look, I’ve tried a lot of pumpkin scone recipes over the years. Some are too dense, some are too sweet, and some just taste like wet cardboard. This one is different. It’s the result of years of trial and error in my own kitchen, plus a little bit of culinary intuition that comes from spending too much time alone with a whisk at night. I’m not just saying this because it’s my recipe; I’m saying it because it actually works, every single time, if you follow the steps.
- Quick & Easy: Honestly, the hardest part is waiting for the butter to brown. The whole process, from start to finish, takes less than 45 minutes. That’s perfect for busy weeknights or when you want a homemade treat without the all-day commitment.
- Simple Ingredients: You likely already have everything in your kitchen. Flour, sugar, baking powder, pumpkin, butter, and maple syrup. No fancy grocery trips needed. It’s pantry-friendly comfort food.
- Perfect for Brunch: These are the ultimate brunch star. Serve them with coffee or mimosas, and you’ll be the hero of the morning. They hold up well on a platter and look impressive, even if you made them in your pajamas.
- Crowd-Pleaser: Kids love the sweetness of the maple glaze. Adults love the sophistication of the brown butter. It bridges the gap perfectly. I’ve served these at holiday gatherings and they disappear faster than anything else.
- Unbelievably Delicious: The texture is the key here. The brown butter gives it a nutty, toasty depth that regular butter just can’t match. The maple glaze adds a sticky, sweet finish that isn’t too overpowering. It’s next-level comfort food.
What makes this recipe stand out is the technique. Most people just melt butter into their scones. But browning it first? That changes everything. It adds a layer of complexity that feels professional but is actually super easy. It’s not just another pumpkin recipe; it’s your best version of one. It’s the kind that makes you feel like a chef, even if you’re just a home cook trying to survive the week. It’s healthier than a donut, faster than bread, and way more satisfying than a cookie. Trust me, once you try this, you won’t go back to store-bought.
What Ingredients You Will Need
This recipe relies on a few key components to get that perfect balance of crispiness and tenderness. You don’t need anything exotic, but the quality of your ingredients does matter. Since there aren’t many of them, each one plays a huge role in the final flavor and texture. I like to keep things simple, using wholesome, everyday items that deliver bold flavor without the fuss. Here is what you need to get started.
For the Scone Dough
- All-purpose flour: 2 ½ cups (315g). This is the base. Don’t use cake flour; you want that sturdy structure for a crisp crust. (Tip: Spoon and level your flour for accuracy.)
- Baking powder: 1 tablespoon. Fresh baking powder is crucial for the rise. If yours is old, your scones will be flat. (Use a trusted brand like Clabber Girl for consistent results.)
- Baking soda: ½ teaspoon. Helps with browning and reacts with the acidity in the pumpkin.
- Salt: 1 teaspoon. Enhances all the other flavors. Don’t skip it.
- Pumpkin puree: 1 cup (245g). Make sure it’s pure pumpkin, not pumpkin pie filling. The filling has too much sugar and spice.
- Granulated sugar: ¼ cup (50g). Just enough to sweeten the dough without making it a dessert cookie.
- Spices: 1 teaspoon pumpkin pie spice, ½ teaspoon cinnamon, and ¼ teaspoon nutmeg. If you don’t have pumpkin pie spice, mix your own.
- Egg: 1 large egg, room temperature. Acts as the binder.
- Heavy cream: ½ cup (120ml). Adds richness and helps create those flaky layers. (Cold cream is best.)
- Brown butter: ½ cup (115g), cooled slightly. This is the star. See below for how to make it.
For the Maple Glaze
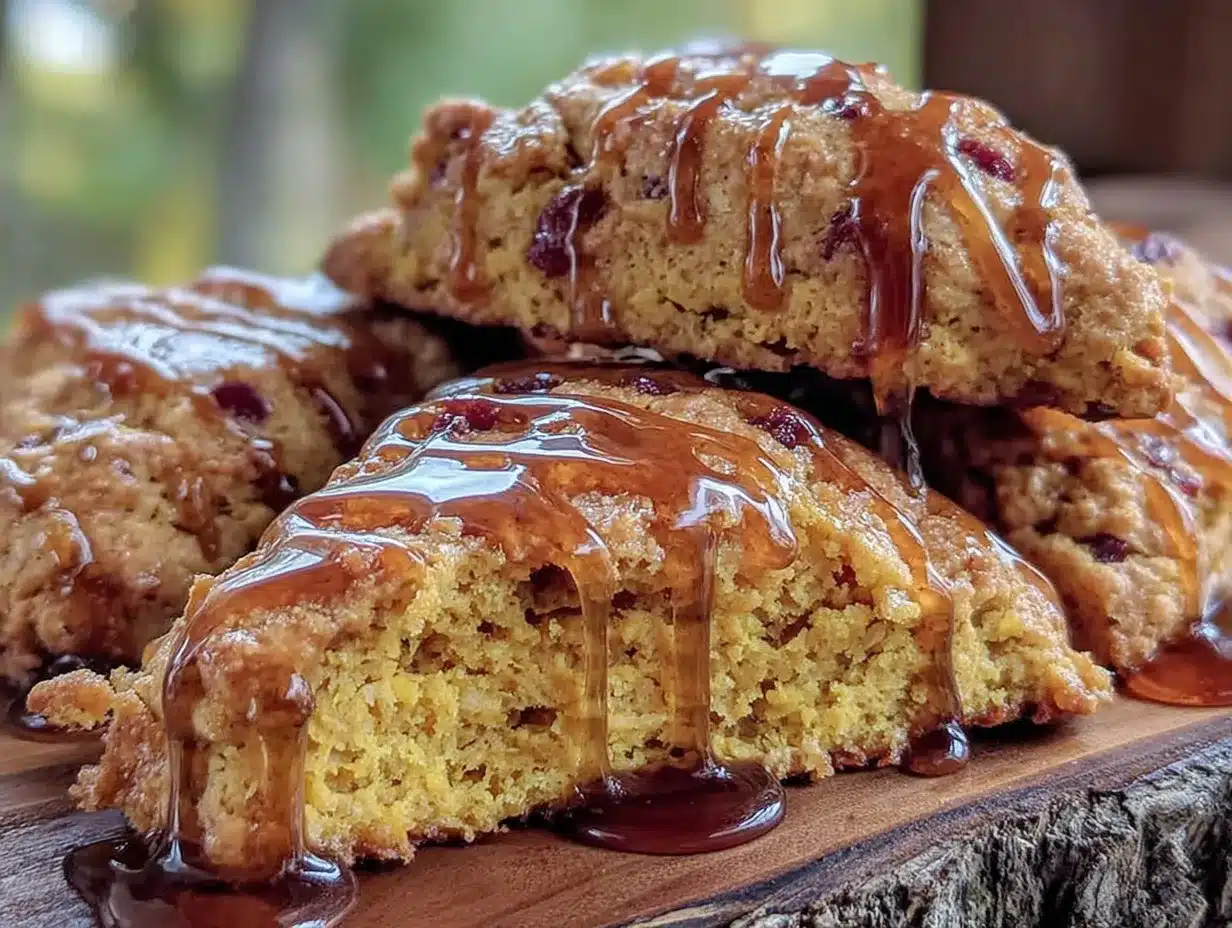
- Powdered sugar: 1 cup (120g). Sifted to avoid lumps.
- Maple syrup: 2-3 tablespoons. Use real maple syrup, not pancake syrup. The flavor difference is huge.
- Milk: 1-2 teaspoons. Adjust for consistency.
- Salt: A pinch. Cuts the sweetness.
One thing I want to mention about the butter is that it needs to be browned properly. I recommend using unsalted butter so you can control the saltiness. If you use salted butter, reduce the added salt in the dough by half. Also, for the pumpkin, if you can find fresh roasted pumpkin puree, it’s even better, but canned works fine if you drain off any excess liquid. You want a thick, concentrated pumpkin flavor.
Equipment Needed
You don’t need a fancy kitchen to make these, but having the right tools helps. A heavy-bottomed saucepan is essential for browning the butter evenly without burning it. I use a stainless steel one because I can see the color changes clearly. If you don’t have one, a light-colored pan works too, but be very careful.
A large mixing bowl is needed for the dry ingredients, and a smaller one for the wet. A whisk is your best friend here. I’ve tried using a fork, but a whisk incorporates the air better and mixes the dry ingredients more evenly. A pastry cutter or your fingers work for cutting in the cold butter if you decide to add extra chunks for flakiness, but for this recipe, the brown butter is mixed in, so it’s less critical.
A baking sheet lined with parchment paper is a must. Parchment prevents sticking and makes cleanup a breeze. I’ve burned scones on bare pans before, and it’s a tragedy you don’t want to experience. A cooling rack is also important. If you leave them on the hot pan, they’ll steam and get soggy. You want them to stay crispy, so let the air circulate underneath.
Budget-friendly tip: You don’t need a food processor or a stand mixer. In fact, using your hands is better for scones to avoid overworking the dough. Just use a simple spatula or spoon to mix. Keep it simple, keep it cheap, and it will still taste amazing.
Preparation Method
Okay, let’s get into the nitty-gritty. This part is easier than it sounds, but you need to pay attention. I’m going to break it down step-by-step so you don’t mess it up. Trust me, I’ve messed it up before, and I don’t want you to.
- Brown the butter (5 minutes): Start by melting your ½ cup of butter in a saucepan over medium heat. Swirl it occasionally. It will foam up, then settle. Watch it closely. Once the foam clears, you’ll see brown specks at the bottom and smell a nutty aroma. This is the moment. Immediately pour it into a heat-proof bowl to stop the cooking. Let it cool for 10 minutes. (Warning: If you wait too long, it burns. And burnt butter tastes terrible.)
- Mix dry ingredients (2 minutes): In a large bowl, whisk together the flour, baking powder, baking soda, salt, sugar, and spices. Make sure there are no lumps. (This ensures even rising.)
- Combine wet ingredients (1 minute): In a separate bowl, whisk the egg, heavy cream, pumpkin puree, and the cooled brown butter. The mixture might look a bit curdled, but that’s okay. It will come together in the next step.
- Make the dough (3 minutes): Pour the wet mixture into the dry ingredients. Stir gently with a spatula until just combined. Do not overmix! If you see streaks of flour, that’s fine. Overmixing leads to tough scones. (This is the most common mistake people make. Stop while it’s still shaggy.)
- Shape the dough (5 minutes): Turn the dough out onto a floured surface. Gently pat it into a circle about 1 inch thick. Don’t knead it. Just fold it over itself once or twice to bring it together. Then cut it into 8 wedges. (Use a sharp knife or a dough scraper.)
- Chill (20 minutes): Place the scones on a parchment-lined baking sheet. Put them in the freezer for 20 minutes. This step is non-negotiable if you want crisp edges. It firms up the butter and prevents spreading.
- Bake (18-20 minutes): Preheat your oven to 400°F (200°C). Bake the chilled scones for 18-20 minutes, or until they are golden brown and firm to the touch. (Rotate the pan halfway through for even browning.)
- Make the glaze (2 minutes): While scones bake, whisk powdered sugar, maple syrup, milk, and salt in a small bowl until smooth. Add more milk if it’s too thick, or more sugar if it’s too thin.
- Glaze (1 minute): Let the scones cool for 5 minutes, then drizzle the glaze over the top. They should still be warm for the glaze to stick, but not hot.
That’s it. Nine simple steps. If you follow them, you’ll have perfect scones. The key is the chill step and the brown butter. Don’t skip them.
Cooking Tips & Techniques
Let’s talk about how to avoid the common pitfalls. I’ve learned a lot from my failures, so you don’t have to. First, temperature matters. Your cream and egg should be room temperature, but your butter (before browning) should be cold if you were adding chunks. For this recipe, since we’re browning it, just let it cool enough so it doesn’t cook the egg when you mix it.
Another tip: Don’t press down on the dough when you cut it. Use a sharp knife and cut straight down. If you twist the knife, you seal the edges, and the scones won’t rise properly. They’ll be flat biscuits instead of tall, fluffy scones. I’ve done this before, and it’s embarrassing. Just cut straight down and lift.
Multitasking is your friend here. While the butter is browning, get your dry ingredients mixed. While the scones are chilling, make the glaze. This keeps the process smooth and prevents you from rushing at the end. Also, keep an eye on the oven. Every oven is different. If your scones are browning too fast, cover them with foil. If they’re pale, give them two more minutes.
Consistency is key. If your dough is too sticky, add a tablespoon of flour. If it’s too dry, add a teaspoon of cream. It should be tacky but manageable. And finally, let them cool on a rack. I know it’s tempting to eat them right out of the oven, but the crust sets as they cool. Patience pays off.
Variations & Adaptations
One thing I love about this recipe is how flexible it is. You can tweak it to fit your tastes or what you have on hand. Here are a few variations I’ve tried.
Add-ins: I sometimes add ½ cup of white chocolate chips or dried cranberries to the dough. It adds a nice burst of flavor and texture. If you’re a nut lover, toasted pecans or walnuts are amazing.
Dairy-Free: You can swap the heavy cream for full-fat coconut milk and use dairy-free butter for browning. The texture might be slightly different, but it’s still delicious. Just make sure your brown butter substitute browns similarly.
Gluten-Free: Use a 1:1 gluten-free flour blend. The results are surprisingly good, though they might be slightly more crumbly. Add an extra egg if the dough feels too loose.
Lower Sugar: Reduce the sugar in the dough to 2 tablespoons and use sugar-free maple syrup for the glaze. It’s still sweet enough from the pumpkin and syrup.
I once made these with sweet potato puree instead of pumpkin, and they were great too. The spice profile works with both. It’s a versatile recipe that rewards experimentation. Don’t be afraid to add your own twist.
Serving & Storage Suggestions
These scones are best served warm, right after glazing. Pair them with a hot cup of coffee or tea. The contrast of the warm scone and the hot drink is pure comfort. You can also serve them with whipped cream or a slice of sharp cheddar cheese if you want a savory-sweet combo.
Storage: Store leftover scones in an airtight container at room temperature for up to 2 days. If you need to keep them longer, freeze them. Wrap them individually in plastic wrap, then put them in a freezer bag. They’ll last for 3 months.
Reheating: To reheat, thaw them at room temperature, then warm them in the oven at 350°F (175°C) for 5-10 minutes. This restores the crispiness. The microwave will make them soft, so avoid that if you want the crunch.
The flavors actually get better after a day as the maple and pumpkin meld together. So if you make them ahead, don’t worry. They’ll still be amazing the next morning. Just reheat them properly.
Nutritional Information & Benefits
Let’s talk about what’s in these scones. Each scone (with glaze) has approximately 350 calories. They contain 12g of fat, 55g of carbohydrates, and 6g of protein. The pumpkin adds a good dose of Vitamin A, which is great for eye health and immunity. Maple syrup has antioxidants, though it’s still a sugar, so use it in moderation.
These scones are not a health food, but they’re not junk food either. They’re made with real ingredients, no artificial flavors. If you’re watching your sugar, you can skip the glaze or use a sugar substitute. For gluten-sensitive folks, the gluten-free adaptation works well. Overall, they’re a balanced treat that satisfies a craving without making you feel guilty. Just enjoy them in moderation.
Conclusion
So, there you have it. Crispy brown butter pumpkin scones with maple glaze. It’s a recipe that started as a late-night whim and turned into a favorite. It’s simple, flavorful, and totally worth the effort. I hope you try it and love it as much as I do. Don’t be afraid to experiment with add-ins or spices. Make it your own.
If you make this, I’d love to hear about it. Leave a comment below with how you liked them. Did you add cranberries? Did you use real maple syrup? Share your stories. And if you have friends who love pumpkin, share this recipe with them. Let’s spread the scone love. Thanks for reading, and happy baking!
FAQs
Can I use canned pumpkin pie filling instead of pure pumpkin?
No, you shouldn’t. Pumpkin pie filling has added sugar and spices, which will throw off the balance of the recipe. Stick to pure pumpkin puree for the best results.
Why are my scones flat and dense?
This usually happens if the dough is overmixed or if the butter was too warm when mixed. Also, check your baking powder. If it’s old, it won’t rise properly. Handle the dough gently and use fresh leaveners.
Can I freeze the unbaked dough?
Yes, you can. Shape the scones, freeze them on the baking sheet until solid, then transfer to a bag. Bake them straight from the freezer, adding a few minutes to the bake time.
What if I don’t have brown butter?
You can use melted regular butter, but the flavor won’t be as deep and nutty. If you’re short on time, you can skip the browning, but I highly recommend taking the extra 5 minutes.
How do I know when the brown butter is done?
It’s done when it smells like toasted nuts and you see brown specks at the bottom of the pan. It happens quickly, so don’t walk away. If it smells burnt, start over.
Pin This Recipe!
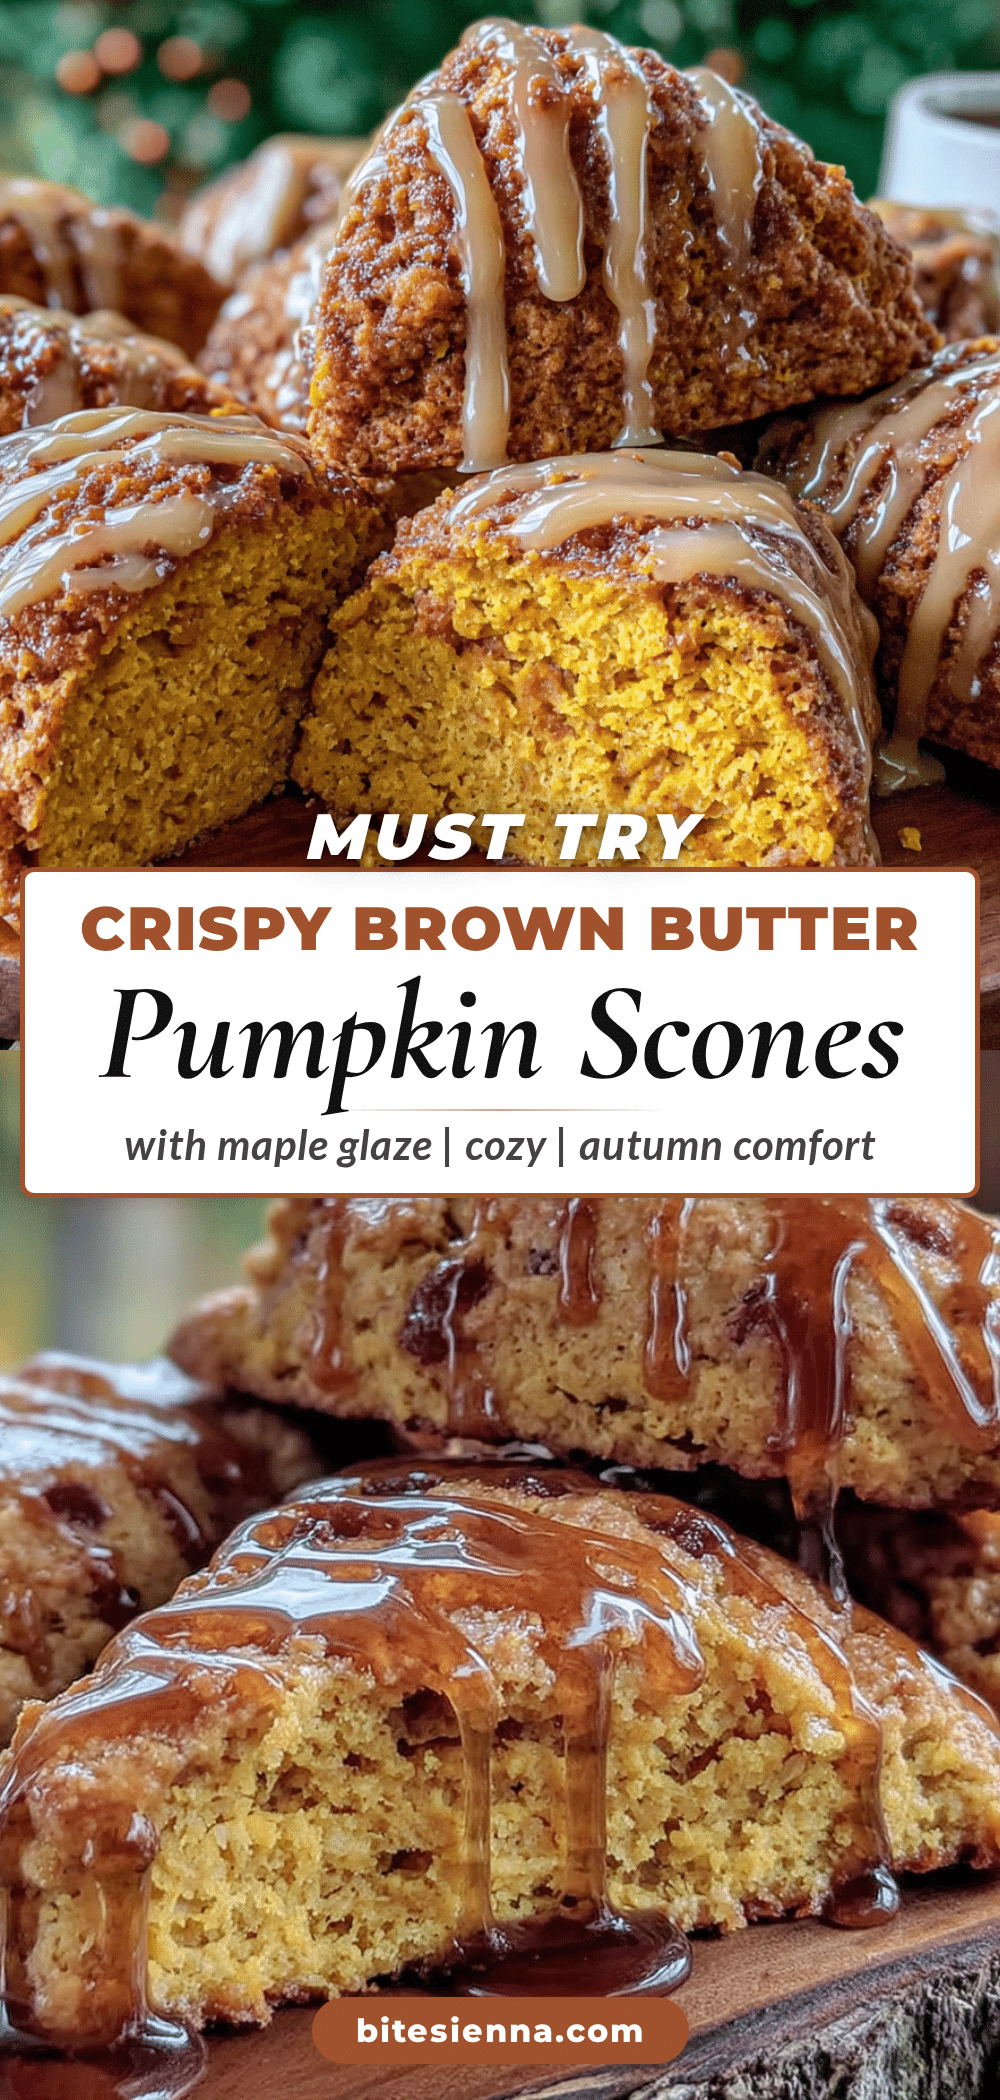
Crispy Brown Butter Pumpkin Scones with Maple Glaze
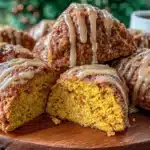
These homemade pumpkin scones feature a shatteringly crisp exterior and tender interior thanks to browned butter and a sweet maple glaze. They are quick to make, perfect for brunch, and offer a sophisticated flavor profile.
- Prep Time: 25 minutes
- Cook Time: 20 minutes
- Total Time: 45 minutes
- Yield: 8 servings 1x
- Category: Breakfast
- Cuisine: American
Ingredients
- 2 ½ cups (315g) all-purpose flour
- 1 tablespoon baking powder
- ½ teaspoon baking soda
- 1 teaspoon salt
- 1 cup (245g) pumpkin puree
- ¼ cup (50g) granulated sugar
- 1 teaspoon pumpkin pie spice
- ½ teaspoon cinnamon
- ¼ teaspoon nutmeg
- 1 large egg, room temperature
- ½ cup (120ml) heavy cream, cold
- ½ cup (115g) brown butter, cooled slightly
- 1 cup (120g) powdered sugar, sifted
- 2–3 tablespoons maple syrup
- 1–2 teaspoons milk
- A pinch of salt
Instructions
- Brown the butter: Melt ½ cup butter in a saucepan over medium heat. Swirl occasionally until foam clears, brown specks appear, and a nutty aroma develops. Immediately pour into a heat-proof bowl to stop cooking and let cool for 10 minutes.
- Mix dry ingredients: In a large bowl, whisk together flour, baking powder, baking soda, salt, sugar, and spices until no lumps remain.
- Combine wet ingredients: In a separate bowl, whisk the egg, heavy cream, pumpkin puree, and cooled brown butter.
- Make the dough: Pour the wet mixture into the dry ingredients. Stir gently with a spatula until just combined. Do not overmix; the dough should still be slightly shaggy.
- Shape the dough: Turn dough onto a floured surface. Gently pat into a circle about 1 inch thick. Fold over once or twice to bring together, then cut into 8 wedges using a sharp knife.
- Chill: Place scones on a parchment-lined baking sheet and freeze for 20 minutes to firm up the butter and ensure crisp edges.
- Bake: Preheat oven to 400°F (200°C). Bake chilled scones for 18-20 minutes until golden brown and firm to the touch. Rotate pan halfway through.
- Make the glaze: While scones bake, whisk powdered sugar, maple syrup, milk, and a pinch of salt until smooth. Adjust consistency with more milk or sugar as needed.
- Glaze: Let scones cool for 5 minutes, then drizzle the glaze over the top while they are still warm.
Notes
Ensure baking powder is fresh for proper rising. Do not overmix the dough to avoid tough scones. The chill step is crucial for crisp edges. If using salted butter, reduce added salt in the dough by half. For gluten-free, use a 1:1 gluten-free flour blend. For dairy-free, swap heavy cream for coconut milk and use dairy-free butter.
Nutrition
- Serving Size: 1 scone with glaze
- Calories: 350
- Sugar: 28
- Sodium: 450
- Fat: 12
- Saturated Fat: 7
- Carbohydrates: 55
- Fiber: 2
- Protein: 6
Keywords: pumpkin scones, brown butter, maple glaze, breakfast recipe, brunch ideas, homemade pastries, fall baking