There used to be a tiny Vietnamese sandwich shop tucked behind a dry cleaner on Grand Avenue that made the most incredible honey-glazed chicken I have ever eaten. When they closed suddenly in 2019—just a handwritten sign on the door saying “Thank you, friends”—I honestly felt a little lost. That sticky, sweet, garlicky chicken lived in my head rent-free for months. After twelve tries—some burnt, some too salty, one that my husband politely called “interesting”—I finally cracked the code. And here’s the thing: this version is even better than the original. It’s made in a crockpot, uses ingredients you probably already have, and tastes like you spent hours in the kitchen when you really just threw everything in a pot and walked away. Maybe you’ve been there too, chasing a flavor you can’t quite forget. Let me tell you, this is the one.
Why You’ll Love This Recipe
I’ve tested this recipe more times than I care to admit, and every single time, it delivers. This isn’t just another chicken recipe—it’s the one that makes people ask for the recipe before they even finish eating. Here’s why it works so well:
- Set It and Forget It: Five minutes of prep, then your crockpot does all the work. Perfect for those days when you know dinner will be chaos.
- Pantry-Friendly Ingredients: No fancy trips to specialty stores. Soy sauce, honey, garlic, and chicken thighs—that’s basically it.
- Budget-Friendly: Chicken thighs are affordable and actually more flavorful than breasts. Your wallet will thank you.
- Crowd-Pleasing Flavor: Sweet, savory, garlicky, with just a hint of tang. Kids love it, adults devour it, picky eaters ask for seconds.
- Forgiving Recipe: Overcook it by an hour? No problem. The thighs stay juicy thanks to that slow, gentle heat.
What makes this different from every other honey garlic chicken out there? It’s the balance. Most versions are either cloyingly sweet or overwhelm you with garlic. I spent weeks adjusting the ratios until the honey and garlic danced together instead of fighting. The cornstarch slurry at the end transforms the thin cooking liquid into a glossy, restaurant-worthy sauce that clings to every bite. Honestly, it’s the kind of meal that makes you close your eyes after the first forkful.
What Ingredients You Will Need
This recipe keeps things simple, using ingredients that work together to create something greater than the sum of their parts. Most of these are probably in your kitchen right now.
- Boneless, skinless chicken thighs (about 2 pounds, or 8-10 thighs) — I prefer thighs over breasts here because they stay tender and juicy even after hours in the crockpot. If you only have bone-in thighs, just increase cooking time by about 30-45 minutes.
- Honey (⅓ cup, use local honey if you can) — the star of the show. It adds sweetness and helps create that beautiful glaze. I’ve tried this with maple syrup in a pinch, and it works, but honey gives the best texture.
- Low-sodium soy sauce (¼ cup) — regular soy sauce works too, but the low-sodium version lets you control the saltiness better. Tamari or coconut aminos are great substitutes.
- Garlic (6 cloves, minced) — do not use the jarred stuff here. Fresh garlic makes a real difference in this dish. I learned this the hard way after a particularly sad batch.
- Ketchup (2 tablespoons) — I know this sounds weird, but trust me. It adds depth, color, and a subtle tang that balances the honey. You won’t taste ketchup, I promise.
- Rice vinegar (1 tablespoon) — or apple cider vinegar in a pinch. That little bit of acid brightens everything up.
- Sesame oil (1 teaspoon) — optional but highly recommended. It adds a nutty, toasty flavor that makes the dish taste more complex.
- Cornstarch (2 tablespoons, mixed with 3 tablespoons cold water) — this is your secret weapon for that glossy, thick sauce.
- Green onions (for garnish) — not just for looks. The fresh, sharp flavor cuts through the richness beautifully.
- Sesame seeds (for garnish) — optional but pretty.
I recommend using a good-quality honey like the one from your local farmer’s market if you can. The flavor really comes through. And please, please use fresh garlic. I once tried this with pre-minced garlic from a jar, and the sauce had this weird, slightly bitter aftertaste. Never again.
Equipment Needed
You don’t need a fancy kitchen to make this recipe work. Here’s what you’ll actually use:
- Crockpot or slow cooker (4-6 quart size works perfectly) — any brand works. I use a basic Cuisinart model that cost me forty bucks, and it’s never let me down.
- Small mixing bowl (for whisking the sauce together)
- Measuring cups and spoons
- Sharp knife and cutting board (for mincing garlic and slicing green onions)
- Small bowl (for the cornstarch slurry)
- Tongs (for handling the cooked chicken)
- Whisk (for smoothing out the sauce)
If you don’t have a crockpot, you can make this in a Dutch oven at 300°F for about 2-2.5 hours, or even in an Instant Pot on slow cook mode. I’ve done it all three ways, and honestly, the crockpot gives the best texture. The low, steady heat really lets the flavors meld.
Preparation Method
Alright, let’s get cooking. This is embarrassingly easy, but I’ll walk you through every step so you nail it on the first try.
- Prep the chicken (2 minutes): Pat your chicken thighs dry with paper towels. Don’t skip this—excess moisture will water down your sauce. Trim any excess fat if you want, but honestly, a little fat adds flavor. Season both sides lightly with salt and pepper.
- Make the sauce (3 minutes): In a small bowl, whisk together the honey, soy sauce, minced garlic, ketchup, rice vinegar, and sesame oil. Taste it. Yes, it’s okay to taste raw sauce. If it tastes balanced to you—sweet, salty, a little tangy—you’re good. If it seems too sweet, add another splash of soy sauce.
- Layer in the crockpot (1 minute): Place the chicken thighs in a single layer at the bottom of your crockpot. Don’t stack them if you can help it—even cooking matters here. Pour the sauce over the top, making sure each piece gets some love.
- Cook low and slow (4-5 hours on low, or 2.5-3 hours on high): I strongly recommend cooking on low. The chicken stays more tender, and the flavors have time to develop. Set your timer and walk away. Seriously, go do something else. Read a book. Fold laundry. Take a nap.
- Check for doneness (30 seconds): The chicken is done when it’s tender enough to shred with a fork, or when an internal thermometer reads 165°F. Honestly, with thighs, you have some wiggle room—they stay juicy even if they go a bit over.
- Thicken the sauce (2 minutes): Carefully remove the chicken to a plate using tongs. It might fall apart a little—that’s okay. In a small bowl, whisk together 2 tablespoons cornstarch with 3 tablespoons cold water until smooth. Pour this slurry into the crockpot with the cooking liquid. Turn the heat to high, and whisk constantly for 2-3 minutes until the sauce thickens into a glossy glaze. It should coat the back of a spoon.
- Glaze the chicken (1 minute): Return the chicken to the crockpot, spooning the thickened sauce over each piece. Let it sit for 5 minutes to soak up that goodness.
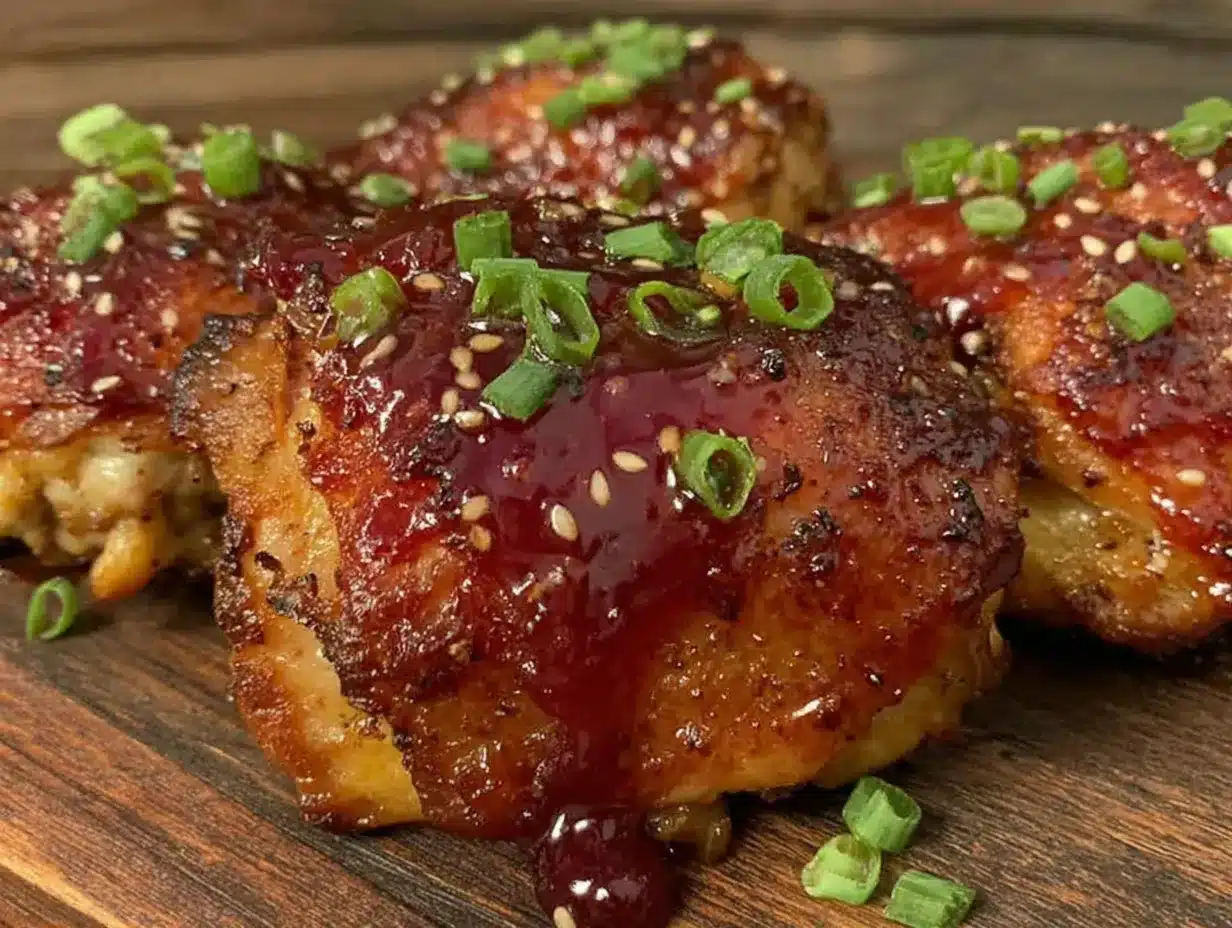
- Serve and garnish (1 minute): Transfer to a serving platter, spoon extra sauce on top, and sprinkle with sliced green onions and sesame seeds. The contrast of dark, glossy sauce against bright green onions is gorgeous.
A quick note: if your sauce seems thin after adding the slurry, don’t panic. Give it another minute or two. Cornstarch needs a moment to activate. If it still seems thin, mix another teaspoon of cornstarch with a tablespoon of water and add it in. Patience, my friend.
Cooking Tips & Techniques
I’ve made this recipe enough times to know where things can go sideways. Here’s what I’ve learned, sometimes the hard way:
Don’t lift the lid. I know it’s tempting. Every time you open that crockpot, you lose heat and add about 20 minutes to your cooking time. Trust the process. Set a timer and walk away.
Chicken thighs are forgiving, but not invincible. On low, 4-5 hours is the sweet spot. At 6 hours, they’ll still be good but might start falling apart. At 8 hours, you’ll have shredded chicken (which isn’t bad, just different). Plan accordingly.
The cornstarch slurry is non-negotiable. I tried skipping it once, thinking the sauce would reduce on its own. It didn’t. The sauce was thin and watery, and I spent dinner apologizing. Just make the slurry. It takes two minutes and transforms the whole dish.
Double the sauce if you’re a sauce person. I always do. The recipe as written gives you enough to coat the chicken nicely, but if you love extra sauce for rice (and who doesn’t?), just multiply the honey, soy sauce, and garlic by 1.5. Keep the cornstarch slurry the same—you can always add more if needed.
Taste and adjust. Before you add the cornstarch slurry, taste the cooking liquid. Is it sweet enough? Add a drizzle of honey. Too salty? A splash of water will balance it. This is your chance to customize.
I once forgot to add the garlic entirely. I realized it when I was sitting down to eat, and let me tell you, that was a sad, sad plate of chicken. Now I triple-check my ingredients before I start. Learn from my mistakes.
Variations & Adaptations
This recipe is a wonderful starting point, but don’t be afraid to make it your own. Here are some variations I’ve tried and loved:
- Spicy Honey Garlic Chicken: Add 1-2 teaspoons of sriracha or red pepper flakes to the sauce before cooking. The heat cuts through the sweetness beautifully. My husband adds a whole tablespoon of sambal oelek, and it’s fantastic.
- Garlic Lovers Version: Use 10-12 cloves of garlic instead of 6. Roast them first in a dry pan for a few minutes until fragrant—it mellows the sharpness and adds a deeper, almost nutty flavor.
- Pineapple Honey Garlic Chicken: Add ½ cup of pineapple chunks (fresh or canned, drained) during the last hour of cooking. The acidity and sweetness complement the honey beautifully. This is my personal favorite summer variation.
- Gluten-Free Option: Use tamari or coconut aminos instead of soy sauce. Double-check that your ketchup is gluten-free (most are, but some brands add wheat). Everything else is naturally gluten-free.
- Low-Sugar Version: Replace the honey with a sugar-free honey substitute or use half honey and half monk fruit sweetener. The texture will be slightly different, but the flavor is still great.
I once tried adding orange zest and juice to the sauce, thinking it would be amazing. It was… fine. Not bad, but the orange kind of took over and masked the honey-garlic balance. Sometimes the simplest version really is the best.
Serving & Storage Suggestions
This chicken is incredibly versatile. Here’s how I like to serve it and keep it fresh:
Serving: Serve the chicken over steamed jasmine rice or fluffy white rice to soak up all that glorious sauce. It’s also wonderful with egg noodles, quinoa, or even cauliflower rice if you’re watching carbs. For vegetables, I love steamed broccoli, roasted green beans, or a simple cucumber salad with rice vinegar. The fresh, crunchy vegetables balance the rich, sticky chicken perfectly.
Temperature: Serve it hot, straight from the crockpot. The sauce is at its glossiest and most flavorful right after you’ve thickened it. If it cools down, the sauce will thicken even more, so reheat gently with a splash of water if needed.
Storage: Store leftovers in an airtight container in the refrigerator for up to 4 days. The flavors actually deepen overnight, so leftovers are often even better the next day. I’ve been known to make this specifically for meal prep lunches.
Freezing: This freezes beautifully. Place cooled chicken and sauce in a freezer-safe container or zip-top bag. It will keep for up to 3 months. Thaw overnight in the refrigerator, then reheat gently in a skillet or microwave. Add a splash of water or chicken broth if the sauce seems too thick.
Reheating: The microwave works fine, but I prefer reheating in a skillet over medium-low heat with a tablespoon of water. It brings back that fresh-from-the-crockpot texture. Stir occasionally until heated through, about 5-7 minutes.
Nutritional Information & Benefits
Here’s an approximate nutritional breakdown per serving (based on 4 servings, using boneless skinless chicken thighs):
| Nutrient | Amount |
|---|---|
| Calories | 385 |
| Protein | 32g |
| Fat | 14g |
| Carbohydrates | 32g |
| Fiber | 0g |
| Sugar | 28g |
| Sodium | 720mg |
Chicken thighs are an excellent source of protein, iron, and B vitamins, which support energy metabolism and red blood cell health. Honey provides natural antioxidants and can help soothe sore throats (bonus!). Garlic is known for its immune-boosting properties and may help reduce blood pressure. While this recipe isn’t low-sugar, the honey is a natural sweetener that’s less processed than refined sugar. If you’re watching your sodium, use low-sodium soy sauce and skip the added salt on the chicken.
One serving of this chicken with a cup of steamed broccoli and half a cup of rice makes a balanced, satisfying meal that will keep you full for hours. I personally love that I can feel good about feeding this to my family—it’s comfort food that doesn’t come with a side of guilt.
Frequently Asked Questions
Can I use chicken breasts instead of thighs?
Yes, but be careful. Chicken breasts cook faster and can dry out easily in a crockpot. Check for doneness at 2.5-3 hours on low. You might also want to add a few tablespoons of chicken broth to keep them moist. Honestly, thighs give you more room for error and better flavor, but breasts work in a pinch.
Can I make this in an Instant Pot?
Absolutely. Use the slow cook function on low for 4-5 hours, or pressure cook on high for 10 minutes with a natural release. If pressure cooking, use only ¼ cup of water or broth since the Instant Pot needs liquid to come to pressure. Thicken the sauce on the sauté mode after cooking.
Why is my sauce not thickening?
Three possible reasons: your cornstarch slurry wasn’t mixed properly (make sure it’s smooth before adding), your crockpot wasn’t hot enough when you added it (turn it to high), or you didn’t whisk enough (keep whisking for a full 2-3 minutes). If all else fails, mix another teaspoon of cornstarch with a tablespoon of water and try again.
Can I prep this the night before?
Yes! Mix the sauce and store it in the refrigerator. Place the chicken in the crockpot insert and cover it. In the morning, just pour the sauce over the chicken and turn it on. Easy peasy. Don’t leave raw chicken sitting out at room temperature overnight.
How do I make this less sweet?
Reduce the honey to ¼ cup and add an extra tablespoon of soy sauce or rice vinegar. You can also add a pinch of red pepper flakes to balance the sweetness with some heat. Taste the sauce before cooking and adjust to your preference—it’s your kitchen, after all.
Conclusion
This Easy Crockpot Honey Garlic Chicken Thighs recipe is the kind of meal that makes weeknight dinners feel special without any of the stress. It’s forgiving, adaptable, and absolutely packed with flavor. Whether you’re feeding a hungry family, meal prepping for the week, or just craving something warm and comforting, this recipe delivers every single time.
I love that I can throw this together in the morning, go about my day, and come home to a house that smells like someone spent hours in the kitchen. It’s my secret weapon for busy nights, lazy Sundays, and everything in between. Try it once, and I promise you’ll add it to your regular rotation.
Have you made this recipe? I’d love to hear how it turned out! Drop a comment below and let me know if you tried any of the variations or came up with your own twist. And if you loved it, share it with a friend who needs an easy dinner win. Happy cooking, friends!
Pin This Recipe!
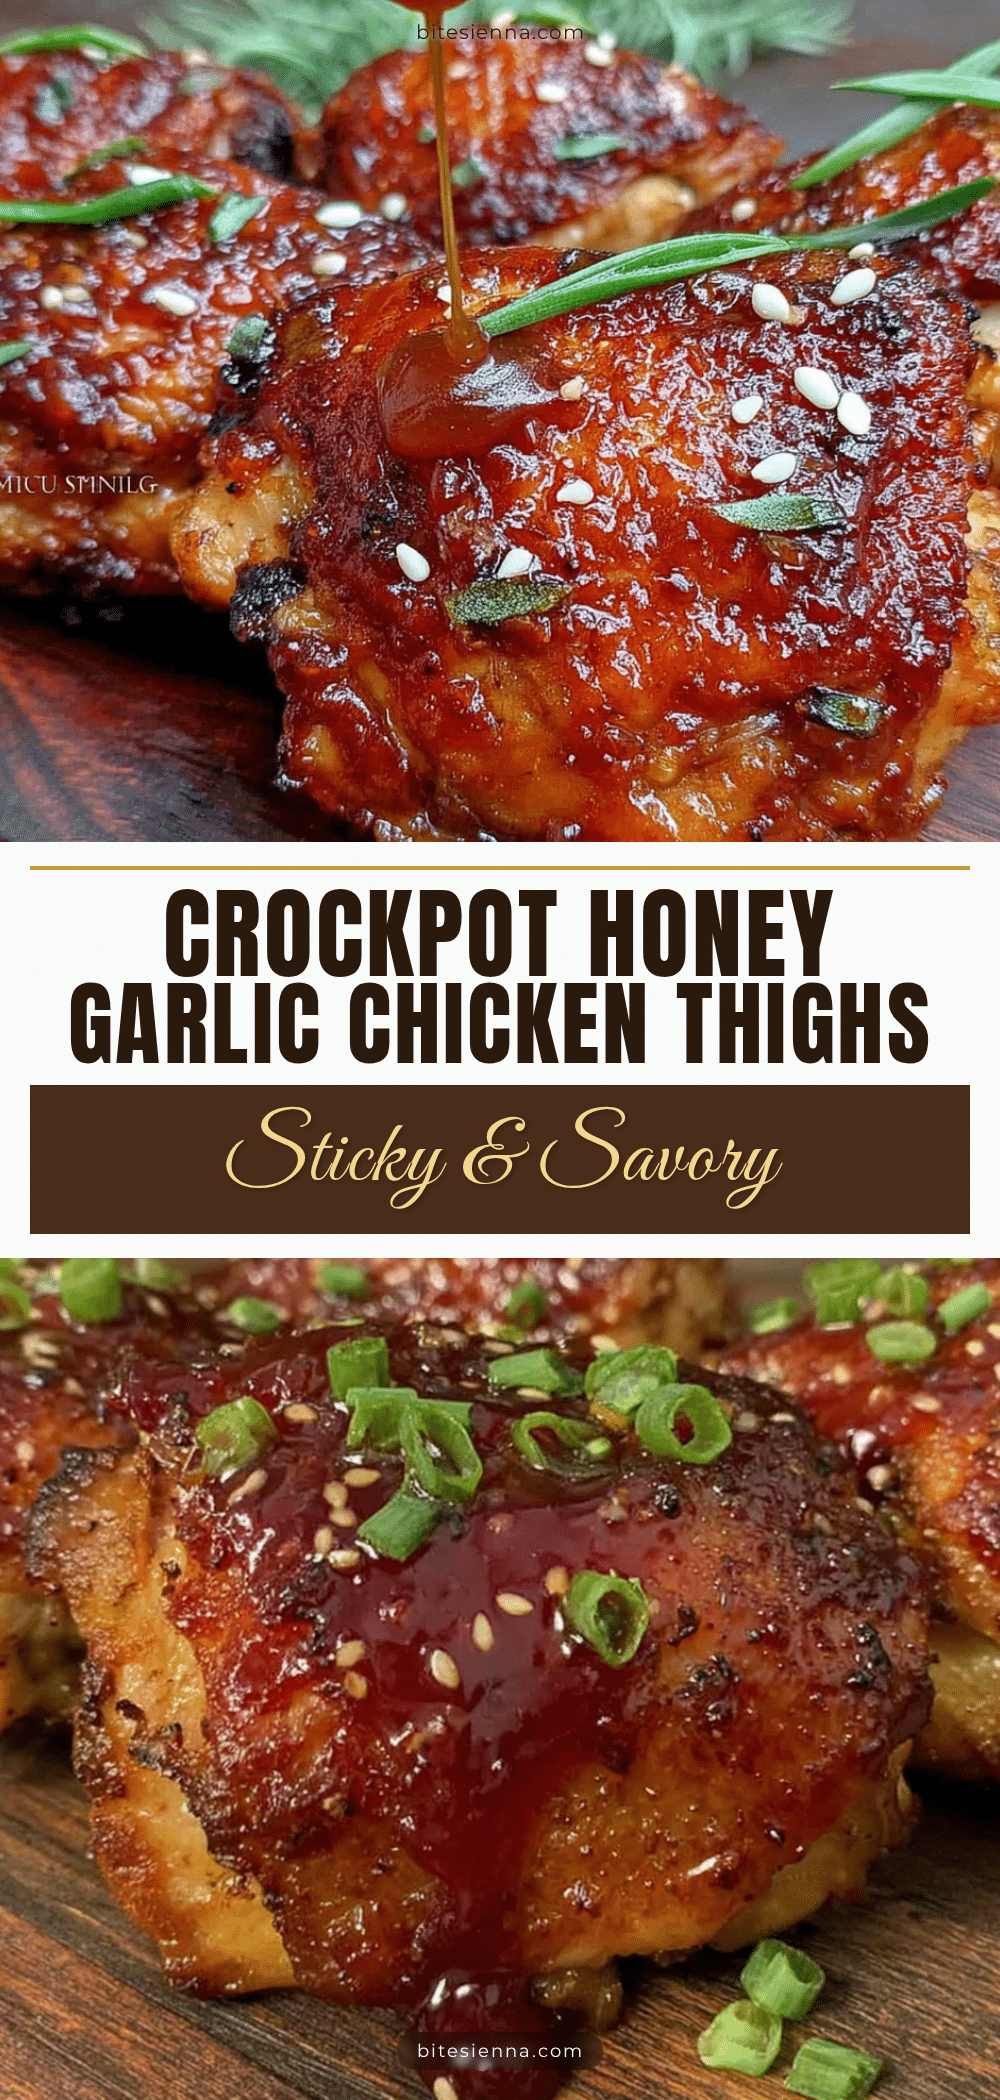
Easy Crockpot Honey Garlic Chicken Thighs: Perfect Weeknight Dinner

This Easy Crockpot Honey Garlic Chicken Thighs recipe is the kind of meal that makes weeknight dinners feel special without any of the stress. It’s forgiving, adaptable, and absolutely packed with flavor, using simple pantry ingredients for a crowd-pleasing sweet and savory dish.
- Prep Time: 5 minutes
- Cook Time: 4 hours 30 minutes
- Total Time: 4 hours 35 minutes
- Yield: 4 servings 1x
- Category: Main Course
- Cuisine: Asian-Inspired
Ingredients
- 2 pounds boneless, skinless chicken thighs (8–10 thighs)
- 1/3 cup honey
- 1/4 cup low-sodium soy sauce
- 6 cloves garlic, minced
- 2 tablespoons ketchup
- 1 tablespoon rice vinegar
- 1 teaspoon sesame oil (optional)
- 2 tablespoons cornstarch
- 3 tablespoons cold water
- Salt and pepper to taste
- Green onions, sliced (for garnish)
- Sesame seeds (for garnish)
Instructions
- Pat the chicken thighs dry with paper towels. Season both sides lightly with salt and pepper.
- In a small bowl, whisk together honey, soy sauce, minced garlic, ketchup, rice vinegar, and sesame oil.
- Place chicken thighs in a single layer at the bottom of a 4-6 quart crockpot. Pour the sauce over the top.
- Cook on low for 4-5 hours or on high for 2.5-3 hours, until chicken is tender and reaches an internal temperature of 165°F.
- Carefully remove chicken to a plate using tongs.
- In a small bowl, whisk together cornstarch and cold water until smooth. Pour the slurry into the crockpot with the cooking liquid.
- Turn the heat to high and whisk constantly for 2-3 minutes until the sauce thickens into a glossy glaze.
- Return the chicken to the crockpot, spooning the thickened sauce over each piece. Let sit for 5 minutes.
- Transfer to a serving platter, spoon extra sauce on top, and garnish with sliced green onions and sesame seeds.
Notes
For best results, cook on low to keep chicken tender. Don’t lift the lid during cooking. The cornstarch slurry is essential for a thick, glossy sauce. Double the sauce if you like extra for rice. Leftovers keep in the refrigerator for up to 4 days or freeze for up to 3 months.
Nutrition
- Serving Size: 1 serving (about 2 c
- Calories: 385
- Sugar: 28
- Sodium: 720
- Fat: 14
- Saturated Fat: 4
- Carbohydrates: 32
- Protein: 32
Keywords: crockpot honey garlic chicken, slow cooker chicken thighs, easy weeknight dinner, honey garlic chicken, chicken thighs recipe


