It was 11:47 PM on a random Wednesday, and I was hit with a craving so specific it felt almost physical. I wanted a warm, gooey chocolate chip cookie—the kind that bends before it breaks, with melty pockets of chocolate and a slightly crisp edge. But here’s the thing: I didn’t have the energy for a full batch (who needs 36 cookies at midnight?), and my stand mixer was buried under a pile of mail and a rogue cat toy. I had a single stick of butter, half a bag of chocolate chips, and a stubborn idea. What if I just… used a bowl and a spatula? What if I made just enough for me, right now, without all the fuss? That night, my cozy small-batch chocolate chip cookies were born, and honestly? They were the best cookies I’d made in months. Maybe you’ve been there—staring into the pantry, wanting something homemade but not wanting to wash a million dishes. Let me tell you, this recipe is your answer.
These aren’t just any cookies. They’re the kind you make when you want that fresh-from-the-oven feeling without committing to a week’s worth of baking. The no-mixer method isn’t a compromise—it’s a secret. Hand-mixing gives you more control, keeps the dough from over-developing, and lets you feel when it’s just right. Plus, there’s something deeply satisfying about making a perfect cookie with nothing but your own two hands. I’ve made this recipe at least a dozen times since that late-night experiment, tweaking the butter temperature, the chill time, and the salt level until it was exactly what I wanted. Now, I’m sharing it with you—perfect for a quiet night in, a rainy afternoon, or whenever a small batch of joy is exactly what you need.
Why You’ll Love This Recipe
Let me be honest with you—I’ve tested a lot of cookie recipes. Some are too fussy, some spread into flat puddles, and some just don’t taste like the effort was worth it. This one is different. Here’s why it’s become my go-to, and I think it’ll become yours too:
- No Mixer Required: You don’t need any fancy equipment. Just a bowl, a spatula, and a little elbow grease. Perfect for small kitchens, dorm rooms, or late-night baking sessions when you don’t want to wake anyone up with the noise of a stand mixer.
- Perfectly Portioned: This recipe makes exactly 6 to 8 cookies. No more, no less. You get just enough to satisfy that craving without having a giant tin of cookies staring at you for days (unless that’s your thing—no judgment).
- Simple Pantry Ingredients: Butter, sugar, an egg, flour, baking soda, salt, and chocolate chips. That’s it. You probably have everything right now, which is kind of the whole point.
- Perfect for a Cozy Night In: These cookies are made for curling up on the couch with a mug of tea or a glass of cold milk. They’re small-batch comfort food at its finest.
- Crowd-Pleasing Texture: The edges are golden and slightly crisp, while the centers stay soft, chewy, and almost underdone. It’s that bakery-style texture that feels special but is ridiculously easy to achieve at home.
What really sets this recipe apart is the technique. By melting the butter (instead of creaming it with a mixer), you get a denser, chewier cookie with a richer flavor. It’s a trick I learned from a pastry chef friend, and it works every single time. This isn’t just another cookie recipe—it’s your new favorite way to bake, especially when you want something cozy without the cleanup.
What Ingredients You Will Need
This recipe uses simple, wholesome ingredients to build deep flavor and that perfect chewy-yet-crisp texture. Since it’s a small batch, every ingredient matters, so here’s what to look for and why each one plays a role.
For the Cookie Dough
- Unsalted Butter (56g / 4 tablespoons): I use unsalted butter so I can control the salt level. Melt it gently—you want it just melted, not hot, or it’ll cook the sugar instead of dissolving into it. I recommend using a good-quality butter like Kerrygold for the richest flavor, but any brand works.
- Granulated Sugar (50g / ¼ cup): This gives the cookies their structure and helps them spread just enough. It also adds a subtle crunch to the edges.
- Light Brown Sugar (50g / ¼ cup, packed): Brown sugar is the secret to chewy cookies. It contains molasses, which adds moisture and a deep, caramel-like flavor. Pack it firmly into your measuring cup for accuracy.
- Large Egg Yolk (1): Using just the yolk (not the whole egg) keeps the cookies tender and rich without making them cakey. Save the egg white for an omelet or freeze it for later.
- Vanilla Extract (5ml / 1 teaspoon): Pure vanilla extract makes a noticeable difference here. I prefer Nielsen-Massey for its floral notes, but store-bought is fine. Don’t skip it—it rounds out the flavors beautifully.
- All-Purpose Flour (120g / 1 cup): Spoon and level your flour—don’t scoop directly from the bag, or you’ll end up with dry, dense cookies. If you want a gluten-free option, use a 1:1 gluten-free baking flour blend (like Bob’s Red Mill).
- Baking Soda (2g / ½ teaspoon): This helps the cookies spread and gives them that slightly craggy top. Make sure it’s fresh—if it’s been sitting in your pantry for over a year, it might be less effective.
- Salt (2g / ¼ teaspoon): Salt isn’t just for flavor—it balances the sweetness and enhances the chocolate. I use fine sea salt for the dough and a pinch of flaky sea salt on top before baking.
- Semi-Sweet Chocolate Chips (100g / ½ cup plus 2 tablespoons): I prefer Guittard or Ghirardelli semi-sweet chips for their balanced sweetness and good melt. You can also chop a dark chocolate bar for bigger, more irregular puddles of chocolate.
Optional Add-Ins
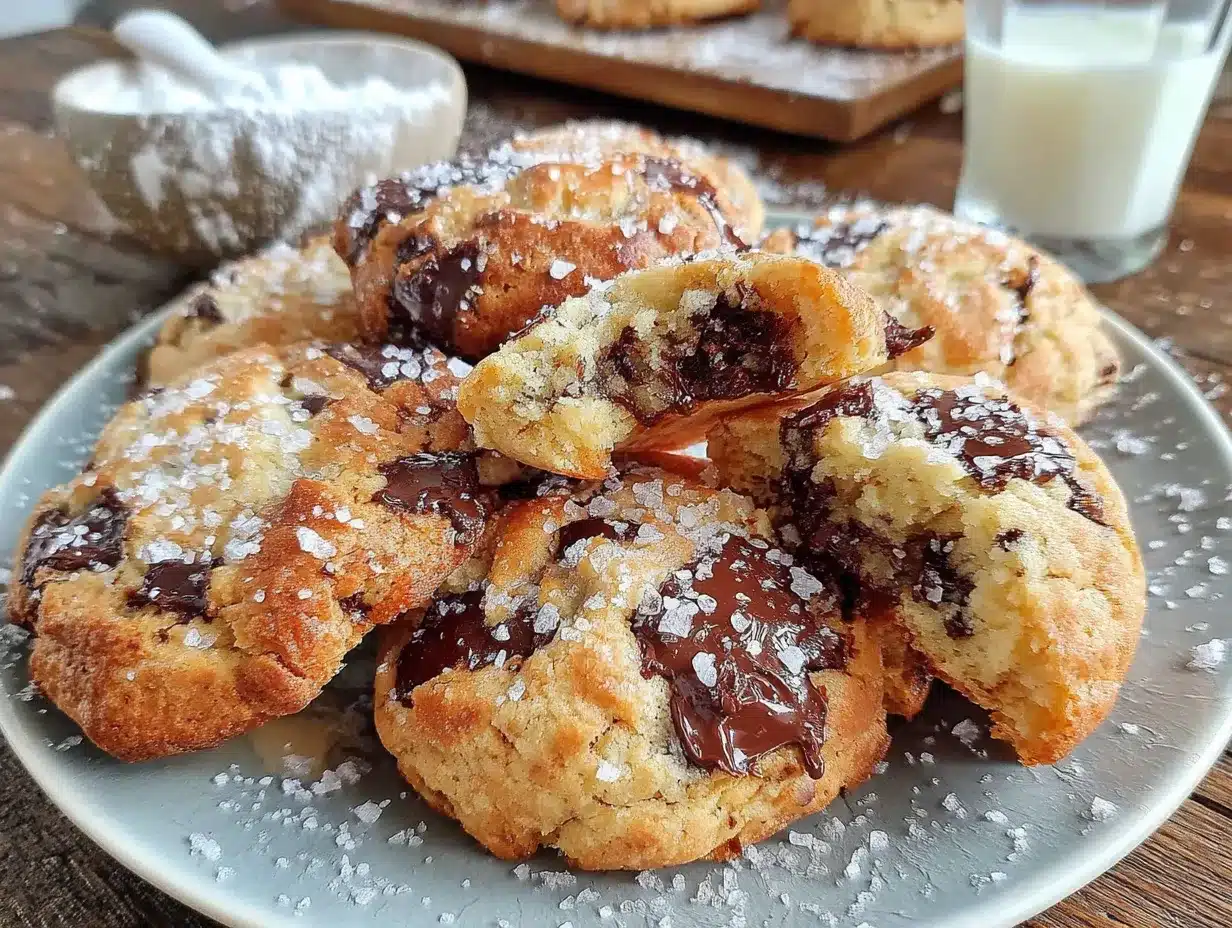
- Flaky Sea Salt: A sprinkle right before baking adds a wonderful salty crunch that contrasts with the sweet dough.
- Chopped Nuts (30g / ¼ cup): Walnuts or pecans add texture and a toasty flavor. Toast them lightly first for extra depth.
- Vanilla Bean Paste (optional): If you have it, swap the vanilla extract for vanilla bean paste for those beautiful little specks in the dough.
Equipment Needed
One of the best things about this recipe is how little gear it requires. You probably have everything already, but here’s what you’ll want to have on hand:
- Mixing Bowls: One medium bowl for the wet ingredients and one small bowl for the dry ingredients. I love my Pyrex glass bowls—they’re sturdy and easy to clean.
- Spatula or Wooden Spoon: A flexible silicone spatula is ideal for folding everything together without overmixing. A wooden spoon works too, but it’s a little more work.
- Baking Sheet: A standard half-sheet pan (about 13×18 inches) works perfectly. Line it with parchment paper or a silicone baking mat for easy cleanup and even browning.
- Cookie Scoop or Spoon: A 1.5-tablespoon cookie scoop makes perfectly uniform cookies, but you can just use two spoons to portion the dough. No need to buy anything special.
- Cooling Rack: Not strictly necessary, but it helps the cookies cool evenly and keeps the bottoms from getting soggy. I use a cheap wire rack from IKEA, and it works great.
- Measuring Cups and Spoons: For accuracy, especially with the flour. If you have a kitchen scale, use it—it’s more precise and means fewer dishes.
If you don’t have a cookie scoop, just wet your hands slightly and roll the dough into balls. It’s a little messier, but it works. And if you don’t have a cooling rack, let the cookies rest on the baking sheet for a few minutes before transferring them to a plate. Easy fix.
Preparation Method
Alright, let’s get to the fun part. This method is designed to be as straightforward as possible, but I’ve included all the little details that make a difference. Follow these steps, and you’ll have perfect cookies in about 20 minutes.
- Preheat the oven to 350°F (175°C). Line a baking sheet with parchment paper or a silicone mat. While the oven heats, you can prep your ingredients. This small step saves time later.
- Melt the butter. Place the 4 tablespoons of unsalted butter in a microwave-safe bowl and heat in 15-second bursts until just melted. Alternatively, melt it in a small saucepan over low heat. You want it liquid but not bubbling or hot. Let it cool for 2 minutes—if it’s too hot, it’ll cook the egg yolk later.
- Mix the sugars and butter. In a medium bowl, combine the melted butter, ¼ cup granulated sugar, and ¼ cup packed light brown sugar. Whisk or stir vigorously with a spatula for about 30 seconds. The mixture should look like wet sand and smell amazing. This step dissolves the sugar and creates that chewy texture.
- Add the egg yolk and vanilla. Drop in the single egg yolk and 1 teaspoon of vanilla extract. Stir until everything is fully combined and the mixture looks smooth and glossy. It might look a little separated at first, but keep stirring—it’ll come together.
- Combine the dry ingredients. In a separate small bowl, whisk together 1 cup of all-purpose flour, ½ teaspoon of baking soda, and ¼ teaspoon of salt. Whisking ensures the baking soda and salt are evenly distributed, so you don’t get a pocket of salt in one cookie.
- Fold the dry ingredients into the wet. Add the flour mixture to the butter-sugar mixture. Use a spatula to fold gently—stir from the bottom up, turning the bowl as you go. Stop as soon as you no longer see streaks of flour. Overmixing at this stage will make the cookies tough. The dough will be soft and slightly sticky—that’s perfect.
- Fold in the chocolate chips. Add the ½ cup plus 2 tablespoons of chocolate chips (plus any add-ins like nuts or flaky salt). Fold them in gently, just until they’re evenly distributed. Reserve a few chips to press onto the tops of the dough balls later—it makes the cookies look prettier.
- Chill the dough (optional but recommended). For the best texture, cover the bowl with plastic wrap and refrigerate the dough for 15 to 30 minutes. This firms up the butter, which prevents the cookies from spreading too much and gives them a chewier center. If you’re in a hurry, you can skip this step—the cookies will just be a little flatter and crispier.
- Portion the dough. Use a 1.5-tablespoon cookie scoop or a spoon to portion the dough into 6 to 8 equal balls. Place them on the prepared baking sheet, spacing them about 2 inches apart. Press a few extra chocolate chips onto the tops of each ball for that bakery look.
- Bake for 9 to 11 minutes. Bake until the edges are golden brown and the centers look slightly puffy and underdone. The tops should be set but still soft. For softer, gooier cookies, bake for 9 minutes. For crisper edges, go for 11. Remember, the cookies will continue to cook on the hot baking sheet after you pull them out, so err on the side of underbaking.
- Cool on the baking sheet. Let the cookies rest on the baking sheet for 5 minutes. This allows them to set up without breaking. Then transfer them to a wire rack to cool completely—or eat one warm, because you deserve it.
Cooking Tips & Techniques
I’ve made this recipe so many times that I’ve learned a few things the hard way. Here are my best tips for getting perfect cookies every time:
- Don’t overmix the dough. I know I said this before, but it’s worth repeating. Once you add the flour, stir just until it disappears. Overmixing develops gluten, which leads to tough, cakey cookies instead of tender, chewy ones. You want to see a few streaks of flour and then stop.
- Use room-temperature ingredients. The melted butter is warm, but the egg yolk should be at room temperature. If you forgot to take it out of the fridge, place the egg in a bowl of warm water for 5 minutes. Cold egg yolk can seize the butter and make the dough lumpy.
- Measure flour correctly. This is the most common mistake in baking. Spoon the flour into your measuring cup, then level it off with a knife. Scooping directly from the bag can add up to 20% more flour, resulting in dry, crumbly cookies. If you have a kitchen scale, use it—120 grams is the sweet spot.
- Chill the dough if you have time. Even 15 minutes in the fridge makes a noticeable difference. The cookies spread less, the centers stay thicker, and the flavor deepens as the ingredients meld. I often make the dough, chill it while I clean up, and then bake. It’s a small step that pays off.
- Watch the oven like a hawk. Ovens vary wildly. My old oven ran hot and would burn the bottoms in 8 minutes. Start checking at the 8-minute mark, and look for golden edges with pale, puffy centers. The cookies will look underdone when you pull them out—that’s the goal.
- Press extra chips on top. This is a pro trick from bakery cookies. After scooping the dough, press a few chocolate chips onto the surface of each ball. It makes the cookies look more polished and ensures every bite has a visible pocket of chocolate.
One time, I forgot to add the baking soda entirely. The cookies came out flat and dense—still edible, but not great. Now I always double-check my ingredients before mixing. Learn from my mistake, and you’ll be golden.
Variations & Adaptations
This recipe is wonderfully flexible. Here are some of my favorite ways to change it up, depending on what I’m craving or what I have in the pantry:
- Double Chocolate Chip: Swap 2 tablespoons of the flour for 2 tablespoons of unsweetened cocoa powder. Use white chocolate chips or dark chocolate chunks for a rich, decadent twist. This version is dangerously good with a glass of cold milk.
- Gluten-Free: Replace the all-purpose flour with a 1:1 gluten-free baking blend (I like King Arthur’s). Add an extra tablespoon of milk or water if the dough seems too dry. The texture will be slightly crumblier but still delicious.
- Vegan: Use 4 tablespoons of vegan butter (like Miyoko’s) and a flax egg (1 tablespoon ground flaxseed mixed with 3 tablespoons water, let sit for 5 minutes). The cookies will be a little less chewy but still satisfying. Use dairy-free chocolate chips to keep it fully vegan.
- Nutty & Toasty: Fold in ¼ cup of toasted chopped walnuts or pecans along with the chocolate chips. Toast the nuts in a dry skillet for 3-4 minutes until fragrant—this brings out their natural oils and adds a warm, nutty flavor.
- Spiced Variation: Add ½ teaspoon of cinnamon and a pinch of nutmeg to the dry ingredients. This version feels especially cozy in the fall or winter, and it pairs beautifully with a chai latte.
- Bigger Batch: To double the recipe, simply multiply all ingredients by two. Use 2 egg yolks (or 1 whole egg if you’re in a pinch). You might need to bake in two batches to avoid overcrowding the pan.
My personal favorite variation is the double chocolate. I made it once for a friend who was having a rough week, and she texted me later saying it was “the best cookie I’ve ever eaten.” That’s the power of a small tweak.
Serving & Storage Suggestions
These cookies are best served warm, straight from the oven, when the chocolate is still melty and the edges are crisp. But they’re also delicious at room temperature—especially with a cold glass of milk or a hot cup of coffee. For a real treat, sandwich a scoop of vanilla ice cream between two cookies for an instant ice cream sandwich.
If you’re serving them for a gathering, arrange the cookies on a wooden board or a pretty plate. Sprinkle a little flaky sea salt on top right before serving for that fancy bakery touch. They also pair well with a fruit salad or a simple cheese plate for a dessert spread.
Storage: Keep leftover cookies in an airtight container at room temperature for up to 3 days. To maintain their chewy texture, add a slice of bread to the container—the bread absorbs excess moisture and keeps the cookies soft. Replace the bread slice every day if you’re storing them longer.
Freezing: You can freeze the baked cookies for up to 3 months. Wrap each cookie individually in plastic wrap, then place them in a freezer bag. Thaw at room temperature for about 30 minutes, or pop them in a 300°F oven for 5 minutes to re-crisp the edges. You can also freeze the raw dough balls—place them on a baking sheet, freeze until solid, then transfer to a freezer bag. Bake from frozen, adding 2 to 3 minutes to the baking time.
Reheating: For that just-baked experience, microwave a single cookie for 10 to 15 seconds. Or, reheat them in a toaster oven at 350°F for 3 to 4 minutes. The edges will crisp up again, and the centers will get soft and gooey.
One thing I love about these cookies is that the flavor actually improves after a day. The brown sugar and vanilla meld together, and the texture softens slightly. They’re still fantastic on day two—if they last that long.
Nutritional Information & Benefits
Let’s be real—these are a treat, not a health food. But that doesn’t mean they can’t fit into a balanced lifestyle. Here’s the estimated nutritional breakdown per cookie (based on 8 cookies):
| Nutrient | Per Cookie |
|---|---|
| Calories | 210 |
| Total Fat | 11g |
| Saturated Fat | 7g |
| Carbohydrates | 27g |
| Sugar | 16g |
| Protein | 3g |
| Fiber | 1g |
| Sodium | 135mg |
These cookies are made with simple, recognizable ingredients—no preservatives or artificial flavors. The butter provides a small amount of vitamin A, and the dark chocolate chips offer a touch of antioxidants (especially if you use 70% or higher cacao chocolate). The brown sugar adds a little molasses, which contains trace minerals like calcium and potassium.
If you’re watching your sugar intake, you can reduce the granulated sugar by 1 tablespoon without affecting the texture too much. The cookies will be slightly less sweet but still delicious. For a lower-fat option, you can substitute 2 tablespoons of the butter with unsweetened applesauce—though the texture will be more cake-like.
As always, this recipe contains dairy (butter) and gluten (flour). For allergen-friendly options, check the variations section above.
Conclusion
Honestly, this recipe has become a staple in my kitchen because it delivers exactly what I want—warm, gooey, homemade cookies—without any of the fuss. No mixer to haul out, no giant batch to deal with, and no complicated techniques. Just a bowl, a spatula, and about 20 minutes of your time.
I love that it’s flexible enough to adapt to whatever you’re craving, whether that’s double chocolate, nutty, or spiced. And I love that it’s small enough to make just for yourself, but easy enough to double when you want to share. These cookies have gotten me through late-night study sessions, rainy Sunday afternoons, and quiet evenings when all I wanted was a little sweetness.
Now I want to hear from you. Have you tried this recipe? Did you add your own twist? Drop a comment below and let me know how it turned out—I read every single one. And if you loved it, share this post with a friend who needs a little cookie comfort in their life. Happy baking!
Frequently Asked Questions
Can I use a whole egg instead of just the yolk?
Yes, you can substitute the egg yolk with one whole egg. The cookies will be slightly puffier and less chewy, but they’ll still taste great. If you do this, you may want to reduce the flour by 1 tablespoon to maintain the right texture.
Why did my cookies spread too much?
This usually happens if the butter was too warm or the dough wasn’t chilled. Make sure your melted butter has cooled for a couple of minutes before adding the sugar, and chill the dough for at least 15 minutes if your kitchen is warm. Also, check that your baking soda is fresh—old baking soda loses its lifting power.
Can I make these cookies without a cookie scoop?
Absolutely. Just use two spoons to scoop and drop the dough onto the baking sheet. For more uniform cookies, slightly wet your hands and roll the dough into balls. A cookie scoop is convenient, but it’s not essential.
How do I get bakery-style cookies at home?
The secret is underbaking slightly and pressing extra chocolate chips onto the tops of the dough balls before baking. Also, using a mix of granulated and brown sugar gives you that perfect balance of crisp edges and chewy centers. A sprinkle of flaky sea salt right before baking adds that professional touch.
Can I double this recipe?
Yes, this recipe doubles beautifully. Simply multiply all ingredients by two. Use two egg yolks (or one whole egg if you prefer). You may need to bake the cookies in two batches to avoid overcrowding the pan. The baking time stays the same.
Pin This Recipe!
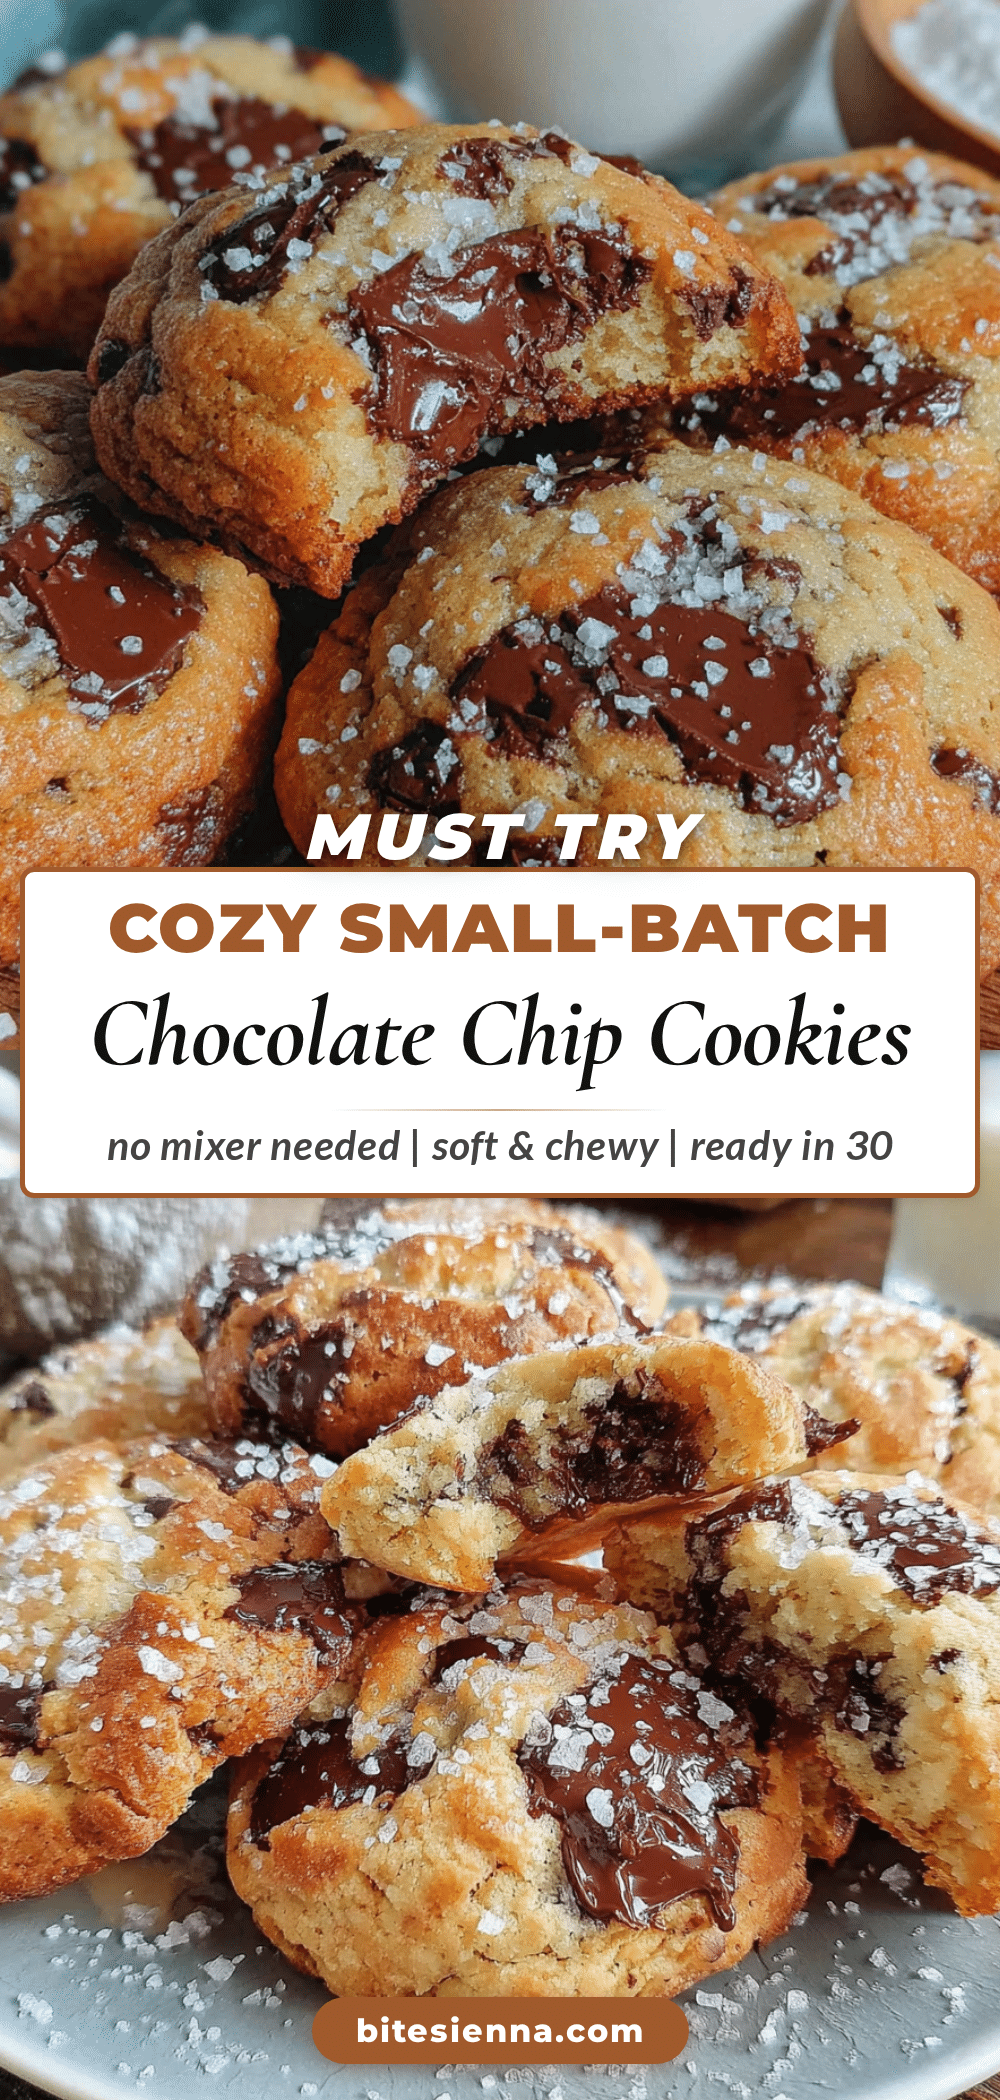
Easy Small-Batch Chocolate Chip Cookies (No Mixer) Recipe

These small-batch chocolate chip cookies are made without a mixer, using simple pantry ingredients. They yield 6 to 8 perfectly chewy cookies with crisp edges and gooey centers, ideal for a late-night craving or a cozy night in.
- Prep Time: 15 minutes
- Cook Time: 10 minutes
- Total Time: 25 minutes
- Yield: 6 to 8 cookies 1x
- Category: Dessert
- Cuisine: American
Ingredients
- 4 tablespoons (56g) unsalted butter
- 1/4 cup (50g) granulated sugar
- 1/4 cup (50g) packed light brown sugar
- 1 large egg yolk
- 1 teaspoon (5ml) vanilla extract
- 1 cup (120g) all-purpose flour
- 1/2 teaspoon (2g) baking soda
- 1/4 teaspoon (2g) salt
- 1/2 cup plus 2 tablespoons (100g) semi-sweet chocolate chips
- Optional: flaky sea salt, chopped nuts, vanilla bean paste
Instructions
- Preheat the oven to 350°F (175°C). Line a baking sheet with parchment paper or a silicone mat.
- Melt the butter in a microwave-safe bowl in 15-second bursts or in a small saucepan over low heat. Let cool for 2 minutes.
- In a medium bowl, combine the melted butter, granulated sugar, and brown sugar. Whisk vigorously for about 30 seconds until the mixture looks like wet sand.
- Add the egg yolk and vanilla extract. Stir until smooth and glossy.
- In a separate small bowl, whisk together the flour, baking soda, and salt.
- Add the dry ingredients to the wet mixture. Fold gently with a spatula until just combined—do not overmix.
- Fold in the chocolate chips (and any optional add-ins). Reserve a few chips to press onto the tops of the dough balls.
- For best texture, cover the bowl and refrigerate the dough for 15 to 30 minutes (optional but recommended).
- Using a 1.5-tablespoon cookie scoop or two spoons, portion the dough into 6 to 8 equal balls. Place them on the prepared baking sheet about 2 inches apart. Press extra chocolate chips onto the tops.
- Bake for 9 to 11 minutes, until the edges are golden and the centers are puffy and slightly underdone.
- Let the cookies cool on the baking sheet for 5 minutes, then transfer to a wire rack to cool completely. Enjoy warm or at room temperature.
Notes
For the best texture, chill the dough for at least 15 minutes. Underbake slightly for gooey centers. Press extra chocolate chips on top for a bakery look. Store in an airtight container at room temperature for up to 3 days; add a slice of bread to keep them soft. Freeze baked cookies or raw dough balls for up to 3 months.
Nutrition
- Serving Size: 1 cookie
- Calories: 210
- Sugar: 16
- Sodium: 135
- Fat: 11
- Saturated Fat: 7
- Carbohydrates: 27
- Fiber: 1
- Protein: 3
Keywords: small-batch chocolate chip cookies, no mixer cookies, easy cookie recipe, chewy chocolate chip cookies, late-night cookies